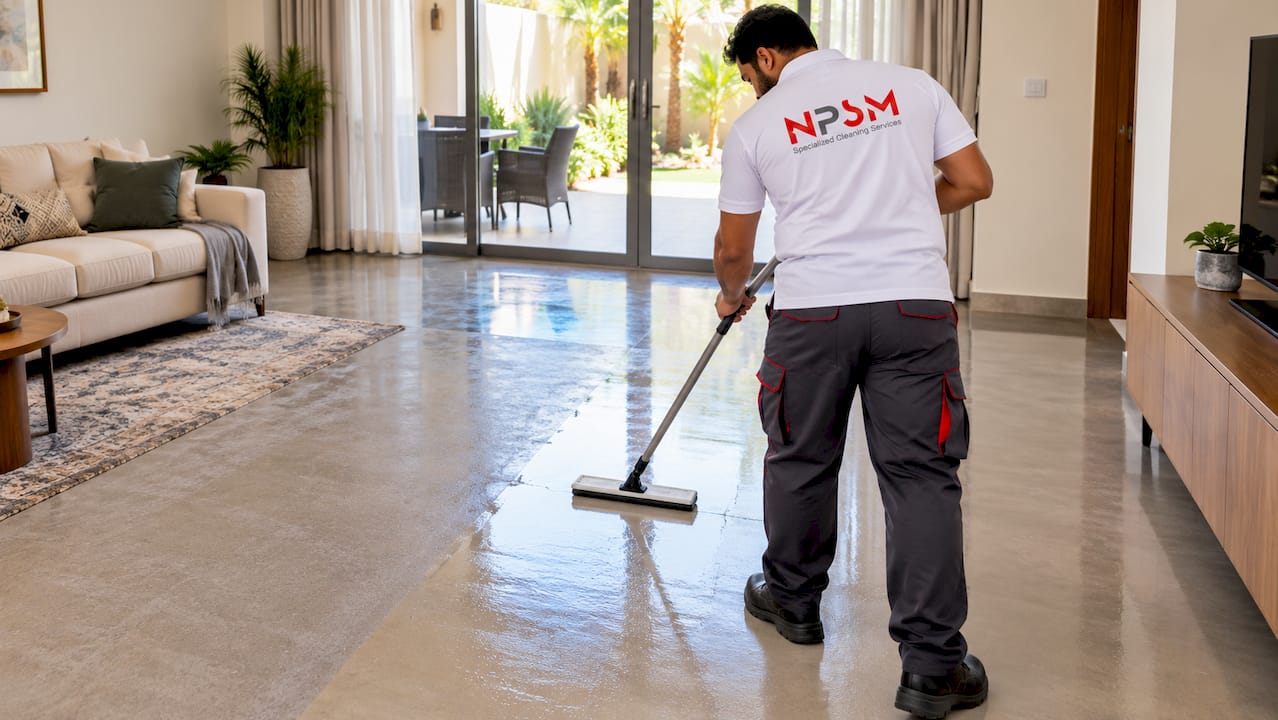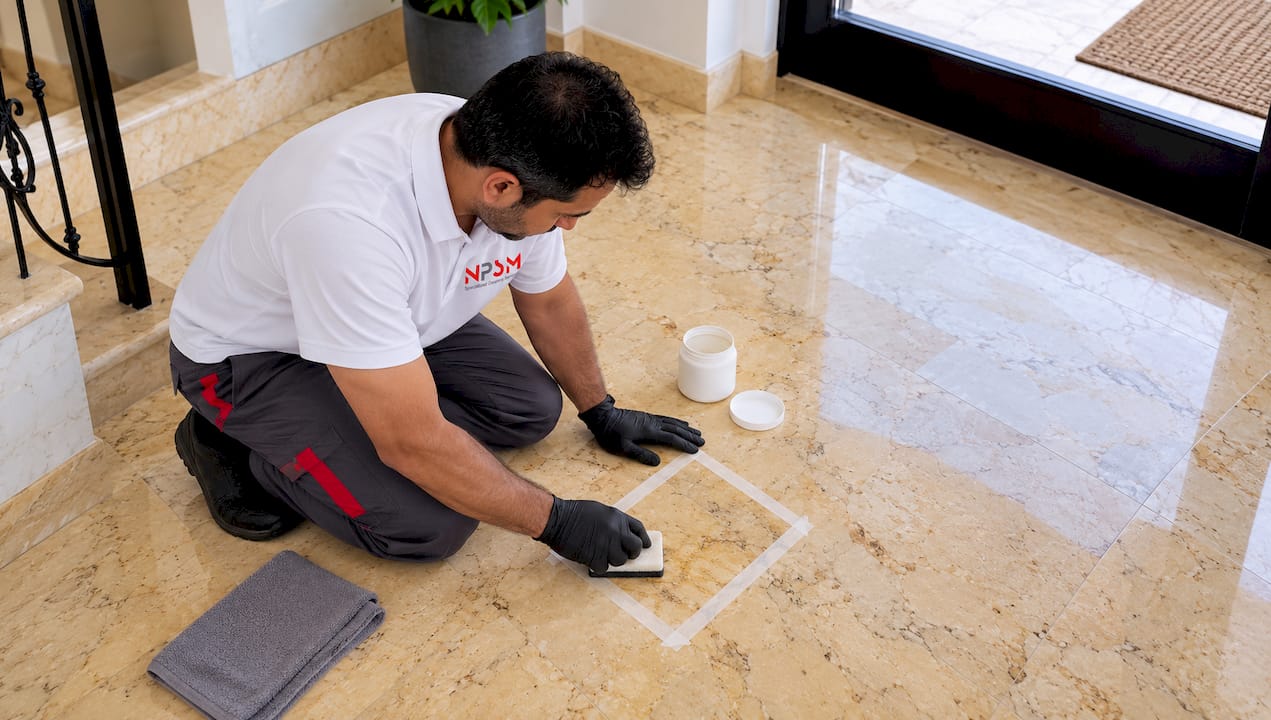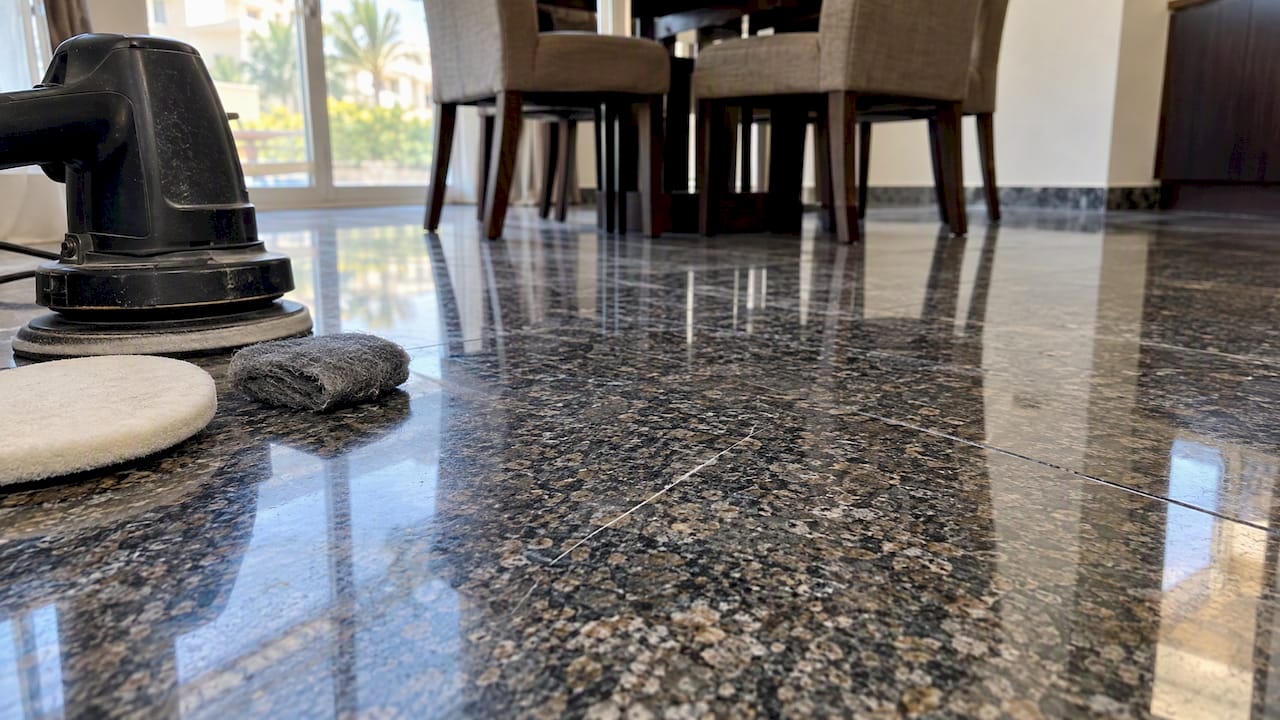

Short, superficial marks on granite often buff out with a gentle polish or a baking-soda paste. Scratches that catch a fingernail usually mean the damage runs deeper than the surface finish, and that calls for professional diamond polishing rather than a home remedy. Granite restoration relies on a sequence of diamond abrasives and wet polishing to avoid haze, so when you are unsure which category your scratch falls into, stop before you make it worse and get an inspection.
TL;DR:
A clean fingernail usually indicates a superficial mark; use raking light to spot haze and water drops to check whether the sealer remains intact.
For shallow marks, clean with a neutral pH cleaner, test polish on a hidden edge, then stop if haze appears or your fingernail catches.
Deep repairs use grinding, honing, and diamond polishing across seven grit stages, from 50 to 3,000; wet polishing limits heat damage and airborne silica dust.
After restoration, repeat the water drop test and reseal if water soaks in; choose a restorer who explains the grit sequence and dust controls.
Polished granite needs the finest polishing stages to restore its shine, while repairs to honed granite can often stop at a midrange grit.
Table of Contents
-
What professionals do for deep scratches: grinding, honing, polishing, and reseal
-
Get a professional inspection and quote for granite scratches
How to check scratch depth and diagnose the surface
Before you touch a polish or a pad, spend a few minutes figuring out what you are actually dealing with. Granite is rated about 6 to 7 on the Mohs hardness scale, which is why true scratches are less common than homeowners assume: much of what looks like damage is actually dulling, etching, or built-up sealer residue.
-
Fingernail test: drag a clean fingernail across the mark; if it catches, the damage likely needs grinding or honing rather than a surface polish.
-
Raking light check: shine a flashlight sideways across the area to reveal haze, halos, or lippage that is invisible under normal lighting.
-
Water-drop test: place a few drops of water on the spot; beading means the sealer is intact, while soaking means you need to reseal before any polishing work.
-
Skip the shortcuts: avoid acidic cleaners or abrasive scouring powders during diagnosis, since they can mimic or worsen scratch-like damage.
Many marks homeowners call “scratches” are actually dulling or sealer buildup, and misdiagnosing the problem is one of the most common reasons DIY attempts backfire.
Step-by-step DIY methods for light scratches and scuffs
If your fingernail test came back clean and the mark looks truly superficial, work through these steps in order, stopping as soon as the issue resolves.
-
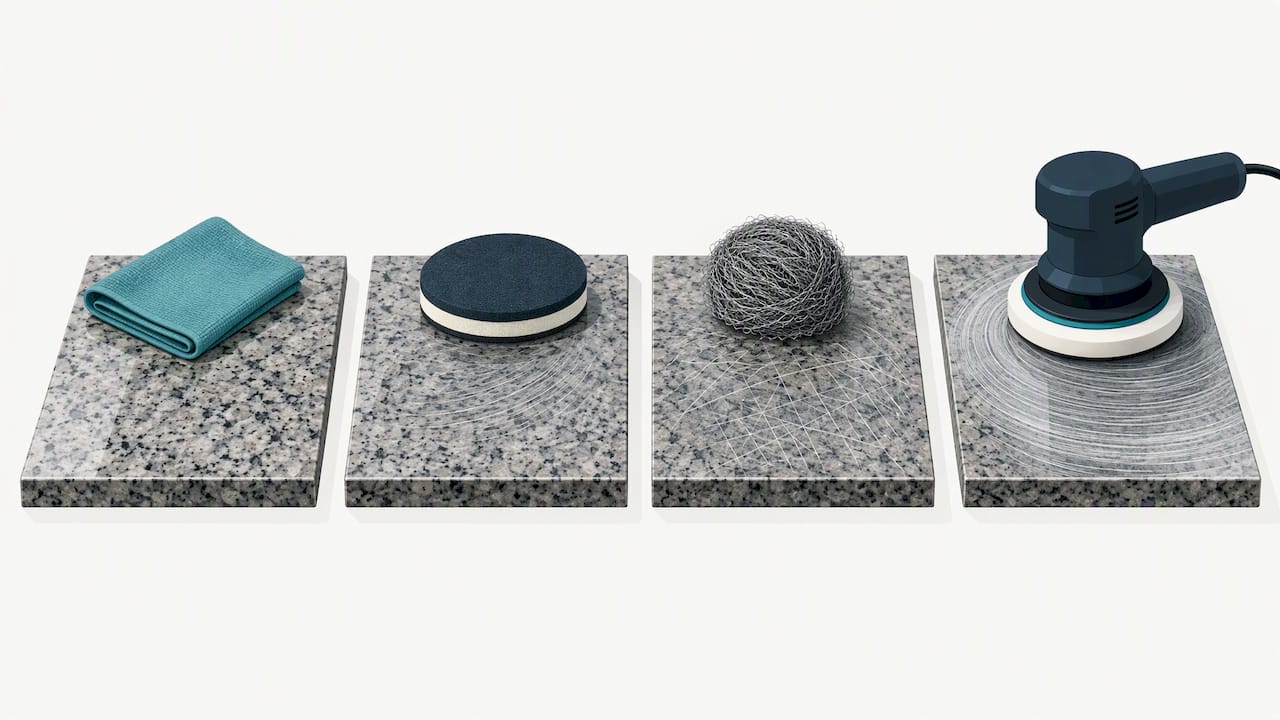
Clean the area first. Use a pH-neutral stone cleaner, wipe with a microfiber cloth, and dry completely so you can see the mark clearly.
-
Try a gentle polish. Apply a granite-safe polishing compound or a baking-soda paste, buff with a soft cloth, and inspect the result under raking light.
-
Move to fine mechanical buffing if needed. Wet 0000 steel wool or a felt pad can address slight surface marks when used with light pressure and short, even passes.
-
Use a felt pad on a drill at low speed if you want more consistency. Keep the surface wet throughout, apply minimal pressure, and work in short sections rather than one long pass.
-
Know when to stop. If you see a matte halo, increasing haze, or the fingernail now catches where it did not before, clean up immediately and call a professional.
Pro Tip: Test any polish, paste, or steel wool on a hidden edge or an offcut first, since results vary by finish and color.
This progression moves from least invasive to most invasive on purpose. A pH-neutral clean and a soft polish carry almost no risk of making things worse, while steel wool and mechanical buffing can dull a polished finish if overdone, which is why each step gets a check before you proceed to the next.
What professionals do for deep scratches: grinding, honing, polishing, and reseal
Once a scratch catches a fingernail, shows lippage, or spans a wide area, the repair moves from a buffing job to a material-removal job. Grinding uses coarse diamond abrasives to remove the damaged layer, honing smooths the scratch pattern that grinding leaves behind, and fine polishing restores shine, since granite is a silica-based stone that does not respond to the chemical polishing agents used on marble.
-
Grit progression matters. A common professional sequence runs through roughly seven stages, moving from coarse grits around 50 up through fine grits near 3,000, with each stage removing the marks left by the one before it.
-
Wet polishing is the standard, not an option. Keeping the surface wet during diamond polishing prevents heat buildup that can discolor granite and controls airborne silica dust, a real safety concern when grinding stone.
-
Skipping grits causes visible problems. Jumping ahead in the sequence leaves micro-scratch patterns and haze that only show up under raking light, and professionals blend well beyond the original scratch to avoid a visible halo.
-
Resealing follows restoration. After grinding or polishing, the same water-drop absorption test is used again; if water soaks in, the surface needs a fresh sealer application before the job is considered finished.
Deep-scratch restoration takes more time and material removal than simple buffing, which is reflected in how it is priced: square footage, scratch depth, edge detailing, how accessible the area is, and whether a countertop section needs to come off the base all factor into the final cost.
Why hire a qualified restorer and what to look for
A deep scratch is not the place to learn grinding and honing by trial and error. A rushed or incomplete job can leave haze, uneven sheen, or an unsealed surface that stains the first time something spills.
-
Ask for an inspection before a price. A reputable crew identifies whether you have a true scratch, an etch, or sealer loss before quoting any work.
-
Ask what grit sequence they plan to use. A clear answer signals real diamond-polishing experience rather than guesswork.
-
Confirm wet polishing and dust control. This protects your home and matches accepted safety practice for grinding stone.
-
Request before-and-after photos and a service guarantee. This gives you a way to judge the outcome and hold the work to a standard.
We bring advanced equipment and a grit-by-grit professional restoration process to granite jobs that go beyond what a homeowner should attempt, especially when scratches span multiple areas or sit along finished edges.
Weighing DIY savings against long-term restoration value
DIY makes sense only for shallow scuffs you can diagnose with confidence. A conservative sequence, diagnose, try one gentle fix, then stop, protects the slab and keeps your repair costs predictable. Routine care, including correct cleaning products, avoiding abrasive tools, and resealing on schedule, prevents most of these problems before they start.
— Qadir
Get a professional inspection and quote for granite scratches
A deep scratch rarely gets better on its own, and the fix depends on matching the right grit sequence to the damage, something that is hard to judge from a photo alone. Technicians inspect the surface, test for sealer failure, and provide a grit plan before any grinding begins.
-
What a visit typically includes: an on-site inspection, a quoted plan matched to the scratch depth, a realistic timeline, and resealing once polishing is complete.
-
Why wet diamond polishing is our standard approach: it controls dust, protects the stone from heat damage, and produces an even finish across the repaired area.
-
Where to start: request a quote through our granite polishing and restoration services page and describe the damage so we can recommend the right next step.
For routine upkeep between repairs, our granite surface protection guide and granite maintenance tips cover sealing schedules and everyday cleaning that help you avoid repeat damage.
FAQ
Can scratches on granite be removed?
Superficial scratches and scuff marks can often be buffed out with a granite-safe polish, a baking-soda paste, or fine wet steel wool. Deeper scratches that catch a fingernail usually need professional grinding, honing, and diamond polishing to remove fully.
How to repair granite scratches?
Start by cleaning the area with a pH-neutral cleaner and checking the mark under raking light and with a fingernail test. For light marks, try a gentle polish or fine wet steel wool; for anything that catches a fingernail or shows lippage, a professional diamond grit sequence with wet polishing and resealing is the reliable path.
Can deep scratches be removed?
Deep scratches can usually be resolved, but the process involves grinding away the damaged layer, honing to smooth the grind marks, and fine diamond polishing to restore shine, all performed wet to control dust and heat. This is a job for an experienced restorer rather than a home fix, since skipping grit stages tends to leave visible haze or halos.
Can damaged granite be repaired?
Most damaged granite, including scratches, dullness, and minor chips, can be restored through grinding, honing, and polishing rather than replacing the slab. Resealing afterward is an essential last step, since an unsealed surface remains vulnerable to staining even after the scratch itself is gone.
How do polished and honed granite differ in scratch repair?
Polished granite shows scratches more visibly because the reflective finish highlights any disruption in the surface, so restoring the high shine requires carrying the diamond sequence through the finest grits. Honed granite has a matte finish to begin with, so repairs often stop at a mid-range grit without the final high-polish stages.