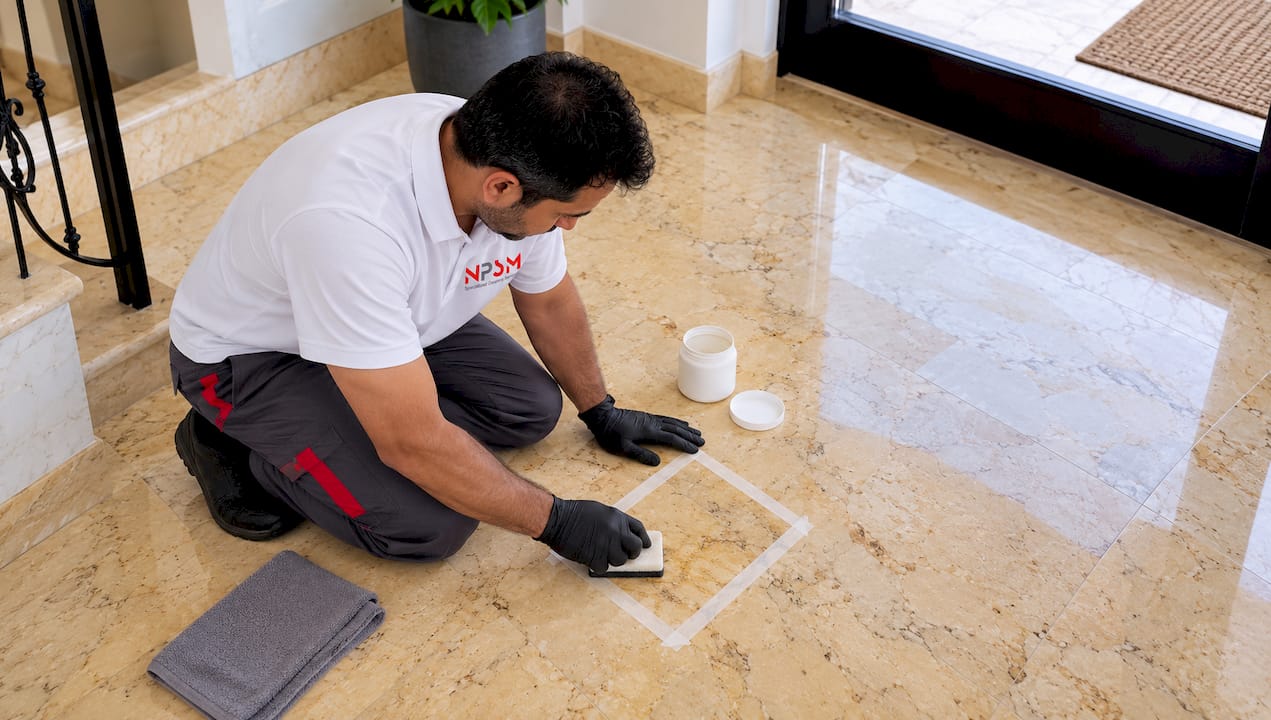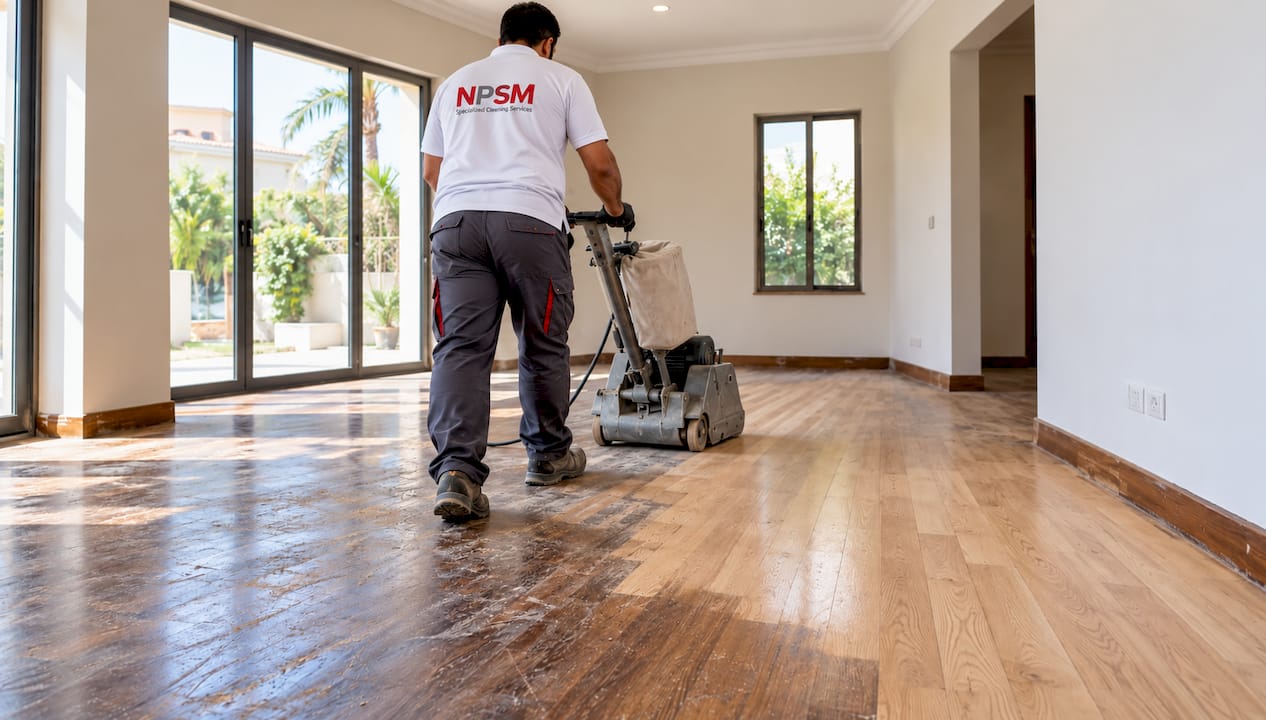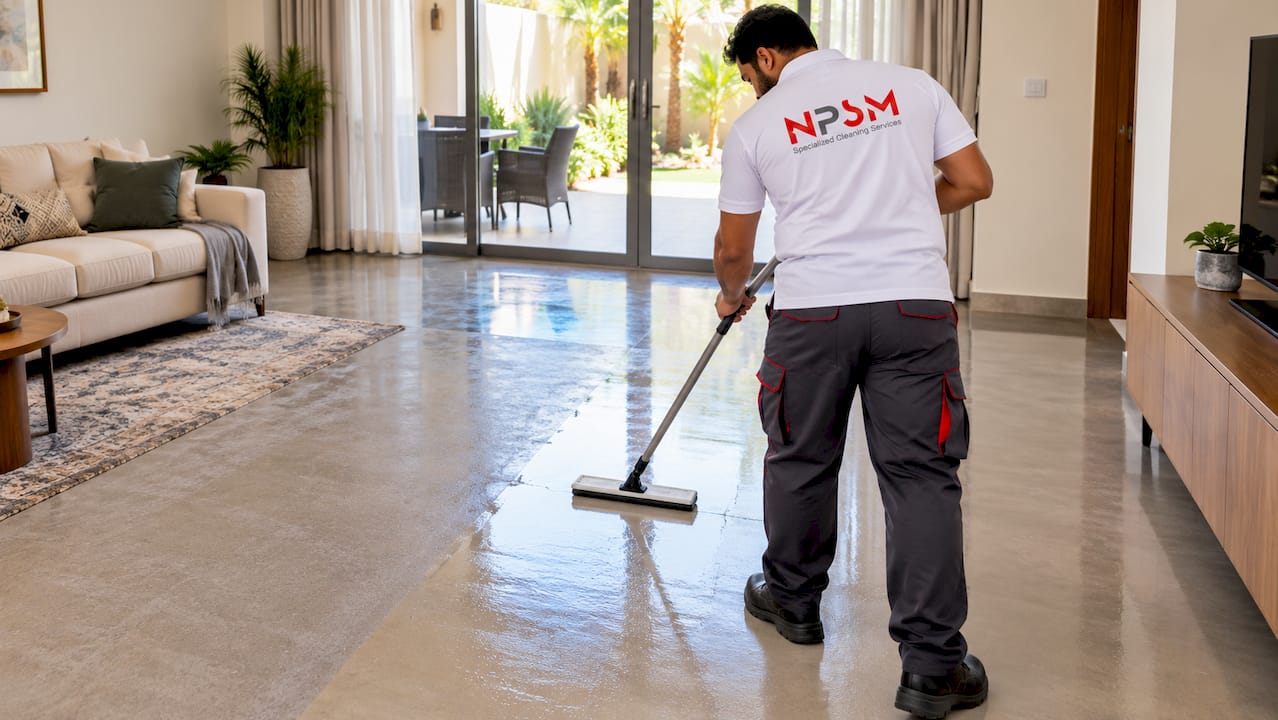

You need a full strip only when the old finish has actually failed: peeling in sheets, a thick yellowed buildup, or a tacky surface that stays sticky after cleaning. If your floor is just dull, a scrub-and-recoat usually brings the shine back without chemical stripping. When you are not sure which situation you have, a simple putty-knife scrape test or a quick call to a flooring professional settles it in minutes.
TL;DR:
- A low angle scrape with a plastic putty knife distinguishes failed finish: peeling flakes call for stripping, while fine dust usually means a scrub and recoat will suffice.
- Wear gloves and eye protection, ventilate, and use a resilient vinyl stripper in 6 to 10 square foot sections; rinse thoroughly and neutralize the surface.
- Apply two to three thin coats matched to the floor’s gloss, allowing each to dry; keep furniture off until the finish cures completely.
- Daily dry mopping or vacuuming, entrance mats, and a lightly applied pH neutral vinyl cleaner help prevent grit scratches and premature finish wear.
- DIY stripping is best limited to small, simple rooms; large areas, older vinyl attached with adhesive, or an unknown finish increase the risk of substrate damage.
Table of Contents
- Strip or scrub-and-recoat: how to tell which one you need
- Step-by-step: stripping, rinsing, and neutralizing safely
- Choosing and applying new finish after stripping
- Everyday maintenance that keeps the new finish lasting
- When to hire a professional and what that service typically includes
- How long a vinyl strip-and-polish project actually takes
- What matters more than any single technique
- Get professional vinyl floor restoration instead of guessing
- FAQ
- Sources
Strip or scrub-and-recoat: how to tell which one you need
Scrape a small, inconspicuous section with a plastic putty knife at a low angle. Thick layers that peel up in flakes mean the finish has broken down and a full strip is the right call. Fine dust or light powder usually means the existing coat is still intact and a scrub-and-recoat will do the job.
Look for these signs before you decide:
- Yellowing or an amber tint across large areas, especially near windows or high-traffic paths
- Peeling, flaking, or bubbling finish that lifts when pressed
- A tacky or sticky feel underfoot even after mopping
- Visible wear-through to the vinyl’s base layer, not just the topcoat
Manufacturer guidance warns against waxing or polishing urethane-coated vinyl with products not formulated for that coating, since the wrong polish can haze or peel it. Stripping costs more in time, chemical exposure, and downtime than a recoat, so confirm the diagnosis first rather than stripping by default.
Step-by-step: stripping, rinsing, and neutralizing safely
A strip job is a chemical process, so treat it like one from the first step.
- Clear the room, ventilate well, and wear gloves and eye protection before opening any stripping solution.
- Choose a stripper rated for resilient vinyl; skip steam cleaners, bleach, and solvent-based products, all of which can soften adhesives or warp seams.
- Apply the stripper to one small section, roughly 6 to 10 feet square, rather than the whole floor at once.
- Let it dwell per the product’s instructions, then agitate with a non-abrasive pad or a low-speed floor machine.
- Pick up the resulting slurry before it dries. Re-cured slurry bonds to the floor and is far harder to remove the second time.
- Rinse thoroughly with clean water, then neutralize the surface so no alkaline residue remains.
- Move to the next section, working toward the room’s exit so you never walk back across wet, stripped vinyl.
Dispose of used stripper and rinse water according to your local waste rules rather than pouring it down a storm drain.
The two most common mistakes are over-scrubbing the same spot, which can wear through the vinyl’s surface layer, and rinsing too lightly, which leaves alkaline film behind. That residue is one of the main reasons new finish fails to bond and peels again within weeks.
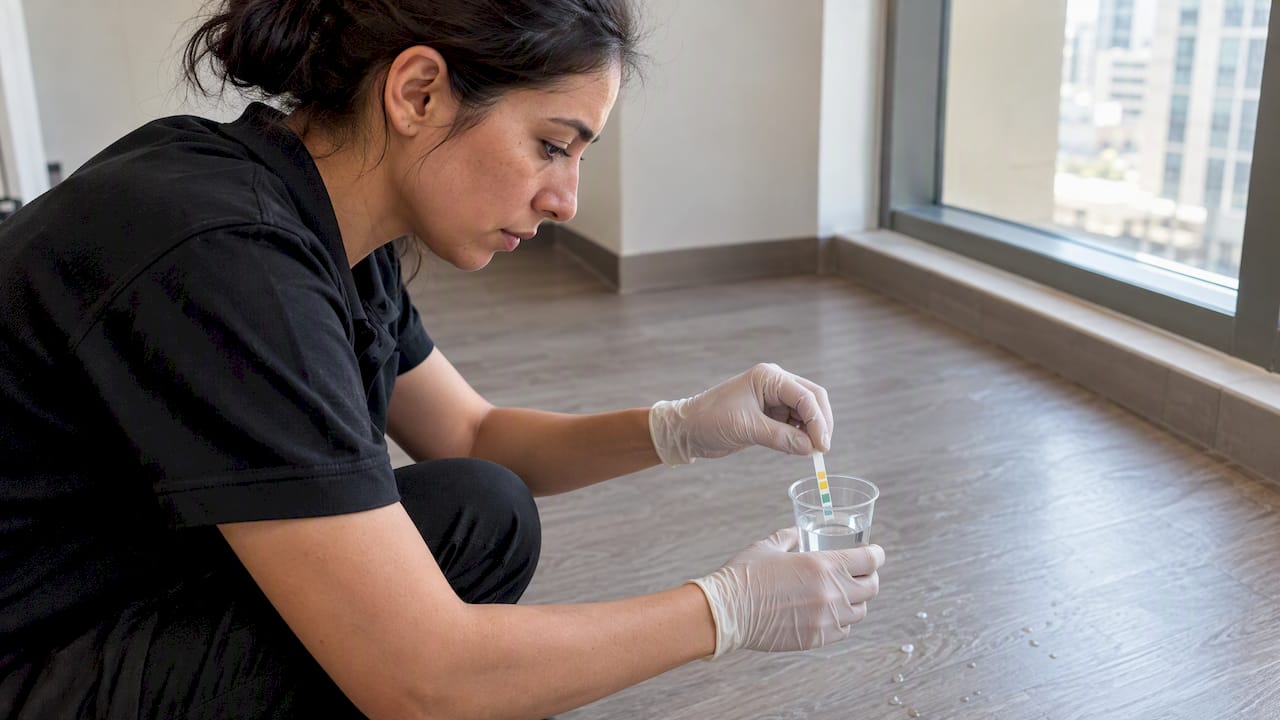
Pro Tip: Test your rinse water with a neutralizer-indicator strip before applying any finish. If the surface still reads alkaline, rinse again.
Choosing and applying new finish after stripping
Once the floor is clean, rinsed, and neutral, you are ready to recoat. Confirm the surface is fully dry and free of residue before opening any finish product, since trapped moisture under a new coat causes cloudiness and poor adhesion.
- Match the finish to your floor’s original gloss level: high-gloss no-wax vinyl needs a polish made for that finish, not a general-purpose wax.
- Apply thin, even coats with a clean applicator or microfiber flat mop rather than a saturated pad.
- Let each coat dry fully before the next; rushing this step is the most common cause of a cloudy or soft final finish.
- Two to three thin coats generally outperform one thick coat for durability and even gloss.
- Test the chosen finish on a small section first to confirm it bonds and looks right before coating the whole room.
Avoid wax-based polishes on urethane-coated vinyl entirely. If your floor’s finish type is uncertain, a small test patch tells you more than guessing ever will.
Everyday maintenance that keeps the new finish lasting
The fastest way to need another strip job is skipping daily grit control. Vacuum or dry-mop first, every time, before any wet cleaning, since loose grit is what scratches finish and dulls shine over time. Entrance walk-off mats catch most of the dirt that would otherwise travel across the floor on shoes, which meaningfully cuts the abrasive wear that shortens a finish’s life.
- Dry-mop or vacuum daily in high-traffic areas, wet-clean on a set schedule rather than only when it looks dirty.
- Place walk-off mats at every entrance and felt pads under furniture legs.
- Use a pH-neutral cleaner made for vinyl, applied lightly rather than flooded on.
- Avoid steam cleaners, bleach, ammonia-heavy products, and rubber-backed mats, all of which can discolor or degrade the finish.
A floor kept on this routine typically needs a light recoat long before it ever needs a full strip again. Watch for early tackiness or dullness in traffic lanes. Those are your cue to recoat, not wait for a full failure.
When to hire a professional and what that service typically includes
DIY stripping works reasonably well on small, simple rooms with straightforward vinyl. It gets riskier on large open areas, older adhesive-backed vinyl, or floors where you cannot confirm the finish type, since a wrong chemical choice can damage the substrate underneath.
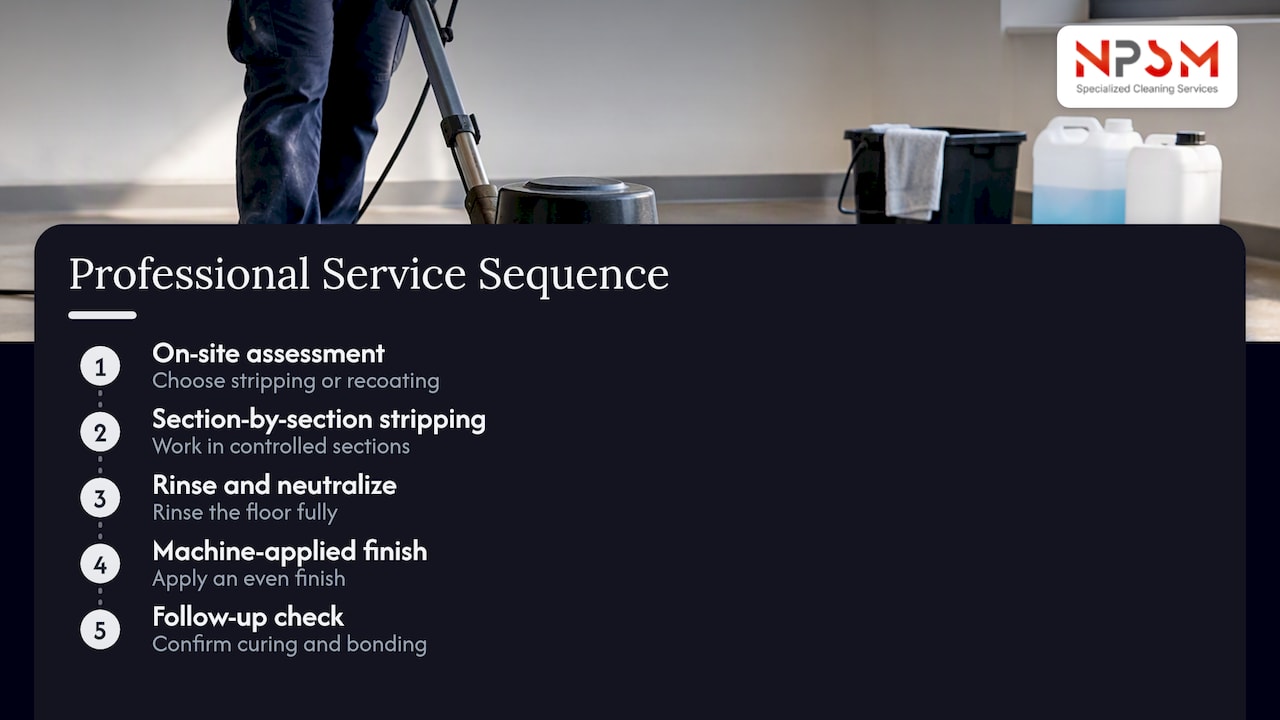
A professional job typically starts with an on-site assessment to confirm whether the floor needs a strip or a recoat, avoiding unnecessary chemical use. From there, the work moves through controlled, section-by-section stripping, full rinsing and neutralization, and machine-applied finish for a more even result than hand application usually achieves. Most providers also include a follow-up check to confirm the new coat is curing and bonding correctly.
We cover this process in more detail, including how to weigh DIY against hiring a pro for your specific floor.
How long a vinyl strip-and-polish project actually takes
A typical single room of moderate size usually runs about one working day from start to finish when conditions are straightforward. That includes furniture clearance, the strip itself, rinsing and neutralizing, and the first coat of finish.
Larger areas, like an open-plan living and dining space or a small commercial floor, often need a full day for stripping and rinsing, followed by a second day for coating and cure time, since each layer needs to dry fully before the next goes on and rushing that step is what causes a soft or cloudy finish. Humidity and ventilation affect dry times more than most people expect, so a well-ventilated room cures noticeably faster than a closed, humid one.
Plan for the floor to stay out of heavy use for at least several hours after the final coat, and avoid moving furniture back until the finish has fully cured, not just surface-dry. Rushing this last stretch is one of the more common reasons a freshly polished floor looks great for a week and then scuffs or dulls early. If you are coordinating a strip-and-polish around a busy household or business schedule, building in that extra cure buffer saves you from redoing the work sooner than planned.
What matters more than any single technique
Most vinyl floor advice focuses on which stripper or polish to buy, but the product choice matters less than most people assume. The two steps that actually determine whether a restoration lasts are the diagnosis at the start and the rinse at the end. Skip the putty-knife test and you risk stripping a floor that only needed a recoat, wasting time and exposing the surface to chemicals it didn’t need. Skip a thorough neutralizing rinse and even the best polish on the market will fail early, because it never properly bonds to the vinyl underneath.
If there’s one thing worth prioritizing over brand names and product comparisons, it’s patience at those two points: confirm the diagnosis before you open any stripper, and confirm the rinse is neutral before you open any finish. Everything else, coat count, applicator type, drying time, is secondary to getting those two steps right.
— Qadir
Get professional vinyl floor restoration instead of guessing
If your vinyl floor has reached the point where cleaning alone isn’t bringing back the shine, a professional strip and polish is often the more cost-effective route once you account for the chemicals, equipment, and time a DIY job demands. Our vinyl floor polishing and cleaning services cover the full process from diagnosis through finish.
A typical professional service usually includes:
- An on-site inspection to confirm whether the floor needs a strip or a lighter recoat
- A clear quote before any work begins
- Scheduling that works around your household or business hours
- Controlled stripping, rinsing, and machine-applied finish, with a timeline set at the inspection
Reach out through our vinyl floor service page to get an inspection scheduled.
FAQ
How often should you clean vinyl plank floors?
Daily dry-mopping or vacuuming is the single most effective habit for vinyl plank floors, since loose grit causes most of the scratching that dulls finish over time. Wet cleaning with a pH-neutral cleaner on a set weekly schedule, rather than only when the floor looks dirty, keeps buildup from forming between deeper cleans.
What is the rule of 3 for flooring?
There isn’t a single standardized “rule of 3” recognized across the flooring industry for vinyl care; the phrase is used inconsistently depending on the source. If you’ve seen it referenced for your specific flooring brand, check that manufacturer’s own care guidance rather than relying on a general rule.
What is the proper procedure for cleaning floors?
The proper sequence is dry first, wet second: vacuum or dry-mop to remove grit, then clean with a pH-neutral cleaner formulated for vinyl, applied lightly rather than flooded on. Avoid steam cleaners, bleach, and ammonia-heavy products, since these can soften adhesives or dull the finish.
What do you use to polish floors?
The right polish depends on your vinyl’s existing finish: high-gloss no-wax vinyl needs an acrylic polish matched to that gloss level, while urethane-coated vinyl should never be waxed or polished with products not specifically formulated for it. Testing any new product on a small section first confirms it bonds correctly before you commit to the whole floor.
How do I know if I need a full strip instead of a recoat?
A putty-knife scrape test on a small area tells you quickly: thick peeling flakes mean the finish has failed and needs a full strip, while fine dust means a scrub-and-recoat is likely enough. Visible yellowing, tackiness, or wear-through to the base layer are also signs that point toward stripping rather than a simple recoat.
Sources
- Vinyl floor polishing & Cleaning Services Dubai
- Vinyl floor polishing in Dubai 2026: DIY or hire a pro?