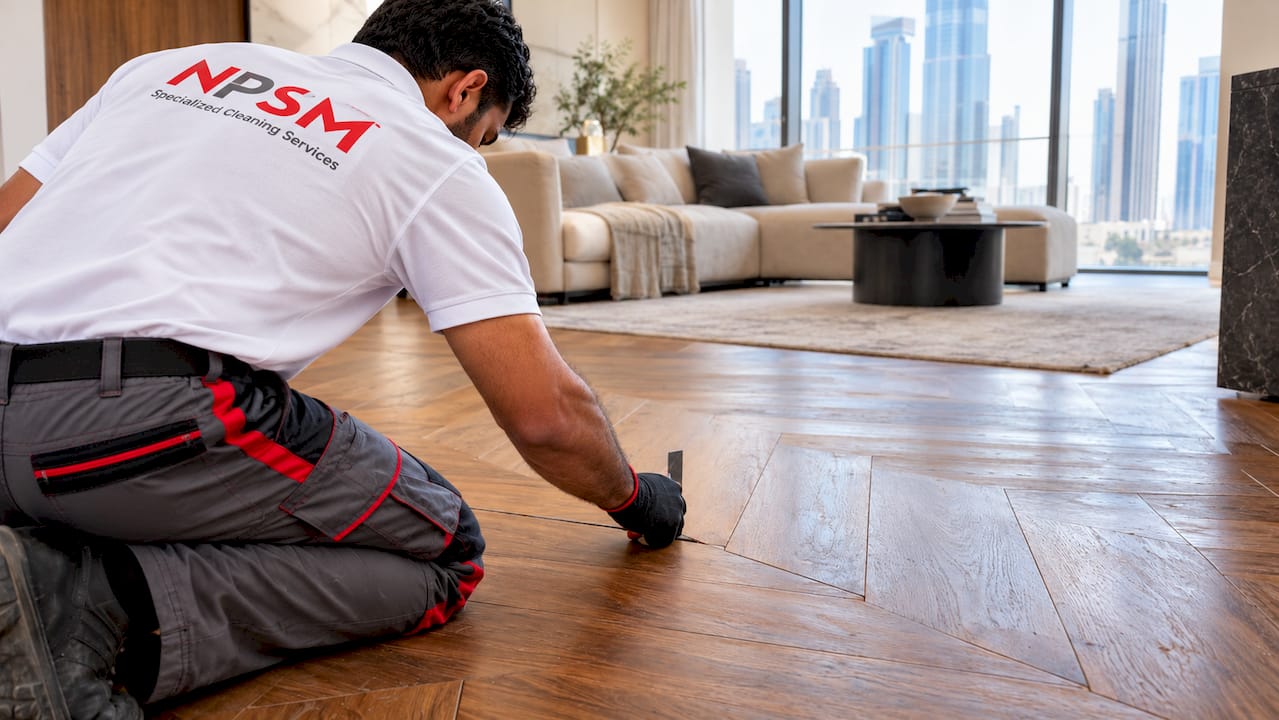

Small seasonal gaps in parquet, generally under a small few millimeters, are normal and tend to close back up when indoor humidity rises. Gaps that stay open year round, keep widening, or appear in a scattered rather than seasonal pattern point to a deeper problem. Start by measuring a few representative gaps and checking indoor relative humidity with a basic hygrometer before you touch any filler or sander.
TL;DR:
Gaps in parquet floors that remain constant during humidity swings are likely due to installation or subfloor issues, not seasonal movement.
Gaps smaller than 3mm should be monitored and may be filled with flexible acrylic filler if persistent, but larger gaps over 6mm usually require professional repair.
Proper inspection involves measuring gaps, checking humidity levels, and assessing subfloor support, ideally by a professional if gaps are extensive or worsening.
Maintaining stable indoor humidity between 30% and 65% can prevent gaps, with consistent temperature and moisture control being crucial.
Avoid rigid fillers in moving joints and always match repair material to gap size, opting for professional intervention when gaps are large or influenced by underlying problems.
Table of Contents
How to inspect and measure gaps in your parquet floor
A proper inspection takes fifteen minutes and tells you whether you are watching normal wood movement or something that needs attention. Gather a few tools first:
-
A ruler, feeler gauge, or set of playing cards (stacked, they make a surprisingly accurate makeshift gauge).
-
A tape measure for mapping where gaps occur across the room.
-
A hygrometer to read indoor relative humidity and temperature.
-
A flashlight and a straight edge to check for cupping, lifting, or an uneven subfloor underneath.
Walk the room and note the pattern. Are gaps concentrated near exterior walls, radiators, or windows, which suggests humidity exposure, or are they scattered randomly, which points more toward installation or subfloor issues? Measure three to five gaps in different areas rather than just the worst one, since a single wide gap next to otherwise tight boards often signals a localized defect rather than a floor-wide seasonal shift.
Test movement by running a humidifier in the room for a few days, or simply during a humid spell, and recheck the same spots. Gaps that visibly narrow are seasonal. Gaps that stay the same size through humidity swings are more likely permanent, tied to how the floor was installed or what is happening underneath it.
Write down your findings: gap width, location, and whether the gap responds to humidity. This record is the single most useful thing you can hand a flooring professional if you end up needing one.
What causes gaps: wood behavior, installation, and environment
Wood is hygroscopic, meaning it absorbs and releases moisture from the surrounding air, swelling when humidity rises and shrinking when it falls. Parquet performs best in an indoor environment of roughly 18 to 24°C and 30 to 65% relative humidity. When relative humidity drops below about 30 to 35%, boards lose moisture content and shrink, and that shrinkage shows up as open joints, cracks, or warping.
Beyond humidity, several other factors contribute to gap formation:
-
Boards that were not acclimated to the room’s conditions before installation, so they continued shrinking after the floor was laid.
-
Floating floors that were fixed to walls, cabinetry, or other built-in objects, which blocks the natural movement the system is designed to allow.
-
Missing or undersized expansion gaps around the room’s perimeter, a common installer shortcut that causes problems months later.
-
An uneven or poorly prepared subfloor that leaves boards unsupported and prone to shifting.
-
Underfloor heating that dries boards faster than normal, especially when it is run without respecting the manufacturer’s temperature limits.
Solid wood, engineered boards, and different species all respond to these pressures at different rates, which is why two floors in the same house can behave differently under identical conditions.
Safe DIY repair options matched to gap size and movement
Match the repair to the gap, not the other way around. Treating a 1mm seasonal gap the same as a 7mm structural one almost always backfires.
-
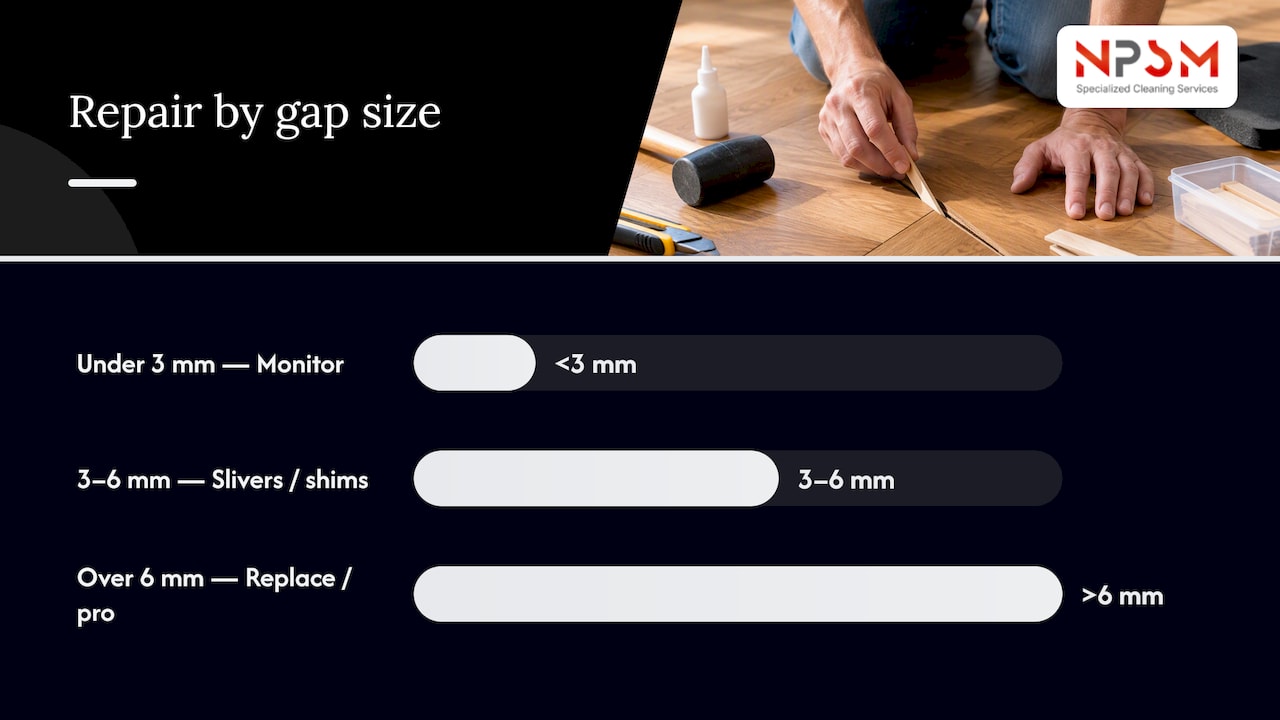
Gaps under roughly 3mm: these usually need monitoring, not repair. Correct the room’s humidity first and recheck after a few weeks. If the gap persists through a humid season, a flexible acrylic or elastomeric seam filler, applied thinly and pressed into the joint, is the safest option because it moves with the wood instead of fighting it.
-
Gaps between 3mm and 6mm: compressible wood slivers or tapered wood shims, glued and lightly sanded flush, work well for stable gaps that do not close seasonally. For a cluster of similar-sized gaps, a controlled, localized sanding pass followed by a finish touch-up often gives a cleaner result than filling each joint by hand.
-
Gaps over 6mm, or ones that keep returning: temporary fillers tend to fail here because the gap is usually a symptom of a subfloor or installation defect, not simple seasonal shrinkage. At this stage, board replacement or a professional reinstallation of the affected section is the more durable fix.
Keep a few shop notes in mind: buy filler in small quantities and test color match on an offcut first, vacuum and dry the joint fully before filling, and never use rigid epoxy or wood putty on a gap that still moves with the seasons. A rigid filler in a moving joint acts like a wedge and can crush or split the surrounding boards when the floor expands again.
Pro Tip: Apply filler at the driest point of the year, when gaps are widest, so the repair has room to compress rather than crack as humidity rises.
When gaps signal a problem that needs a professional
Some gap patterns are not a DIY project, no matter how careful the repair. Watch for these red flags:
-
Gaps that appear across the whole floor at once, not just near a heat source or exterior wall.
-
Visible subfloor material through the joint, or boards that feel soft, spongy, or uneven underfoot.
-
Adhesive squeeze-out between boards, loose boards that rock when pressed, or a section that sounds hollow when tapped.
-
Gaps that widened noticeably within the first year after a new installation.
Professionals check what you cannot see with a ruler: they use moisture meters on the subfloor and screed to catch residual construction moisture, verify subfloor flatness, and inspect whether adhesive or fasteners have failed. Before a site visit, take clear photos of the worst spots, record your own gap measurements and humidity readings, and mark the specific boards you want inspected so the visit is productive from the first minute.
Routine care that keeps gaps from coming back
Holding indoor conditions steady does more to prevent gaps than any repair ever will. Aim for roughly 18 to 24°C and 30 to 65% relative humidity year round, using a humidifier in dry months and ventilation or a dehumidifier when it gets damp. Avoid steam cleaners and wet mopping, since standing water on parquet raises the risk of swelling and finish damage.
-
Clean lacquered floors with a slightly damp mop and a pH-neutral cleaner, never a soaking one.
-
Treat oiled or open-pore finishes with the manufacturer’s initial-care product soon after installation, since it helps seal joints and reduces early gap formation.
-
Confirm your installer left proper expansion gaps at the perimeter and did not fix the floor to any built-in fixtures.
Pro Tip: A simple digital hygrometer costs little and catches dangerous humidity swings weeks before they show up as gaps.
What professional floor assessments actually check
Restoration work on parquet starts with the same questions a careful homeowner asks, just with calibrated tools. A practical threshold many restoration professionals use before recommending large-scale sanding is a board movement guideline in the 2.5 to 3mm range, below which sanding is often unnecessary and above which it becomes worth considering.
Common issues seen in residential installations include:
-
Floors fixed rigidly to thresholds or cabinetry, which blocks the movement a floating system needs.
-
Expansion gaps that were skipped or covered by skirting without a slip layer.
-
Subfloors with uneven moisture readings across a single room, often from inconsistent curing or prior water exposure.
A professional visit typically includes calibrated moisture testing, a subfloor level check, and a decision on whether selective board replacement or a full sand and refinish gives the better long-term result.
Our honest take on DIY versus calling a pro
Our rule of thumb: monitor gaps under 3mm, attempt a careful DIY fix for stable gaps between 3mm and 6mm, and call a professional for anything larger or recurring. Document gap widths and humidity readings from day one. It costs nothing and turns a guessing game into a decision backed by real numbers.
— Qadir
Professional parquet gap repair and restoration
When a gap turns out to be more than seasonal movement, patching it yourself only delays the real fix. Our wooden floor polishing and parquet restoration service includes moisture checks, subfloor assessment, and sanding or board replacement where the joint pattern calls for it, so you get a diagnosis before any product touches your floor. A site visit tells you quickly whether you are dealing with normal shrinkage or an installation issue worth fixing properly. Check our full floor polishing and restoration services to book an assessment.
FAQ
How do I fill gaps in my parquet floor?
For gaps under about 3mm, use a flexible acrylic or elastomeric filler that moves with the wood rather than a rigid putty. For gaps between 3mm and 6mm, compressible wood slivers or tapered shims glued into place and sanded flush give a more durable result.
Is it normal for wood floors to have gaps?
Yes, small seasonal gaps are a normal part of how solid and engineered wood respond to changes in indoor humidity through the year. Gaps that persist through humid months or keep widening are not typical and usually point to an installation or subfloor issue.
What are some common problems with parquet flooring?
The most common issues are seasonal gapping from humidity swings, cupping or warping from moisture exposure, and loose or squeaking boards from subfloor or installation defects. Floating floors that were fixed to walls or cabinetry during installation are another frequent cause of ongoing movement problems.
How can I fill in gaps between my wood floors?
Measure the gap first, since the right material depends on size: flexible seam fillers for hairline to 3mm gaps, and wood slivers or shims for gaps up to about 6mm. Avoid rigid epoxy or wood putty on any gap that still changes size with the seasons, since it can crack or push boards apart as the floor expands again.