
Solid hardwood can almost always be sanded and refinished multiple times, as long as enough wood remains above the tongue. Engineered hardwood can be sanded too, but only when its wear layer is thick enough to survive the process. The practical rule: if the remaining wear layer measures less than a certain thin threshold, sanding is too risky and recoating or board replacement is the safer route.
TL;DR:
Sanding engineered hardwood floors is only safe if the remaining wear layer exceeds the industry threshold of 3/32 inch, roughly 2.5 millimeters.
To assess if sanding is possible, measure in several locations and check for flatness, cupping, or signs of delamination that may reduce safe refinish options.
Fully refinishing is suitable only if the wear layer is thick and the surface is stable, while recoating or partial replacement are alternatives for thinner, damaged, or textured surfaces.
Professional inspection and measurement are recommended when the wear layer is near the threshold or if surface irregularities or damage are visible.
A wear layer of 4 millimeters or more in premium engineered flooring provides refinishing flexibility akin to solid hardwood, unlike thinner veneers.
Table of Contents
-
How construction differs: why solid and engineered behave differently when sanded
-
Professional perspective: when to call in a floor restoration specialist
How construction differs: why solid and engineered behave differently when sanded
Solid hardwood is a single piece of timber, typically 3/4 inch thick, milled with a tongue-and-groove edge. That thickness gives it a deep sanding reserve: most solid floors can handle several full refinishes over their lifetime, since each sanding only removes a thin layer of surface wood.
Engineered hardwood is built differently. A real wood wear layer sits bonded on top of a plywood or high-density fiberboard core. That wear layer is what gets sanded, and it varies widely by product:
-
Budget engineered lines often use wear layers around 1.2 to 2 millimeters, too thin for more than a light touch-up.
-
Mid-range products typically run 2 to 3 millimeters.
-
Premium engineered floors can reach 4 millimeters or more, giving them a sanding reserve that starts to rival solid wood.
The core material below the wear layer is not real wood in the traditional sense, so once sanding reaches it, the floor is effectively ruined at that spot. This is why engineered floors are not a single category when it comes to refinishing. A thin-veneer product and a premium 4mm-plus product behave almost nothing alike under a sander, even though both are labeled “engineered.” The thickness of that top layer, not the brand or the price tag alone, decides what a sander can safely do.
Wear-layer thresholds and measurement: the technical limits
The industry threshold that most flooring professionals work from comes from NWFA guidance: do not sand a floor when the remaining wear layer is less than 3/32 inch, roughly 2.5 millimeters. That figure refers to the wood remaining above the tongue after any prior sandings, not the total board thickness including the core.
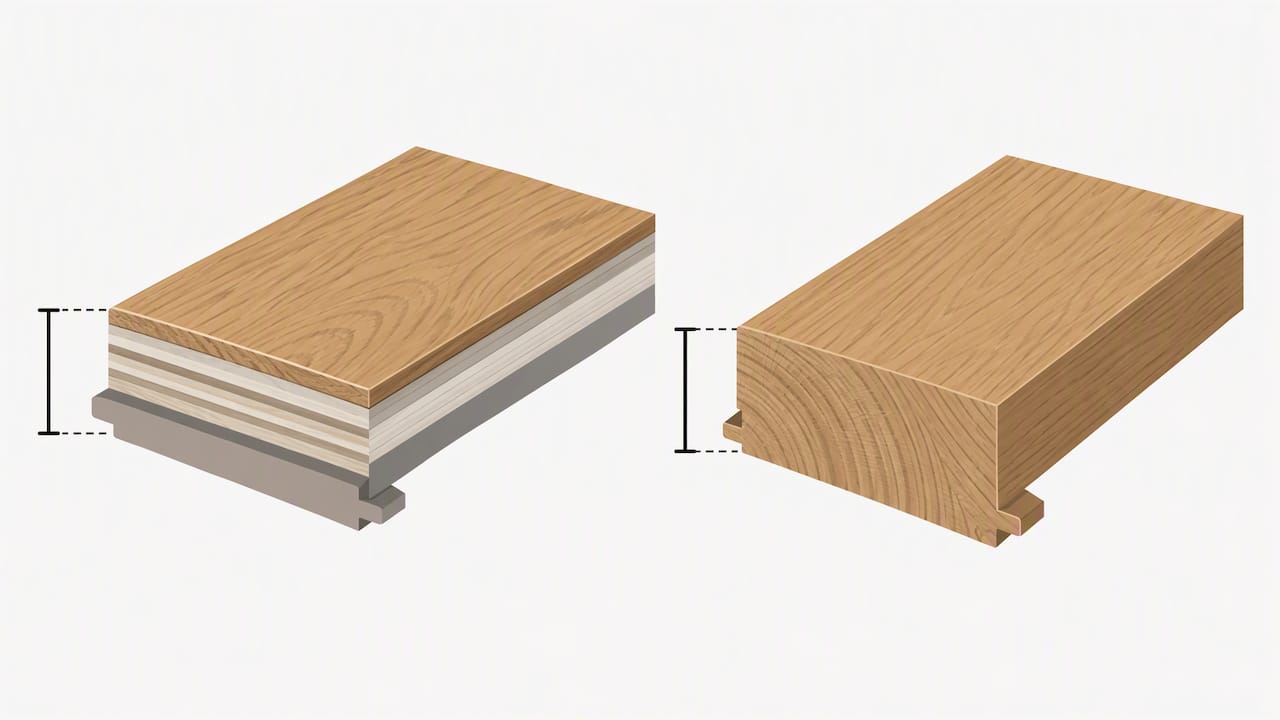
A floor with a remaining wear layer below the recommended minimum thickness should not be sanded, since there is not enough real wood left to remove and refinish without exposing the core underneath.
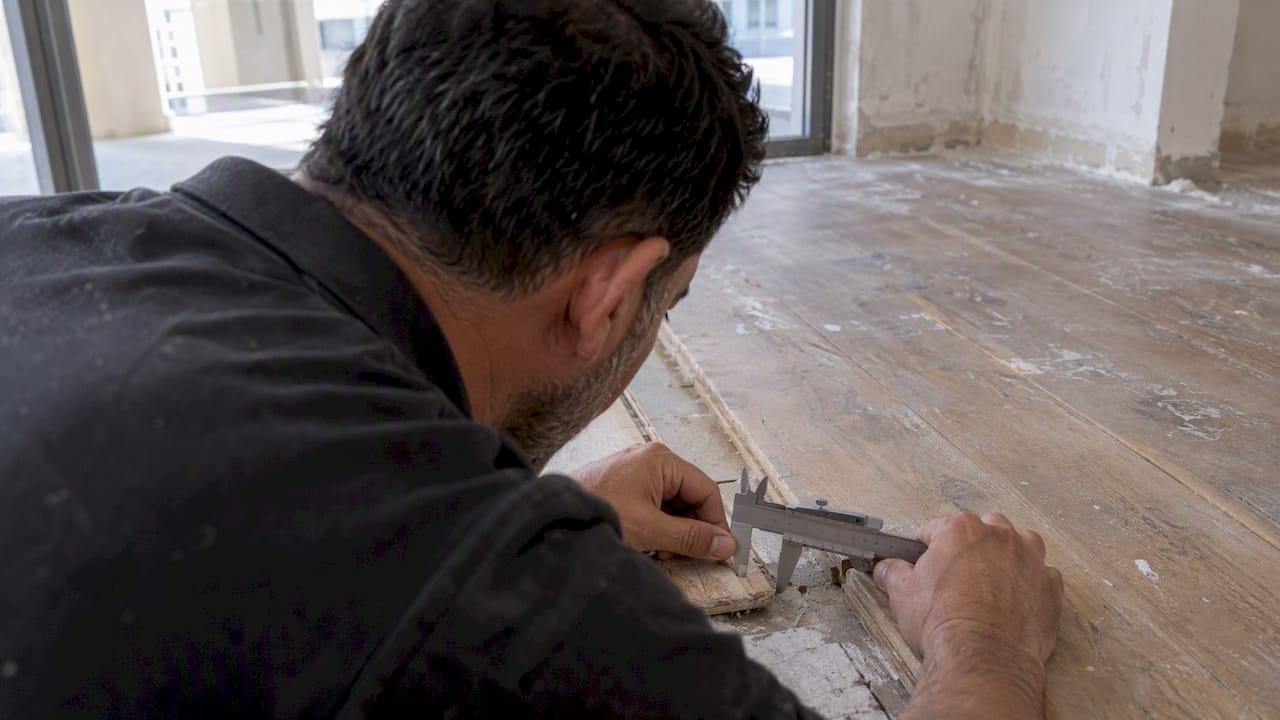
Before deciding anything, verify the numbers yourself:
-
Locate the original product specification from a purchase receipt, box label, or manufacturer documentation, since this lists the as-installed wear-layer thickness.
-
If no paperwork exists, lift a floor vent cover, a register, or a board edge near a closet to measure the exposed cross-section directly.
-
Measure in several spots, especially near doorways, under furniture traffic paths, and in any area that has been sanded before, since wear is never perfectly even.
-
Note whether the floor has already been through one or more refinishes, since each pass removes material and shrinks what remains.
Flatness complicates the picture further. Cupping, prior uneven sanding, or early signs of delamination at the seams can all mean a floor is thinner at its low points than a single center measurement would suggest. Textured or wire-brushed surfaces are especially deceptive, since the lowest point of the texture, not the average surface, is what determines whether a sander will cut through.
A practical decision sequence: inspect, measure, choose
Rather than guessing, work through the same sequence a flooring technician would use before committing to a full sand.
-
Confirm construction. Check whether the floor is solid or engineered by examining a cut edge, a vent opening, or asking the original installer or retailer if records exist.
-
Measure the remaining wear layer. Take readings in several locations, paying attention to high-traffic zones and any area that shows previous sanding marks.
-
Check flatness and damage. Look for cupping, soft spots, lifting edges, or signs of delamination between the wear layer and the core, since these change what is safe to do even if the thickness measurement looks acceptable.
-
Match the result to an outcome. A wear layer comfortably above 3/32 inch with a flat, stable surface usually clears sanding. A thinner layer, a textured surface near its lowest point, or visible delamination points toward recoating or replacing individual boards instead.
Pro Tip: Keep a written record of every measurement and photo you take, since it becomes useful evidence if you later call in a contractor for a second opinion.
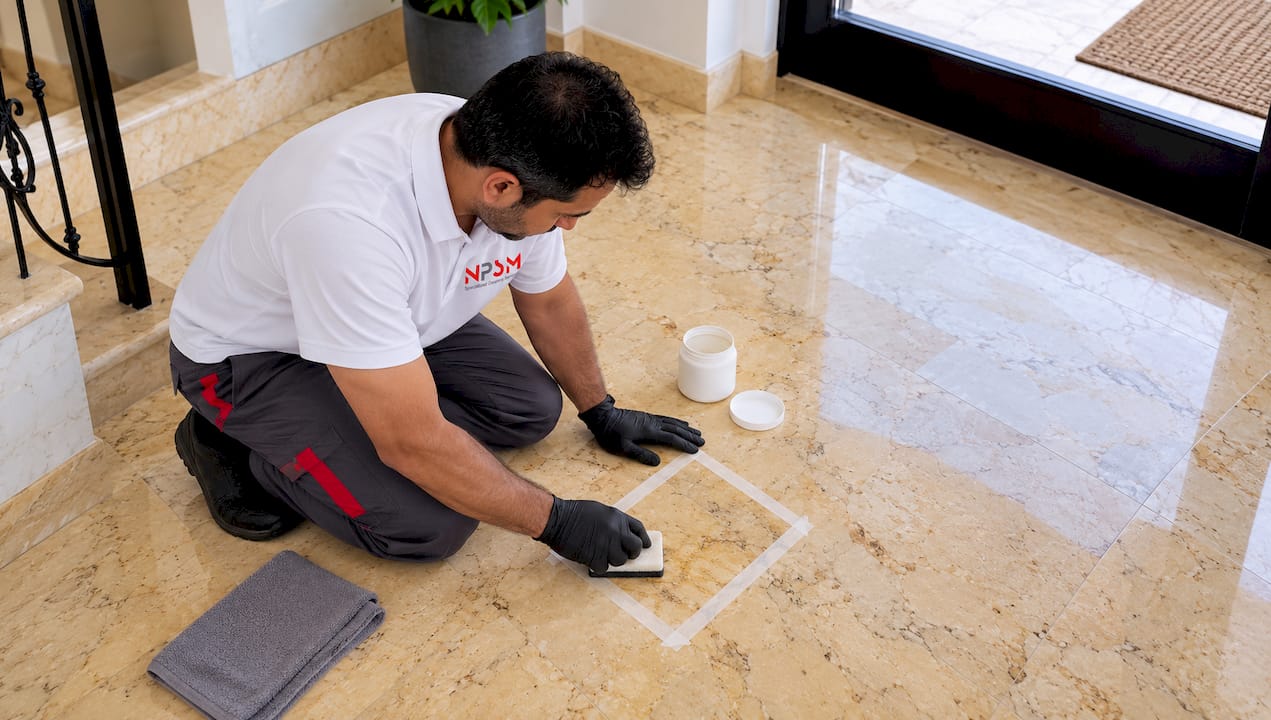
Recoating works when the existing finish is worn but the wear layer itself is intact, since it adds a fresh topcoat without removing wood. Partial board replacement suits isolated damage, such as water stains or deep scratches confined to a few boards, without disturbing the rest of the floor. Full sanding and refinishing is reserved for floors that pass both the thickness and flatness checks, since it is the most effective option but also the least forgiving of a bad measurement.
What professional sanding and refinishing work involves
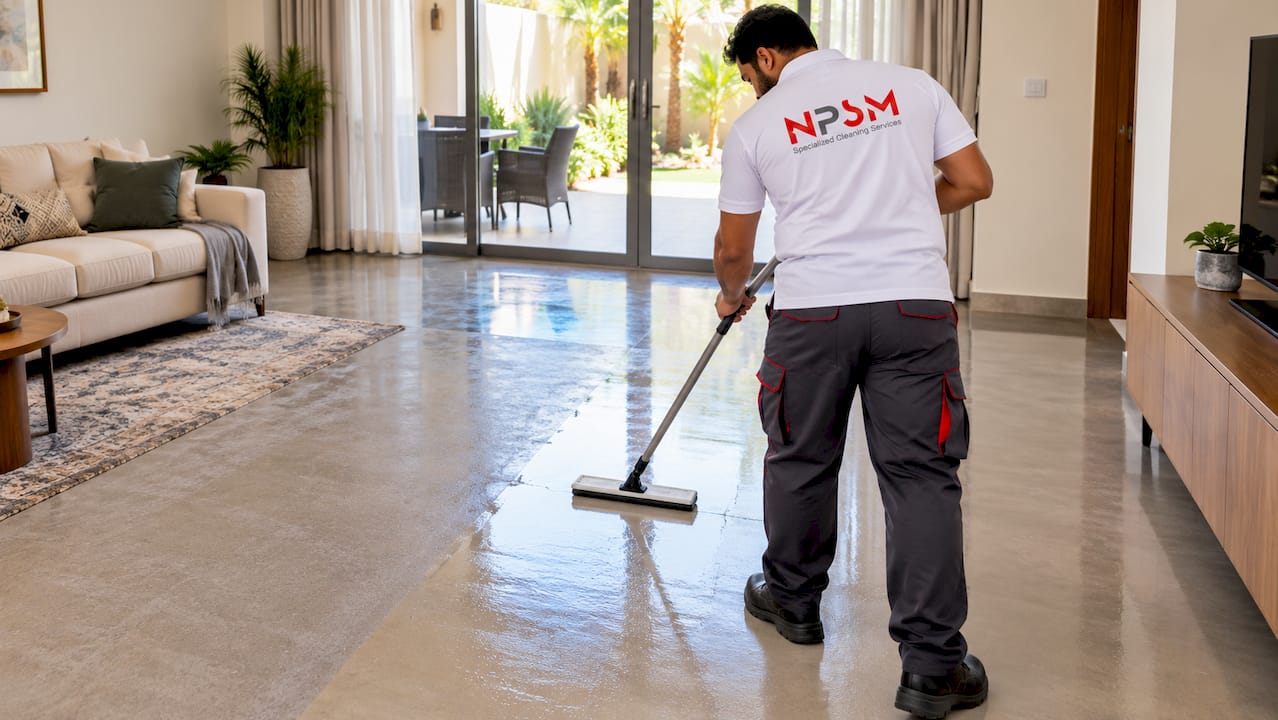
Professional refinishing follows a sequence that is hard to replicate with a rented sander and no experience. Technicians typically work coarse-to-fine grits across several passes, use an edger to reach baseboards and corners the main sander cannot cover, and rely on dust extraction systems, often called dustless sanding, to pull debris as it is cut rather than letting it settle across the room.
Flatness checks happen throughout the job, not just at the start, since a sander that digs in unevenly on a cupped board can remove more material in one spot than another.
-
Coarse grits remove the old finish and level the surface, while progressively finer grits erase sanding marks before the finish goes on.
-
Edgers and detail sanders handle the perimeter, stairs, and tight corners that a drum sander cannot reach safely.
-
Dust extraction keeps the job cleaner and reduces the fine wood dust that settles into HVAC systems and furnishings.
Engineered floors raise the stakes on every one of these steps. Sanding through a thin veneer takes only a few extra passes with the wrong grit, so matching abrasive choice to wear-layer thickness matters more than on solid wood. Finish choice affects how the floor ages afterward: oil-based polyurethanes tend to need less frequent recoating than water-based finishes, while penetrating oils require more regular maintenance but are easier to spot-repair.
Professional perspective: when to call in a floor restoration specialist
Some situations are worth a professional inspection before any sander touches the floor. Some companies offer wooden floor sanding and polishing as part of restoration services, using measurement-based assessment rather than guesswork before recommending a sanding job.
Specialist input is worth seeking when:
-
The measured wear layer sits close to the 3/32 inch threshold, where a small error in measurement changes the outcome.
-
The floor has a textured, hand-scraped, or wire-brushed surface, since the true low point is hard to judge by eye.
-
There are early signs of delamination between the wear layer and the core, visible as lifting or separation at the seams.
-
The floor sits over radiant heating, which can affect how the wood responds to sanding and refinishing.
Before hiring anyone, ask how they measure wear-layer thickness, whether they can show evidence of that measurement, what the floor’s sanding history looks like, and which finish they recommend for the result you want.
How we can help with inspection and restoration
If you are unsure whether your floor can be safely sanded, a measurement-based inspection settles the question faster than guesswork. Some providers offer wooden floor sanding and restoration services that start with checking construction type, wear-layer thickness, and surface flatness before recommending a path forward.
-
An initial visit confirms whether your floor is solid or engineered and measures the remaining wear layer in several spots.
-
You get a straightforward recommendation: full sanding, recoating, or partial board replacement, based on what the measurements actually show.
-
A quote and timeline follow once the inspection is complete, so there are no surprises mid-job.
For engineered or solid floors alike, our wooden floor sanding and refinishing services cover the inspection through to the finished surface. Browse the full range of restoration work on our services page if your project also touches marble, tile, or stone.
Sources and further reading
-
NWFA guidance, published through Hardwood Floors Magazine, outlines the 3/32 inch wear-layer threshold and the inspection sequence used throughout this guide
-
Quality Hardwoods’ comparison explains construction differences between solid and engineered products and where premium wear layers close the gap.
Author perspective and next steps
The floor question almost always comes down to one number: how much real wood is left above the core. Solid wood gives you more room for error. Engineered wood demands an actual measurement before you decide anything, since guessing from the product name alone gets people into trouble.
If your reading sits anywhere near the 3/32 inch line, or the surface shows cupping, texture, or early delamination, get a second set of eyes before a sander comes near it. Measure first, document what you find, and treat a close call as a reason to call a professional rather than a reason to risk it.
— Qadir
FAQ
Can engineered wood floors be sanded and refinished?
Yes, but only when the remaining wear layer is thick enough, generally above 3/32 inch (about 2.5 mm). Thin veneers around 1.2 mm cannot handle sanding, while premium wear layers of 4 mm or more often can be refinished much like solid wood.
Which is better, solid or engineered wood flooring?
Solid wood offers more total sanding capacity over its lifetime, since there is simply more wood above the core to remove and refinish. Engineered wood offers better dimensional stability and installation flexibility, so the better choice depends on whether you expect to refinish repeatedly or prioritize moisture resistance.
Can engineered timber floors be sanded?
Engineered timber floors can be sanded if the wear layer measures above the recommended 3/32 inch threshold and the surface is flat with no delamination. Textured or wire-brushed finishes need extra care, since their lowest points determine whether a sander will cut through to the core.
What are some reasons people get frustrated with engineered wood floors?
Common frustrations include discovering too late that a thin wear layer cannot be sanded, or that a textured surface makes measurement harder than expected. Delamination at the seams and limited refinishing options on budget products are other reasons owners feel misled about what engineered wood can handle long term.