
White marble most often turns yellow because of oxidizing iron minerals, aged wax or resin coatings, acidic cleaners, or trapped moisture working beneath the surface. Most of these cases respond well to professional restoration, though deep metallic staining can sometimes be permanent. Start with a visual check of the pattern and location, then arrange a test patch or professional inspection before trying any strong chemical fix.
TL;DR:
Yellow or brown streaks near metal fixtures suggest iron oxidation, while a uniform film points to coating buildup and haze near grout suggests moisture.
Before treatment, ask for an inconspicuous test patch and pH checks; mineral variation between slabs can make a familiar chemical treatment unsafe.
Poultices draw stains from porous marble but need 24 to 48 hours per application, may require repeats, and can fail on deep rust.
Request an itemized written quote that separates testing, repairs, polishing, and sealing, and confirm the curing period before returning the floor to normal use.
Use pH neutral stone cleaner, dry floors after washing, and avoid acids, abrasive powders, and DIY wax that can etch marble or leave residue.
Table of Contents
Common Causes of Yellowing and How to Spot Them
Yellowing rarely has one single cause, so the pattern on your floor tells you a lot about what you’re dealing with.
-
Oxidation from iron-bearing minerals shows up as yellow-brown streaks or blotches, often near metal fixtures, drains, or plumbing fittings where rust can migrate into the stone.
-
Organic inclusions trapped in the stone during formation can darken over time, appearing as faint yellow or brown veining that was barely visible when the floor was new.
-
Aged wax, resin, or topical coatings produce a more uniform yellow film across the surface rather than isolated spots, since the coating itself is discoloring rather than the stone underneath.
-
Dirty mop water and wax buildup from repeated cleaning leave a dull yellow residue that sits on top of the marble and can often be distinguished with a careful wipe test using a clean, damp cloth.
-
Moisture-driven problems, including efflorescence and subsurface salts, create a hazy or powdery yellow-white bloom, usually near grout lines, baseboards, or areas with poor drainage underneath.
A quick way to narrow things down: check if the yellowing follows metal objects (oxidation), sits as a flat film (coating), or appears near water sources and grout (moisture). Smell matters too. A faint chemical odor often points to an old sealer rather than a mineral stain.
How Professionals Diagnose Yellowing Before Treatment
Diagnosis matters more than treatment speed, because the wrong chemistry on the wrong stain can make yellowing worse or permanent.
-
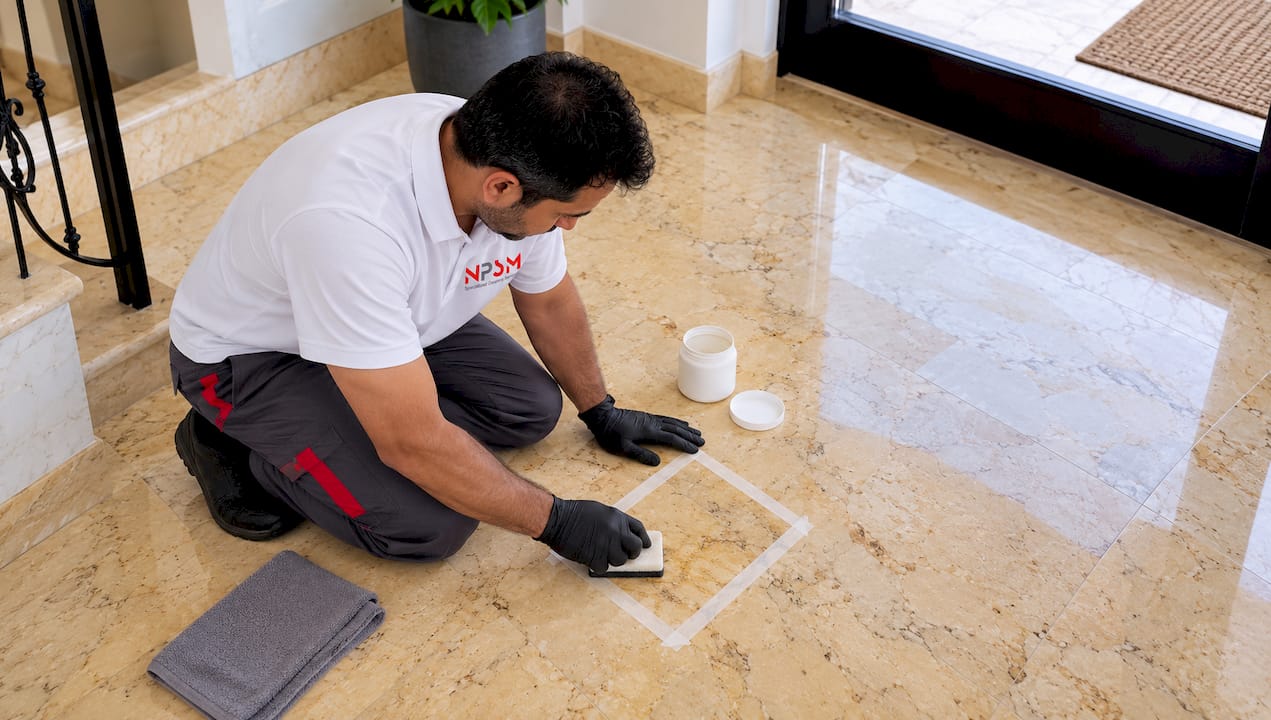
We run a small test patch, often around six inches by six inches, in an inconspicuous spot to compare how different methods react on that specific slab.
-
We check the pH of the stone and any residue, since many chemical treatments require neutralization afterward to stop ongoing reactions.
-
We classify the stain by type, oil, organic, metal, resin, efflorescence, or etching, and match the treatment to that category rather than guessing.
-
For embedded minerals or complex multi-layer coatings, we sometimes recommend lab testing to confirm composition before committing to a full-scale treatment.
Pro Tip: Never skip the test patch, even when a stain looks identical to one you’ve treated before; mineral content can vary slab to slab in the same floor.
Restoration Methods: What Each One Actually Does
Once the cause is identified, the right fix depends on how deep the discoloration sits and whether it’s in the stone or on top of it.
-
Poultice extraction draws stains out of porous stone using an absorbent paste mixed with a targeted reagent, left to dry for roughly 24 to 48 hours before being removed; it often needs repeat applications and may not fully lift deep metallic rust.
-
Polishing restores gloss on a surface that’s dull but structurally sound, using progressively finer abrasives or polishing powders and creams to bring back shine after a stain or light etch has been addressed.
-
Honing creates a smoother, lower-sheen finish and removes light surface wear, which is useful when polishing alone won’t correct uneven texture.
-
Multi-stage diamond grinding removes a thin layer of damaged material entirely, which becomes necessary for deep etching, lippage between tiles, or stains that have penetrated beyond what a poultice can reach.
-
Sealing follows most restoration work. Impregnating sealers soak into the stone and resist staining without changing its appearance, while topical film-forming sealers sit on the surface and can themselves yellow or trap moisture over time, sometimes complicating future restoration.
It’s worth setting realistic expectations early. Some deep iron stains or long-neglected etching may never fully disappear, and in rare cases replacing the affected slab is more practical than continued treatment. A poultice guide from Chisel Granite walks through the mixing and dwell process in more detail for readers who want to understand the mechanics before calling a professional.
What to Expect for Cost and Timeline in Dubai
Pricing depends heavily on scope, so it helps to know what separates a light refresh from a full restoration.
Routine marble polishing in Dubai is commonly planned within a certain price range per square meter, while grinding and full restoration can cost more, depending on repairs, according to planning figures from a Dubai marble polishing cost guide. Area size, the number of repairs needed, access constraints, and grout or joint work all push the price toward the higher end of that range.
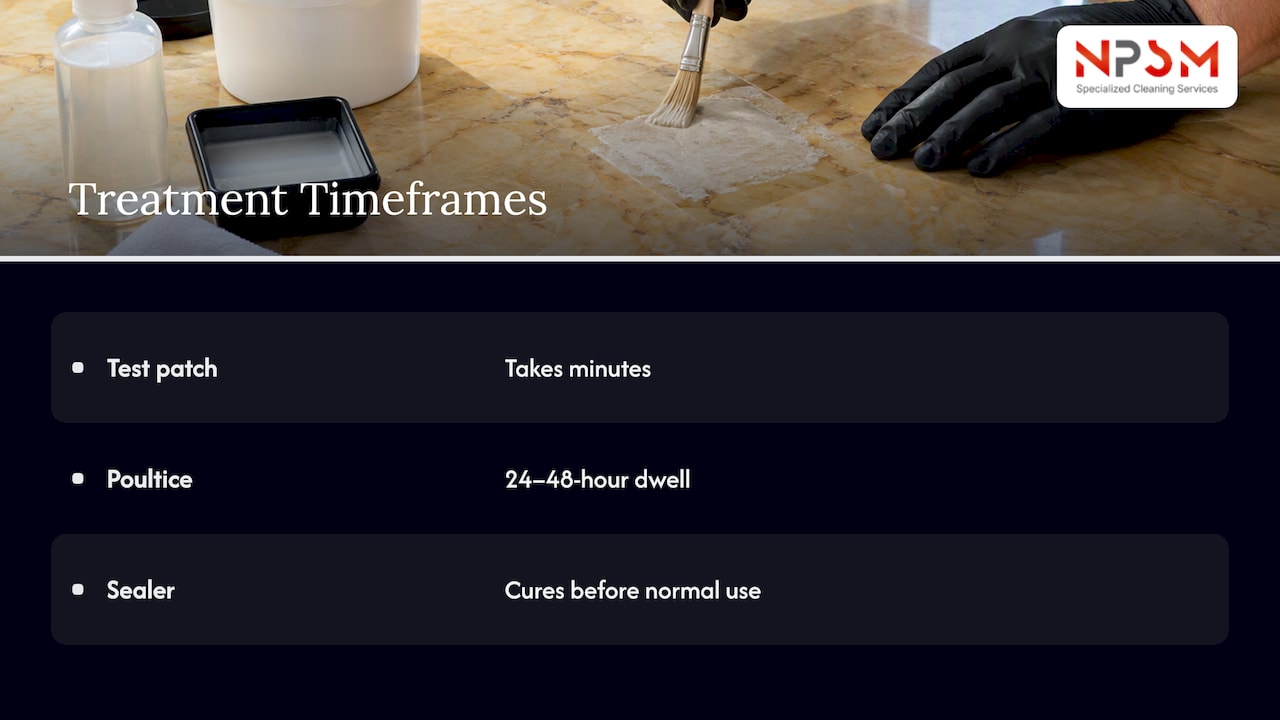
Timelines vary with method. A test patch takes minutes, but poultice treatments need their full 24 to 48 hour dwell time, and sealers typically require a curing period before the floor returns to normal use. Ask any contractor for an itemized written scope that separates testing, repairs, polishing, and sealing as distinct line items rather than one lump sum.
Preventing Yellowing With Routine Marble Care
Most yellowing is preventable with consistent habits rather than occasional deep cleans.
-
Dust-mop regularly to remove grit before it scratches the surface, then clean with a pH-neutral stone cleaner and rinse thoroughly, drying the floor instead of letting water sit.
-
Avoid acidic cleaners entirely, including lemon-based products and vinegar, since these etch calcareous stone and accelerate discoloration.
-
Skip abrasive powders and DIY wax coatings, which build up residue and often cause the dull yellow film homeowners mistake for stone damage.
-
Use mats at entrances and coasters under plants or appliances, clean up spills promptly, and control indoor humidity where possible to limit moisture migration.
-
Apply an impregnating sealer on a schedule suited to your traffic levels, understanding that sealers slow staining but don’t make marble stain-proof.
Pro Tip: Keep a soft microfiber mop dedicated to marble floors only, since the same mop used on tile or vinyl can carry residue that dulls polished stone over time.
When DIY Isn’t Enough and What to Ask a Pro
Some situations call for professional attention rather than another round of home remedies.
-
Widespread yellowing across large sections, rather than isolated spots, usually signals a coating or moisture issue beneath the surface.
-
Rust-colored stains that don’t respond to gentle cleaning often indicate oxidation that needs targeted poultice treatment.
-
Etching that won’t buff out with a basic cleaner, visible efflorescence, or noticeable lippage between tiles are all signs that grinding or professional-grade restoration is the right next step.
When you do call a professional, ask for a test patch before full treatment, a written scope broken into clear stages, and separate pricing for repairs versus standard polishing, plus photos of the mockup result before work proceeds.
A Restoration Specialist’s Take on Yellowing Marble
Most yellowing I see traces back to one of a few repeat offenders: an old wax coating nobody remembers applying, or acidic cleaner used out of habit. The instinct to reach for a strong chemical right away is understandable, but it’s almost always the wrong move before a test patch confirms what you’re dealing with. Document the pattern, test gently first, and send photos for a written scope before committing to anything irreversible.
— Qadir
Get a Professional Marble Assessment
Marble restoration is best handled as a staged process: diagnostic test patches first, then poultice stain removal, polishing or grinding as needed, and sealing to protect the result.
-
Diagnostic test patches to identify the gentlest effective method for your specific stone
-
Poultice-based stain extraction for oxidation, organic, and metal stains
-
Multi-stage polishing or grinding for dull, etched, or heavily worn surfaces
-
Sealing and minor repairs to complete the restoration and protect against future staining
A site visit or photo review ends with a written scope, a mockup where useful, and an itemized quote so you know exactly what you’re paying for before work starts. Our marble polishing and restoration services page has more detail, or you can request an assessment directly to get a clear plan for your floor.
FAQ
Can marble be permanently stained?
Yes, deep metallic or oil-based stains can become permanent, especially if they’ve had time to penetrate or if the wrong cleaning chemical was used first. A professional test patch is the best way to find out whether a stain will respond to poultice treatment before assuming it’s permanent.
Where can I find marble polishing services in Dubai?
Professional marble polishing and restoration services are available through specialists who offer test patches, poultice stain removal, and grinding or sealing as part of a written scope. Our marble polishing services page outlines the process and service areas.
Can I use Dawn dish soap to clean my marble shower?
Dish soap is not formulated for stone and can leave residue or gradually affect the surface finish with repeated use. A pH-neutral stone cleaner is the safer routine choice, as recommended in general stone care guidance.
What should you not clean marble with?
Avoid acidic cleaners like vinegar or lemon-based products, along with abrasive powders and bleach, since these etch the surface and can trigger or worsen yellowing. Stick to pH-neutral, non-ionic cleaners made for polished stone.