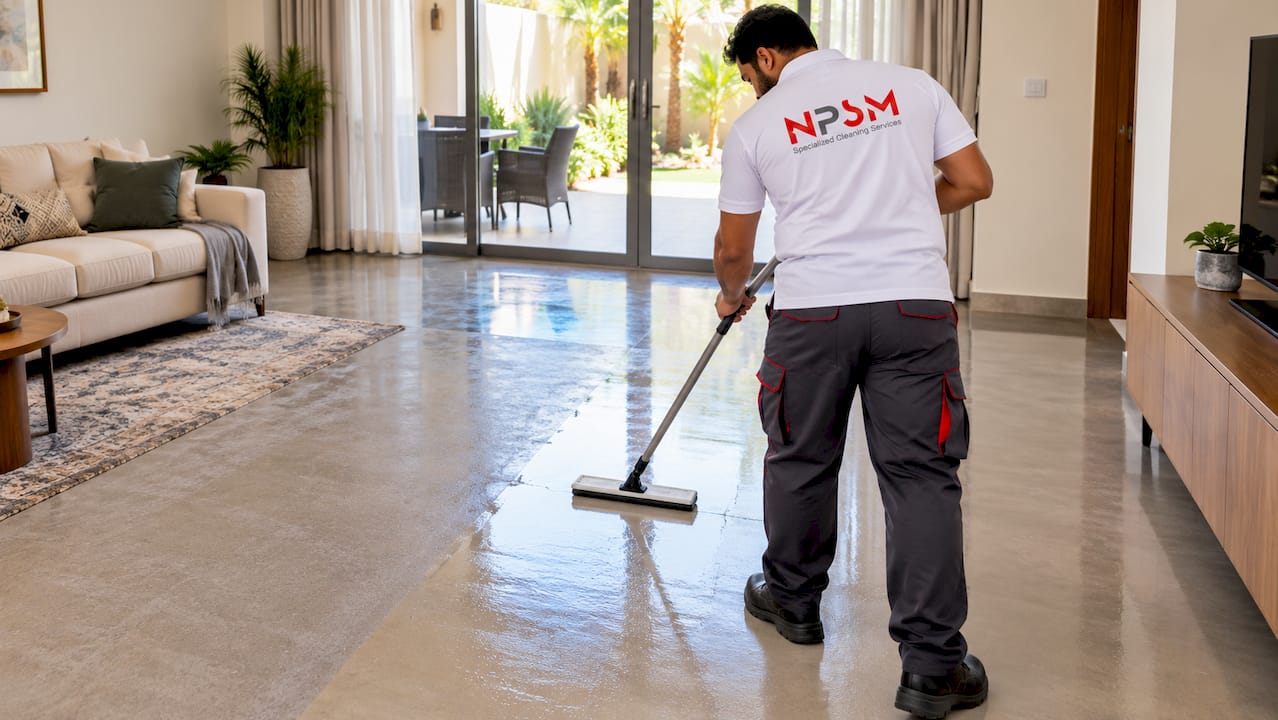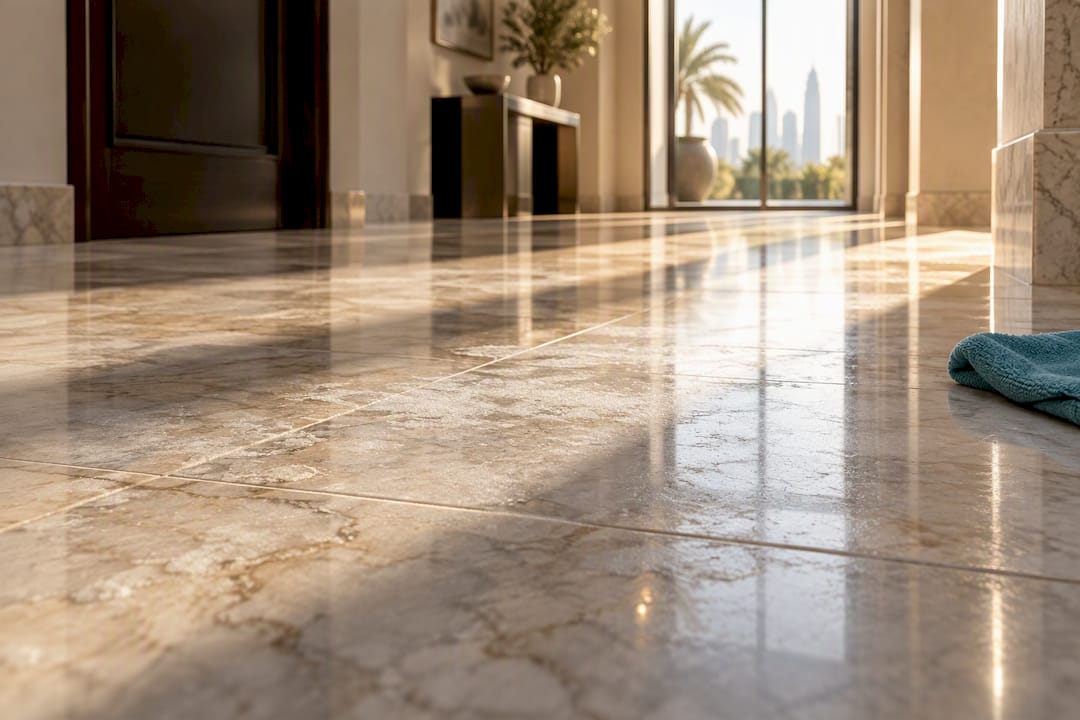

Most dull marble comes down to five culprits: surface abrasion from grit, acid etching from the wrong cleaner, absorbed stains, mineral haze from hard water, or a worn sealer that’s stopped doing its job. The immediate move is simple: stop using vinegar, bleach, or “all-purpose” cleaners today. Switch to dry dust-mopping, and test any product on a hidden six-inch patch before it touches the whole floor. If you see deep scratches, cloudy patches spreading across a large area, or stains that won’t budge, that’s your cue to call a restoration professional instead of reaching for another home remedy.
TL;DR:
Home cleaning should focus on regular dust-mopping, avoiding acids, and testing products on a hidden patch to prevent worsening damage.
Surface haze, deep scratches, or persistent stains indicate the need for professional restoration involving controlled grinding and polishing.
Diagnosing issues correctly requires tests like water-bead, reflection, and patch inspections to distinguish etching, abrasion, or mineral buildup.
DIY solutions work only for light dullness; deeper etching or structural damage require expert equipment and skill to prevent further harm.
Consistent maintenance includes sealing every 8 to 12 months, quick spill cleanup, and avoiding acidic cleaners to extend the marble’s shine and lifespan.
Table of Contents
What’s Actually Causing Your Marble Floor to Lose Its Shine
Marble is calcium carbonate, essentially compressed limestone, which makes it soft compared to granite or quartz. That softness is exactly why it takes such a beautiful polish, and exactly why it dulls faster than harder stones under the wrong conditions. Once you know what you’re looking at, fixing it gets a lot less confusing.
-
Abrasion and micro-scratches. Sand, dirt, and grit tracked in on shoes act like sandpaper under foot traffic. You won’t see one big scratch; you’ll see thousands of tiny ones scattering light instead of reflecting it, which is why entryways and hallways dull first.
-
Acid etching. Citrus juice, vinegar, wine, and many “natural” cleaners contain acids that react with calcium carbonate almost instantly. Etching leaves a dull, matte spot with no discoloration; it’s a chemical burn on the stone’s surface, not a stain.
-
Stains. Oil-based stains (cooking grease, cosmetics), organic stains (coffee, tea, fruit), metal stains (rust, copper), and biological growth (mold, algae) all penetrate marble’s porous surface differently, and each needs a different removal approach.
-
Mineral and hard-water buildup. Water left to air-dry leaves behind calcium and magnesium deposits that create a cloudy film. In some cases, salts migrate up through the stone itself and crystallize on the surface as a powdery haze called efflorescence.
-
Worn coatings and uneven wear. Old topical sealers or waxes break down unevenly, and UV exposure near windows or wear patterns under furniture and rugs create shine that looks patchy rather than uniformly dull.
Airborne pollutants play a role too. A 2026 study published in npj Heritage Science found that acidic gases like nitrogen oxides and sulfur dioxide can degrade carbonate stone through gas adsorption and capillary condensation, meaning your marble can lose luster from indoor air quality alone, with no spill ever touching it.
How to Diagnose the Problem Safely Before You Touch It
Figuring out which cause you’re dealing with matters more than any product you buy, because treating an etch mark like a stain (or vice versa) wastes time and can make things worse.
-
Look at the texture, not just the color. Uniform haze across a walked path with faint linear scratches usually means abrasion. Isolated matte spots with sharp edges, especially near the kitchen island or bar cart, are almost always etching.
-
Run the water-bead test. Drop water on the surface. If it beads up, the sealer is intact. If it soaks in and darkens the stone within a minute, your sealer has worn through and moisture is getting into the pores.
-
Try the reflection test. Stand a few feet back and look at how light bounces off the surface. Sharp, mirror-like reflections mean the polish is largely intact; blurry or scattered reflections point to widespread micro-abrasion.
-
Check for a film versus a scratch. Films from mineral buildup or old wax residue often wipe partially clear with a damp microfiber cloth. True etching and scratching won’t change no matter how much you rub.
-
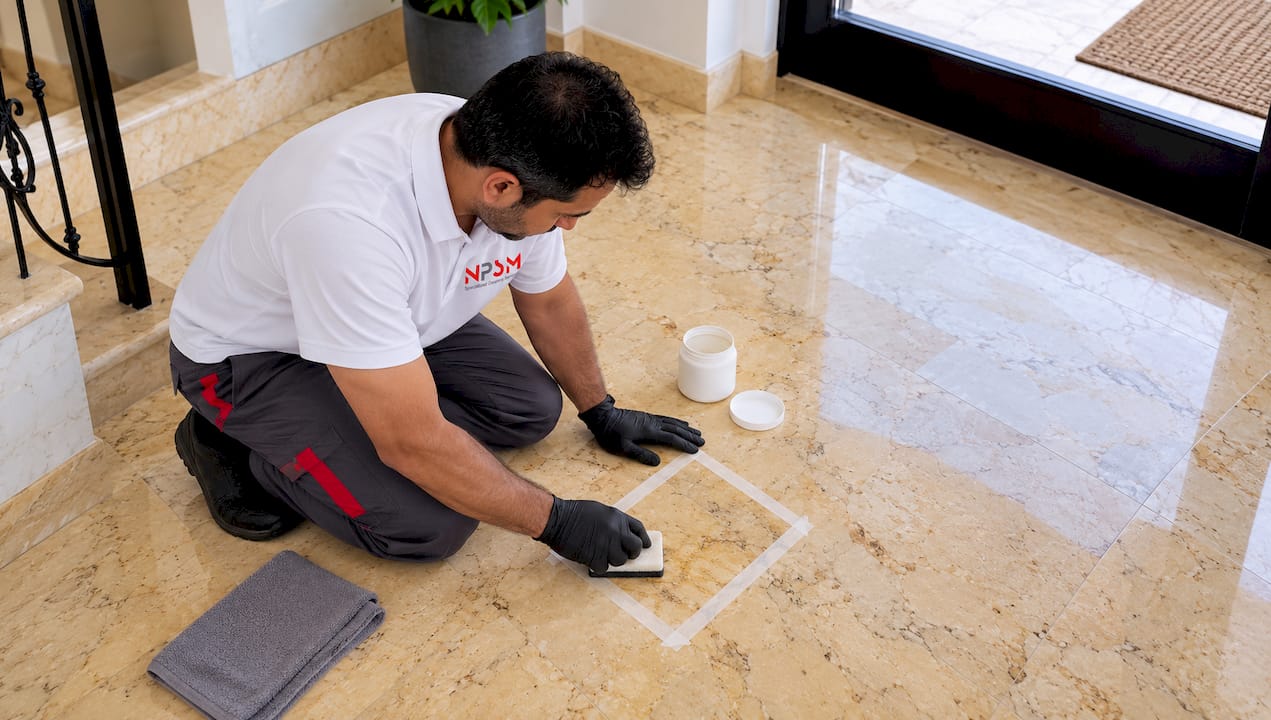
Always test in a hidden six-inch by six-inch patch before applying any cleaner, poultice, or polishing powder to the visible floor. Document what happens and wait the full recommended time before judging the result.
Pro Tip: Take a photo of your test patch under the same lighting you use daily. Marble often looks fine under bright overhead light but reveals haze and etching clearly in raking light from a low angle, like late afternoon sun through a window.
Watch for red flags that go beyond surface cleaning: a substrate that feels damp to the touch, powdery white deposits reappearing days after cleaning (efflorescence), or discoloration that seems to be coming from underneath the stone. Those point to moisture or salt issues below the surface, and no amount of home polishing will solve them.
Safe DIY Steps to Bring Back the Shine
For light to moderate dullness, you can make real progress at home if you stay disciplined about what you use and how much pressure you apply.
-
Handle spills immediately. Blot liquids with a paper towel; never wipe, which spreads acidic liquid across a wider area. Rinse with plain water and dry with a soft cloth right away.
-
Deep clean with a pH-neutral solution. Mix a stone-safe, pH-neutral cleaner with distilled or potable water. Mop in small sections, changing the rinse water often so you’re not redepositing dirt, then dry thoroughly with a clean towel. A wash-and-rinse method has been shown to reduce surface bacteria by more than a 5-log count on marble without any harsh acids involved, so there’s no hygiene reason to reach for bleach.
-
Clear haze and film with repeated rinse-and-buff passes. Use a soft microfiber cloth in overlapping circles rather than an abrasive pad, which can add new micro-scratches while you’re trying to remove old ones.
-
Treat stains with a poultice matched to the stain type. Oil stains need an absorbent poultice with a solvent; organic stains often respond to a mild alkaline poultice. Apply, cover with plastic, tape the edges, and let it sit 24 to 48 hours before checking results. Repeat only if the stain has visibly lightened.
-
Address light etching with marble polishing powder. Dampen the etched spot, apply a small amount of polishing powder, and buff with a soft cloth or low-speed buffer in a test patch first. Light etches often respond well; deeper ones will not.
Skip the DIY route entirely if you’re looking at deep scratches you can catch a fingernail on, etching spread across a large area, cracks, or any sign of substrate moisture. At that point you’re managing a structural issue, not a cosmetic one, and pushing harder with more polishing powder usually just spreads the damage. Our complete guide to polishing marble floors walks through the process in more detail if you want to attempt a larger area yourself.
When to Call In a Professional Restoration Team
Some situations are simply outside what a bottle of polishing powder and a microfiber cloth can fix.
-
Sheen still looks uneven or patchy after a proper neutral clean.
-
Scratches deep enough to catch a fingernail, or visible chips and cracks.
-
Etching that covers a large section of floor rather than a few isolated spots.
-
Stains that return after poulticing, or that seem to be spreading.
-
Efflorescence, persistent dampness, or a musty smell coming from the stone itself.
Professional restoration follows a specific sequence: an on-site assessment, a six-inch test patch to confirm the gentlest method that will work, then controlled grinding or honing with graded diamond abrasives, multi-step diamond polishing, sealing, and full neutralization with wastewater extraction so no residue or runoff is left behind. That last step matters more than people realize. GSA technical procedures for historic marble specifically call for choosing the gentlest effective method first and fully neutralizing and rinsing the surface afterward, because skipping neutralization can leave chemical residue that causes new etching weeks later. The equipment and training required to grind marble evenly, without thinning the stone unevenly or leaving swirl marks, is the real reason professional work costs more than a bottle of polishing compound. For a clearer picture of what separates the two approaches, see how marble polishing compares to marble grinding.
A Maintenance Schedule That Actually Keeps Marble Shiny
Prevention is cheaper than restoration, and the routine is less demanding than most homeowners assume.
-
Daily or every few days: Dust-mop to remove grit before it gets ground into the surface. Place walk-off mats at every entrance and felt pads under furniture legs.
-
Weekly to monthly: Clean with a pH-neutral, stone-safe cleaner. Check grout lines and joints for early signs of staining, and wipe up any spill the moment it happens rather than letting it sit.
-
Every 8 to 12 months: Reapply sealer, though the right interval depends heavily on foot traffic and the specific stone, so check with your stone supplier or a restoration professional rather than going strictly by the calendar. High-traffic commercial floors may need touch-ups more often.
-
Ongoing: Never use vinegar, lemon juice, bleach, ammonia, or scouring powders on marble. Sealing improves stain resistance, but it does not make marble stain-proof, so quick cleanup still matters even on a freshly sealed floor.
Pro Tip: Keep a small bottle of your pH-neutral cleaner right where spills are most likely, near the kitchen island or dining table, so cleanup happens in the moment rather than an hour later after the acid has already etched the surface.
Dubai’s climate adds its own wrinkle here: humidity swings can accelerate moisture movement through stone and grout, which is worth understanding if your floor keeps hazing over no matter how carefully you clean it. Our breakdown of how humidity affects marble floors covers that dynamic in more depth. If you’d rather leave grout and tile joints to specialists who use extraction-first methods instead of just pushing dirty water around, this guide to tile grout cleaning explains why extraction beats surface mopping for anything absorbent.
How FloorPolishing.ae Approaches Every Marble Job
Every restoration starts with an honest assessment of the floor, not a sales pitch. We run a test patch before committing to any method, because the goal is a uniform result with the least possible removal of stone, not the fastest possible job. That means grinding and honing only when abrasion or scratching genuinely calls for it, diamond polishing calibrated to the specific marble type, and sealing that matches the traffic pattern of the room. It also means neutralizing and containing wastewater properly after any wet process, in line with the same gentlest-method-first principles that guide historic stone conservation work. Marble is expensive to replace and forgiving to restore, but only when the process respects what the stone can actually handle.
Why Most Marble Advice Online Gets This Backwards
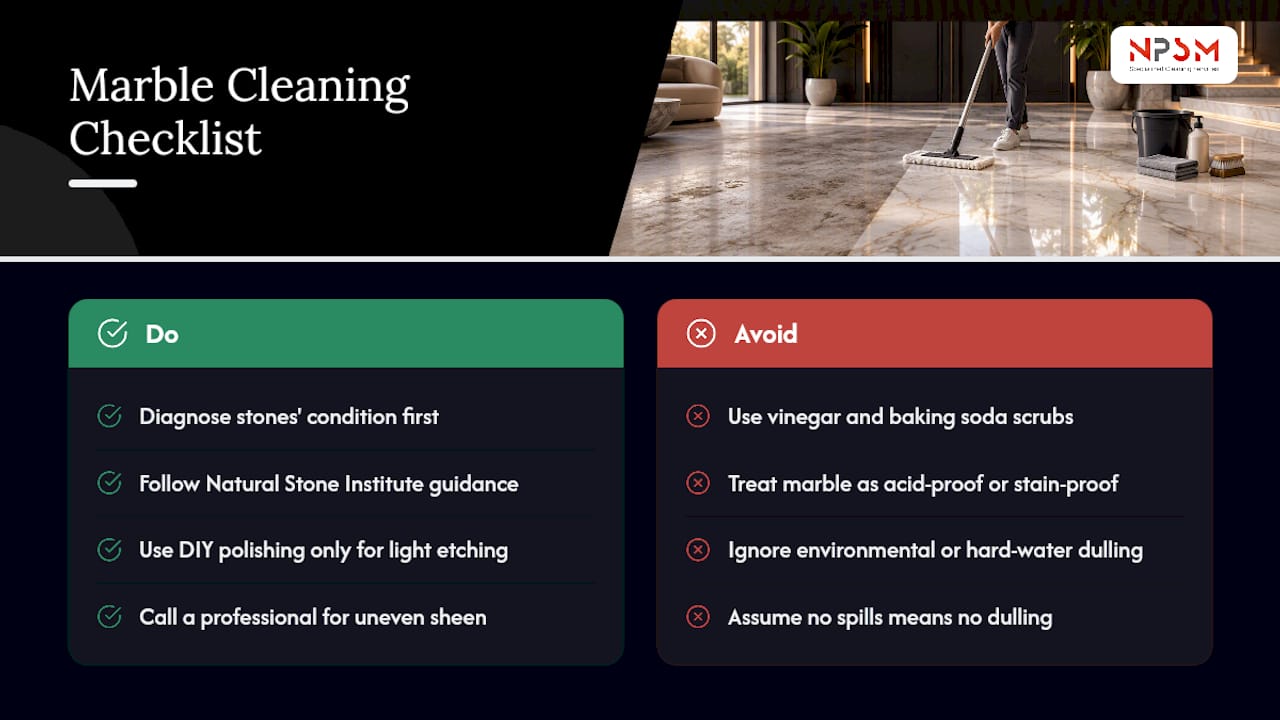
The internet’s favorite marble hack, a vinegar-and-baking-soda scrub, is close to the worst thing you can do to calcareous stone, and it keeps circulating because it works fine on tile and countertops made of harder materials. That’s the gap in most marble advice: it treats marble like a stain-resistant, acid-proof surface, when it’s neither. The Natural Stone Institute’s own consumer guidance is blunt about this, and it’s worth taking seriously precisely because it contradicts so much popular cleaning content.
What gets underestimated is how much environmental exposure matters versus obvious damage like spills. A floor that never sees red wine or lemon juice can still dull from years of ordinary air exposure and hard water residue, which is why the diagnostic step matters more than the cleaning product you eventually choose. Save the DIY polishing powder for genuinely light etching, and don’t be afraid to call a professional the moment a floor looks uneven after cleaning. Uneven sheen after a proper wash is the stone telling you it needs more than a mop.
— Qadir
Get Your Marble Floor Professionally Assessed
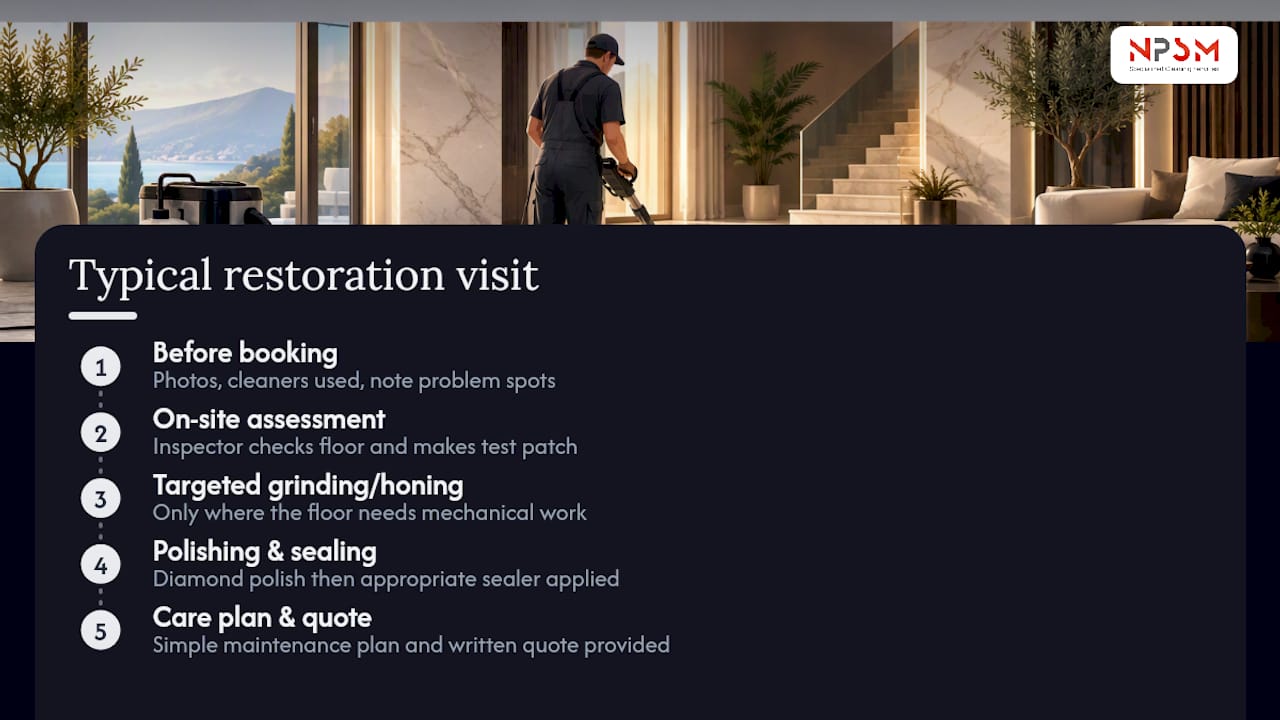
If your marble has moved past what dust-mopping and a neutral cleaner can fix, professional services can handle the part that actually requires equipment and training: controlled grinding, diamond polishing, and sealing done right the first time so you’re not paying twice for a rushed job. A typical visit starts with an on-site assessment and a test patch, moves into grinding or honing only where the floor needs it, then finishes with polishing, sealing, and a simple care plan so the shine actually lasts. Before booking, snap a few photos of the affected areas, jot down what cleaning products you’ve used recently, and note which spots bother you most. That saves time on-site and helps the restoration team choose the gentlest method that will still get real results. Request a quote through our marble polishing and restoration services page or browse the full range of floor restoration services if other surfaces in your property need attention too.
Further Reading on Marble Care Standards
For technical detail beyond this guide, the Natural Stone Institute publishes consumer care bulletins on stone identification and cleaning products, GSA maintains technical procedures for cleaning and repolishing historic marble, and the npj Heritage Science study on acidic gases covers how air pollution affects carbonate stone over time.
FAQ
How Do You Restore the Shine of Marble?
Start with the gentlest method: a pH-neutral clean, thorough rinsing, and drying to remove haze-causing residue. If dullness remains after that, light etching can often be buffed out with marble polishing powder, while deep scratches or widespread dullness need professional diamond polishing and honing.
How Can I Make My Marble Floors Shine Without Damaging Them?
Avoid vinegar, lemon juice, and other acidic cleaners entirely, since they etch marble almost on contact. Stick to pH-neutral, stone-safe products, dry the floor completely after cleaning, and reseal roughly every 8 to 12 months depending on foot traffic.
What Is the Average Lifespan of a Marble Floor?
Marble floors can last decades, often outlasting the building’s other finishes, because the stone itself doesn’t wear out the way engineered flooring does. Its appearance depends entirely on maintenance: neglected floors look worn within a few years, while properly sealed and gently cleaned marble can hold its shine indefinitely with periodic professional polishing.
Can Baking Soda Restore Marble Floor Shine?
Baking soda is mildly abrasive and can scratch marble’s soft surface, making it a poor choice for restoring shine despite its popularity in home cleaning tips. A pH-neutral cleaner or, for light etching, a dedicated marble polishing powder is a safer bet that won’t add new micro-scratches while you’re trying to remove old dullness.
How Do I Know if My Marble Needs Professional Restoration Instead of DIY Cleaning?
If a proper pH-neutral clean leaves the sheen looking patchy, or if scratches are deep enough to feel with a fingernail, that’s outside safe DIY territory. Widespread etching, recurring stains, or any sign of moisture under the stone are also signals that it’s time for professional assessment rather than another round of home remedies.