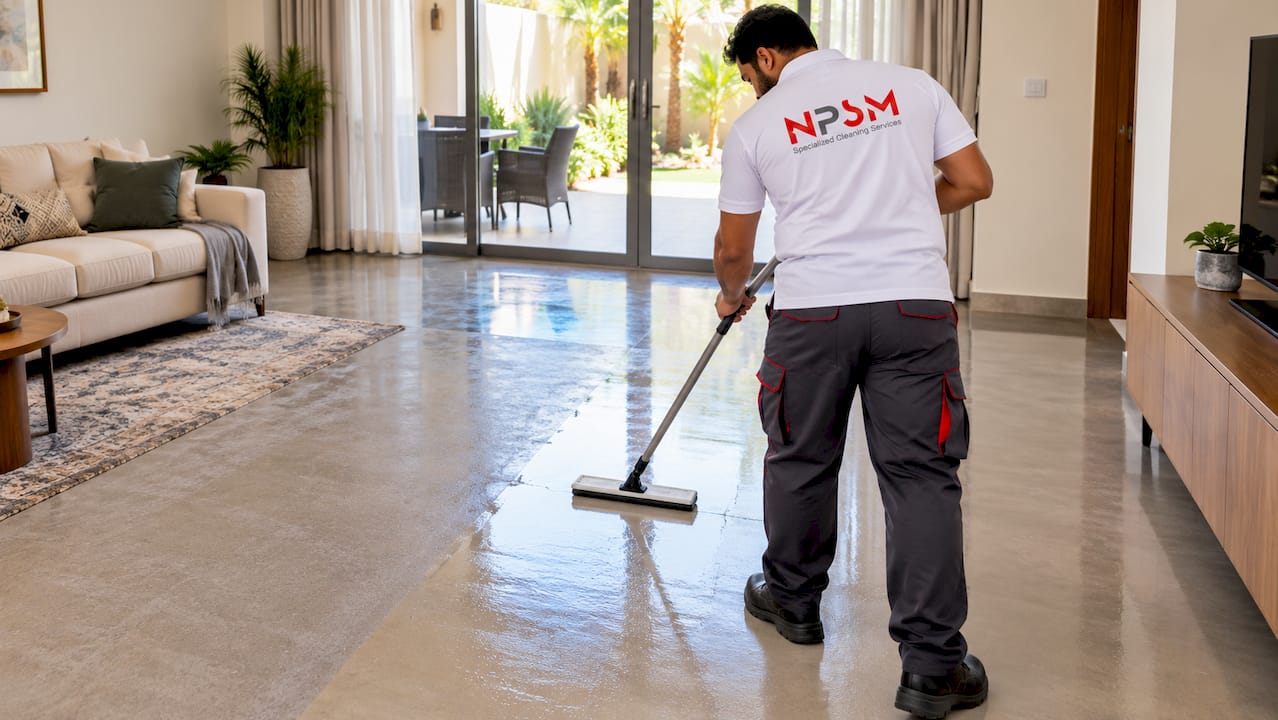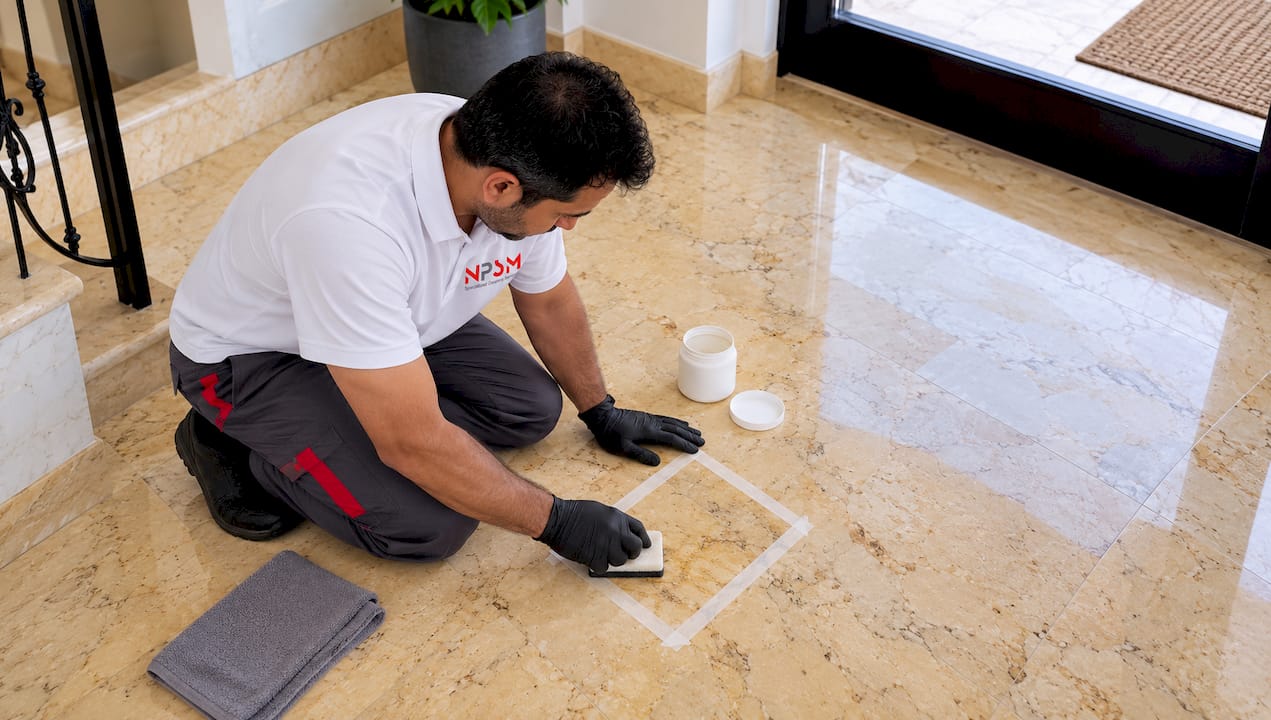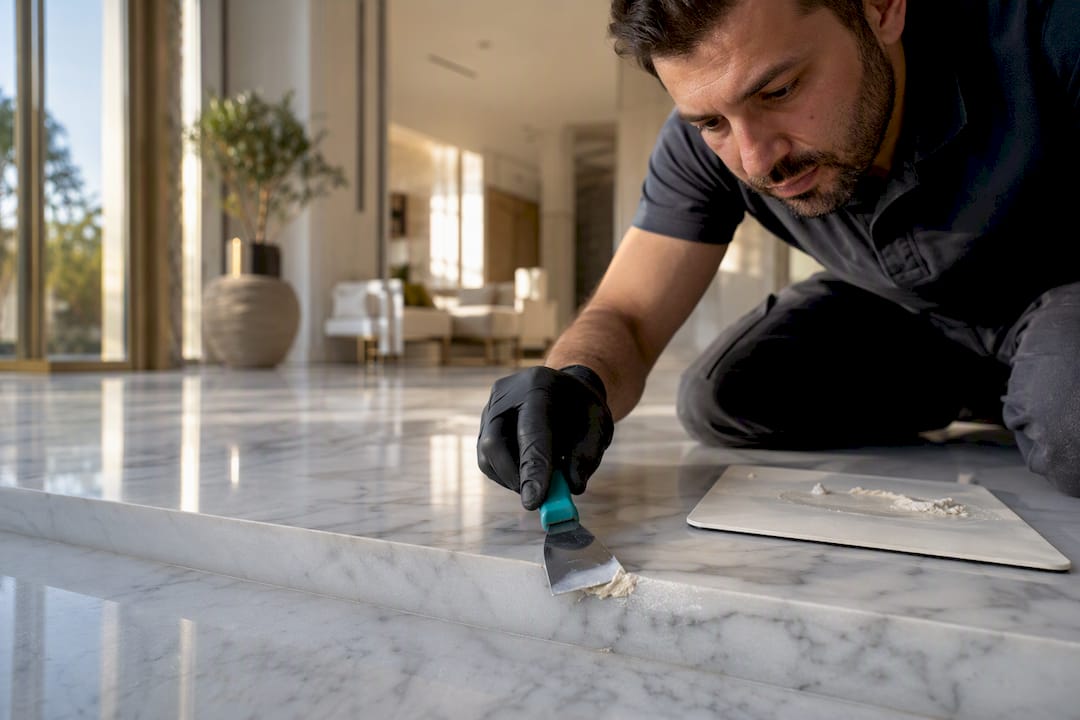

For small chips and shallow etches, a color-matched epoxy filler you apply yourself will usually hold up fine. Wide cracks, missing fragments, or any sign of movement in the stone call for a specialist filler system or a full professional restoration. The right choice depends mostly on depth, size, and whether the damage keeps coming back after you patch it.
TL;DR:
DIY repairs are suitable only for small surface chips and shallow cracks that do not show signs of movement or re-opening.
For cracks wider than 1/8 inch or that keep reopening, professional restoration with diamond grinding, pinning, and color-matched resin is necessary.
Matching color and texture is crucial for small patches, with layering in thin coats reducing bubbles and improving blend.
Large missing fragments or damage spanning patterns usually require professional slab replacement and full surface refinishing.
Regular sealing, careful assessment of damage, and timely professional intervention extend the longevity of marble floors.
Table of Contents
Tools, materials, and safety checklist before you start
A repair only goes as well as your prep work, so gather everything before you mix a single batch of filler.
-
Tools: dust mop, plastic scraper, syringe or fine applicator, mixing cups, sticks, sanding pads in graded grits, a buffing pad, and lint-free cloths.
-
Materials: color-matched epoxy or stone filler, crushed marble for texture, poultice powder for stains, polishing compound, and a penetrating sealer.
-
Safety: wear nitrile gloves and eye protection, work in a ventilated room, and control dust with a damp cloth rather than dry sweeping.
Adhesive choice matters more than most homeowners expect. Epoxies bond strongly and shrink very little, though some formulas yellow over time, while polyurethane adhesives flex more and suit stone that experiences slight movement, guidance echoed in the Natural Stone Institute’s work on adhesive selection. Mixing ratios and storage conditions affect how long the bond lasts, so follow the product label exactly rather than eyeballing it.
Pro Tip: Buy a little extra filler and test the color on a hidden edge of the slab before touching the visible damage.
How to assess damage before you repair it
Not every mark on a marble floor needs the same fix, so start by classifying what you are looking at.
-
Measure and record: note the length and depth of the damage and photograph it in good light for reference later.
-
Surface chips: shallow flaking under about 1/8 inch deep usually responds well to a DIY filler.
-
Hairline cracks: thin lines with no separation often just need consolidation, while wide or stepped cracks suggest movement underneath.
-
Dry-test the area: clean it with a pH-neutral cleaner, then wait roughly 24 hours before applying anything, since trapped moisture is a common reason DIY repairs fail.
-
Watch for movement: a crack that reopens after filling, or a hollow sound when you tap near it, points to substrate issues that need a professional look.
If the damage keeps returning to the same spot, stop repeating the same fix and treat that as your signal to call in a specialist.
How to fix chips and shallow nicks in marble
This sequence works for the most common marble damage: small chips and shallow surface nicks that have not penetrated deep into the stone.
-
Clean the area with a pH-neutral cleaner and remove any loose debris with a plastic scraper.
-
If a stain sits in or near the chip, apply a poultice and let it dry fully, which typically takes 24 to 48 hours and may need a second application for stubborn marks.
-
Confirm the surface is bone-dry before mixing any adhesive, since moisture trapped under a filler is the leading cause of pop-outs.
-
Mix a small batch of color-matched epoxy or stone filler, blending in a pinch of crushed marble aggregate if you need texture to match a coarser stone.
-
Apply the filler with a syringe or small spatula in thin layers, slightly overfilling the chip to allow for shrinkage and sanding.
-
Let the filler cure according to the product’s instructions before touching it.
-
Sand progressively from a coarse grit down to a fine polishing grit, then buff with a polishing pad to bring back the sheen.
Pro Tip: Layer thin coats rather than one thick pour. A single deep pour is more likely to trap air bubbles that show up as cloudy spots once cured.
If the patch bubbles, the filler likely cured too fast or trapped air. Scrape it out and reapply in thinner layers. If the color looks off once cured, a light tinted topcoat can sometimes correct it, though a poor match usually means removing the patch and starting over with a better-blended mix.
How to repair cracks from hairline to structural
Cracks split into two categories, and treating a structural crack like a cosmetic one almost guarantees the repair fails again within months.
-
Check whether the crack is surface-only, no gap, no movement when you press near it, or structural, with a visible gap, stepping, or repeated reopening after a previous fix.
-
For hairline surface cracks, infuse a low-viscosity epoxy along the length of the crack, letting capillary action pull it in rather than forcing it with pressure.
-
Wipe excess resin immediately with a solvent-dampened cloth before it skins over.
-
For wider cracks, rout out a shallow channel along the crack line to give the resin more surface area to bond to.
-
Fill the routed channel with resin, slightly overfilled, and let it cure fully before sanding.
-
For cracks with real separation or repeated failures, mechanical backing or pinning is often needed to keep the two sides from moving independently. This step is usually best left to a restoration specialist with the right tooling.
-
Once cured, sand down through graded grits and polish to blend the repair line into the surrounding stone.
A crack that keeps reopening after a proper fill almost always points to movement below the surface, not a bad batch of resin.
How to rebuild holes and missing fragments
Missing chunks of marble need more rebuilding than filling, and the sequence matters.
-
Clean and fully dry the cavity, then lightly undercut the edges to create a mechanical key that helps the fill grip.
-
Build up the repair in layers of epoxy mixed with crushed marble aggregate, matching the color and grain as closely as you can with each pass.
-
For larger holes, a small matching offcut from the same slab, when one is available, gives a far better result than filler alone.
-
Sand the rebuilt area level with the surrounding floor, then match texture and sheen through progressive polishing.
-
Seal the finished repair once it has fully cured to protect the new material and blend its porosity with the rest of the floor.
When the missing area is large, spans a pattern or veining detail, or sits somewhere highly visible, professional templating and slab-matched replacement usually gives a better result than a homeowner rebuild.
Blending and sealing the repaired surface
The repair itself is only half the job. Blending it into the floor and protecting it afterward is what makes it last and look right.
-
Step down grits gradually: jumping straight from coarse sandpaper to a polishing pad leaves visible scratch marks around the patch.
-
Match the finish: a polished floor needs a finer final pad and more buffing passes than a honed floor, which stops at a matte stage.
-
Check sheen in daylight: artificial light can hide a mismatch that becomes obvious the next morning.
-
Seal appropriately: a penetrating sealer protects porous marble from within, while a topical sealer adds surface shine but wears faster underfoot.
Pro Tip: Reseal marble roughly once a year in normal household traffic, sooner in kitchens and entryways where spills and grit are frequent.
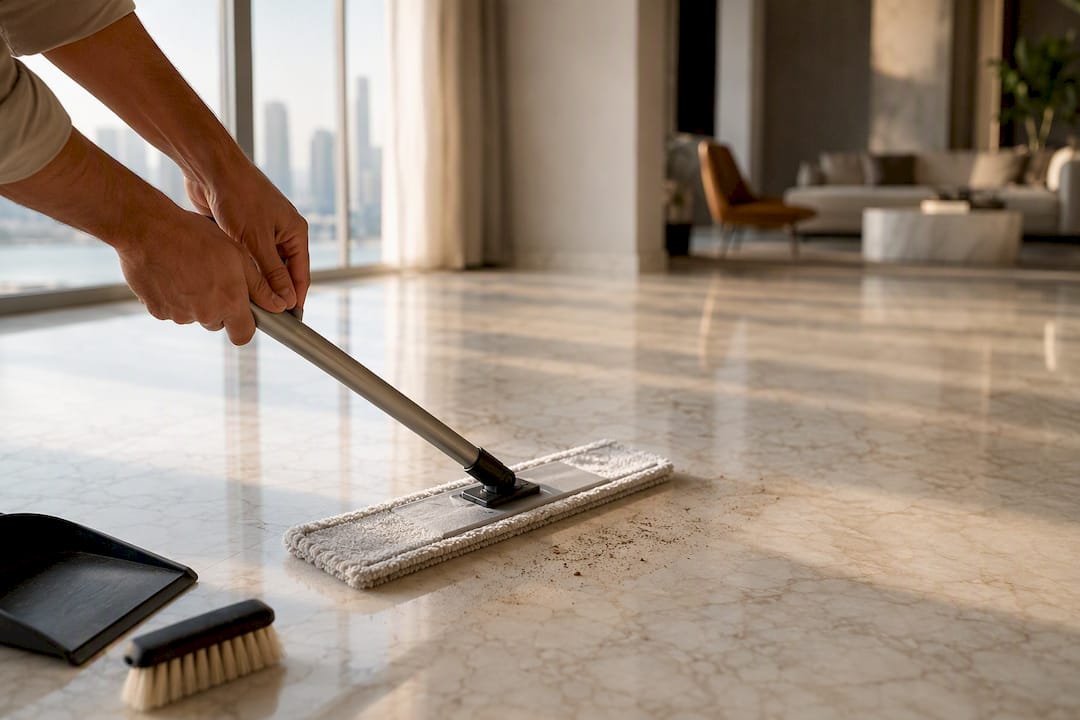
Regular dust-mopping between repairs matters more than most people realize, since grit ground underfoot is a major cause of the scratches and nicks that lead to chips in the first place.
When to hire a professional restoration service
Some damage is simply outside the scope of a DIY kit, no matter how careful the application.
-
Structural movement: cracks that keep reopening, shift, or run through to the subfloor.
-
Large missing sections: damage that spans veining or pattern detail across a wide area.
-
Whole-floor pattern matching: repairs where several tiles or slabs need to blend seamlessly.
Professional restoration typically involves diamond grinding to level the surface, honing to remove scratch patterns, color-matched resin fills engineered for the stone’s specific bonding and thermal properties, and a full repolish to bring back uniform shine. Before hiring anyone, ask to see a sample of previous repair work, confirm they carry insurance, and get a written scope rather than a vague promise. A contractor who cannot show you a finished sample or dodges questions about guarantees is a red flag worth walking away from. A professional restoration service works on marble restoration and repair using professional-grade equipment and diamond polishing systems suited to this kind of damage.
Weighing cost against appearance and longevity
The right call comes down to three factors working together: how big the damage is, how much foot traffic that area gets, and how much the floor contributes to the property’s value. A small, well-blended patch in a low-traffic hallway is money well spent. The same visible patch on a lobby floor or a listing photo can quietly drag down perceived value, which is when budgeting for a full professional restoration pays for itself.

Professional marble repair when DIY reaches its limit
When a patch job will not cut it, professional marble repair and restoration closes the gap between a visible fix and one that disappears into the floor. Professional restoration teams handle color-matched repairs, diamond grinding, and full repolishing for marble floors, countertops, and staircases. Reach out and we will assess the damage, walk you through a sample color match, and give you a clear timeline before any work starts.
-
Assessment and quote based on the size and type of damage.
-
Sample match shown before the repair begins.
-
Grinding, filling, and repolishing scheduled around your property’s traffic patterns.
For a closer look at what a full repair and restoration service includes, visit our marble polishing and restoration services page.
Authoritative sources and further reading
Guidance on adhesive selection and poultice stain removal comes from the Natural Stone Institute’s published technical resources, alongside procedural cross-referencing from a marble repair workflow guide. For related stain-removal steps, see our marble water stain guide.
Balancing a repair against a full replacement
Not every damaged floor is worth patching. A cracked slab in a high-value space sometimes costs less over time to replace than to keep repairing.
A patch buys you time. A full restoration buys you a floor that looks intentional again, not repaired.
— Qadir
FAQ
How can I fix cracks in my marble floor?
Hairline cracks respond well to a low-viscosity epoxy infused along the crack line, while wider cracks need routing and a resin fill. Cracks that keep reopening or show a visible gap usually point to movement underneath and need a professional look rather than another DIY pass.
Can chips in marble be fixed?
Yes, small chips and shallow nicks can be filled with a color-matched epoxy or stone filler, then sanded and polished to blend with the surrounding floor. Chips deeper than about 1/8 inch or affecting a large area often benefit from a specialist filler system for a cleaner match.
How do I fill gaps in marble flooring?
Small gaps and chips are filled with epoxy or stone filler mixed with a bit of crushed marble for texture, applied in thin layers to allow for shrinkage. Wider gaps or missing fragments may need a matching offcut from the same slab or a mechanical key cut into the cavity before filling.
How can I repair cracks in my marble flooring without making them worse?
Confirm the crack is surface-only before filling it, since forcing filler into a structural crack can trap moisture and cause the repair to fail. Clean and fully dry the area first, then use a resin suited to the crack’s width rather than a generic hardware-store filler.
When should I call a professional instead of doing it myself?
Call a professional when the damage involves structural movement, large missing sections, or repairs that need to match a pattern across several tiles. A restoration specialist also has access to diamond grinding tools and resins engineered for marble’s specific bonding and thermal properties, which consumer-grade kits cannot reliably replicate.