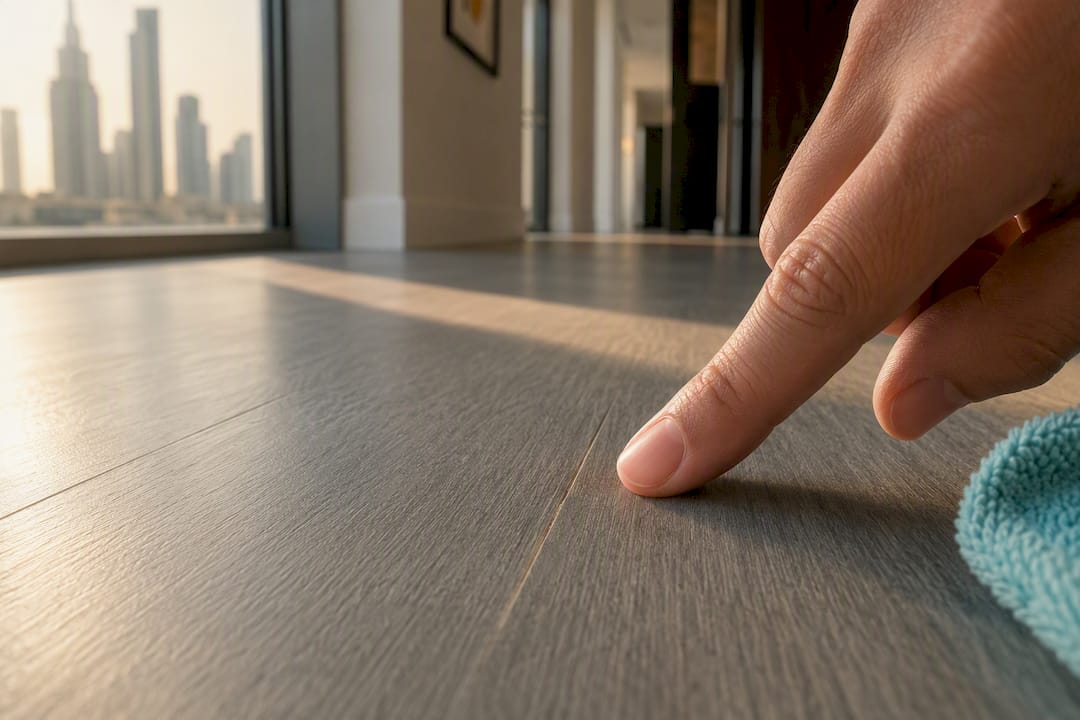

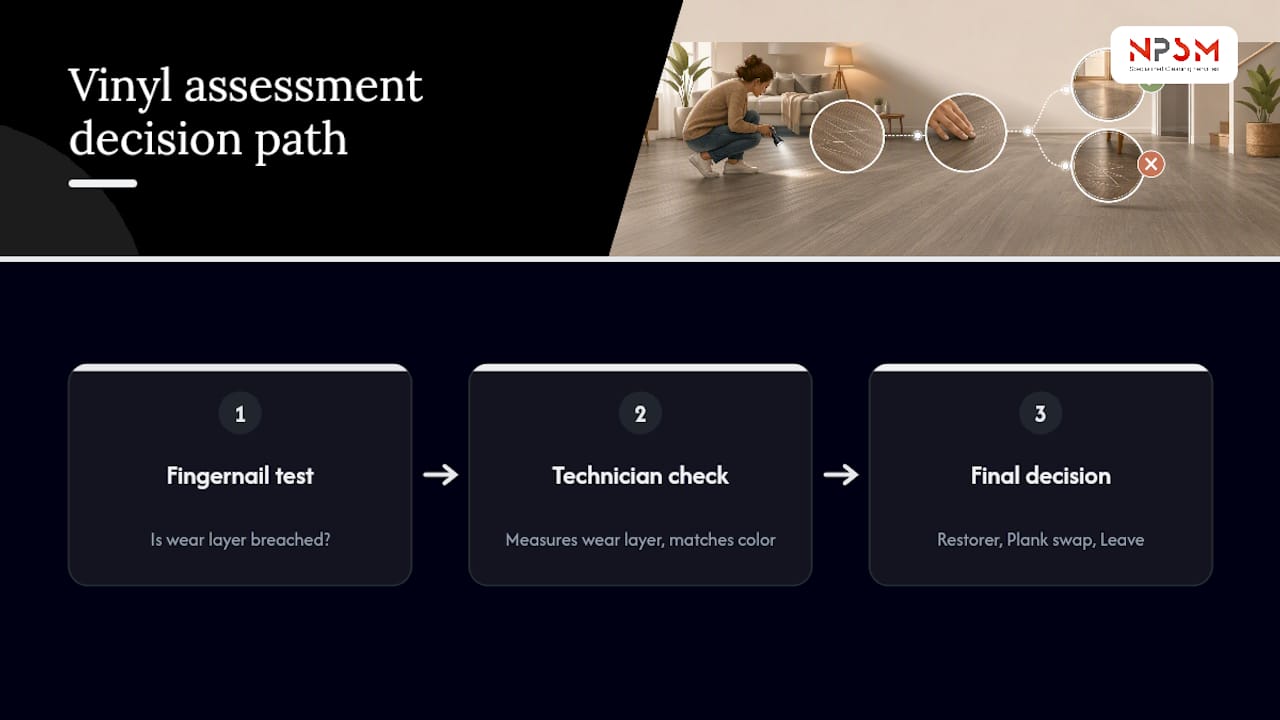
Most scuffs and light surface scratches on vinyl flooring come out or fade dramatically with cleaning, a white buffing pad, and a vinyl restorer. The test is simple: run a fingernail across the mark. If it glides, you’re likely fine. If it catches, the wear layer is breached, and you’re looking at a color-matched filler or a plank swap rather than a quick buff. Clean the spot first, then test, before you touch any repair product.
TL;DR:
Light surface scratches on vinyl flooring can often be fixed with cleaning and buffing if the fingernail test shows the wear layer is intact.
A scratch that catches the fingernail indicates damage to the wear layer, requiring professional assessment or plank replacement rather than DIY repair.
Thick or high-quality wear layers resist scratching longer, but shallow scratches on thinner layers are more likely to be repairable through buffing and fillers.
Avoid using products like WD-40, steel wool, or heat methods, as they damage the surface or fail to fix underlying wear-layer breaches.
Regular prevention, such as felt pads and removing grit at entry points, significantly reduces the need for repairs and prolongs the floor’s lifespan.
Table of Contents
How Do You Know If a Scratch Can Be Fixed?
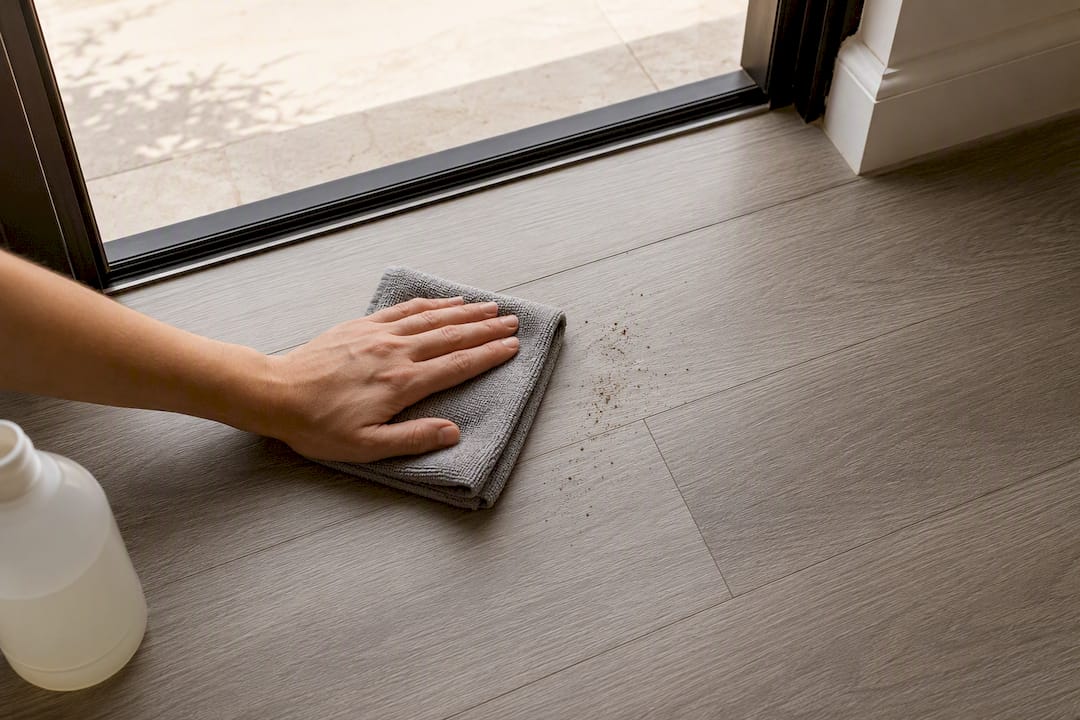
The fingernail test is the fastest way to separate a cosmetic scuff from real vinyl floor scratches that have gone through to the material underneath. Wipe the area clean first. Dirt, shoe rubber, and furniture residue often look like scratches until a damp microfiber cloth proves otherwise.
Once it’s clean, drag a fingernail across the mark at a slight angle.
-
Glides smoothly: the wear layer is intact, and buffing plus a restorer will usually improve or erase it.
-
Catches or snags: the wear layer is breached, and buffing risks widening the damage instead of fixing it.
-
Color has changed or material looks missing: you’re likely into the printed film layer, which buffing can’t restore.
-
Edges are lifted or cracked: that’s plank damage, not surface scratching, and points toward replacement.
Check your flooring’s wear-layer thickness, measured in mils, on the manufacturer’s spec sheet before you commit to a repair plan. Vinyl plank flooring typically has a wear layer thickness that varies between budget and commercial-grade products, influencing how easily scratches can be buffed out. A thin wear layer means shallow marks can breach it faster than you’d expect, even from something as ordinary as a dragged kitchen chair.
How Do You Fix Vinyl Floor Scratches Yourself?
Work through these steps in order. Skipping straight to buffing or fillers on a mark that just needed cleaning wastes product and risks unnecessary damage.
-
Clean the area with a pH-neutral cleaner. Many marks are transfer scuffs from shoes or furniture feet, and they wipe away with a neutral cleaner or a melamine sponge before you ever need a repair product.
-
Remove grit and debris from the surrounding floor so you’re not grinding sand into the plank while you work.
-
Test a hidden spot first, like a closet corner or under an appliance, with whatever cleaner or restorer you’re about to use.
-
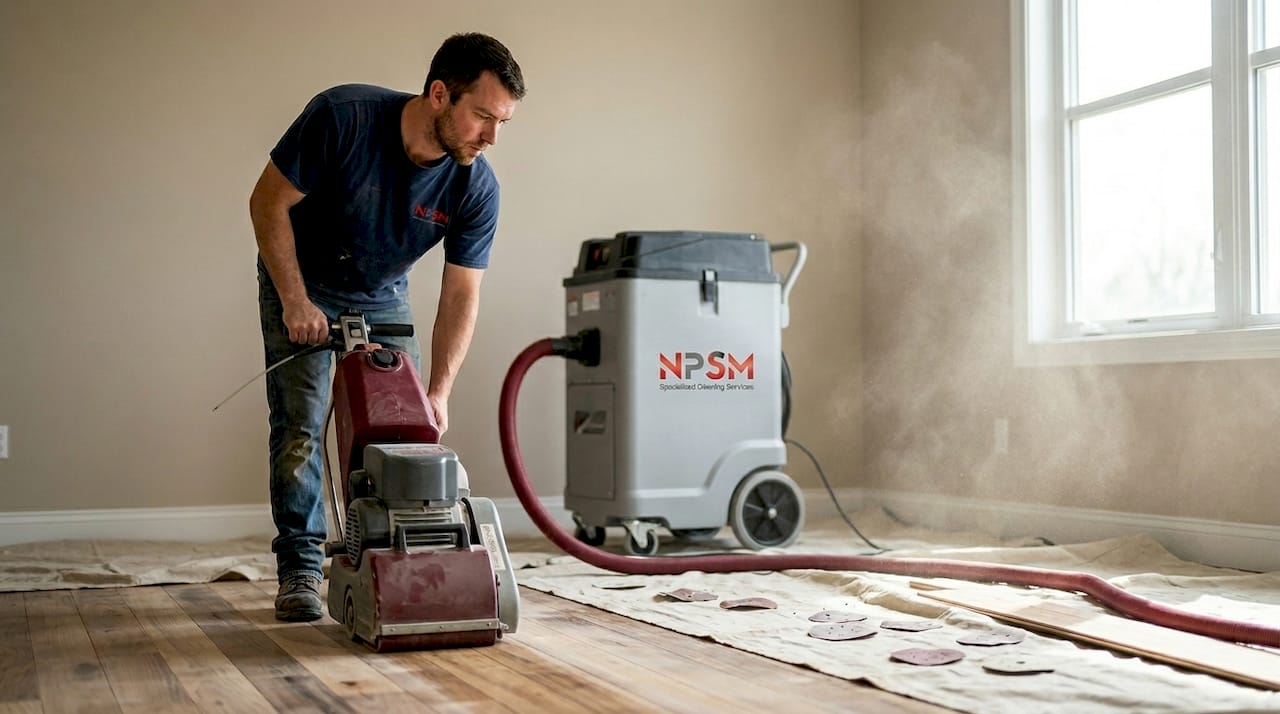
Buff light scratches with a white pad and a manufacturer-approved vinyl restorer, using light, even pressure in the direction of the plank’s grain. White pads are the least aggressive commercial buffing grade, and they even out light scattering across the scratch rather than cutting into the surface.
-
Apply color-matched filler for shallow gouges that have taken pigment but haven’t breached the core. Vinyl repair markers, wax sticks, and repair compounds can blend a small nick, especially on wood-look planks with busy grain patterns that hide minor color variation.
-
Let it cure and buff level so the fill sits flush rather than standing proud of the surface, which catches light differently and draws the eye right to the repair.
Pro Tip: Buff in a circular motion first to spread the restorer evenly, then finish with straight passes along the plank’s length. Straight strokes at the end hide any buffing marks better than circles alone.
A few things to skip entirely. Do not reach for WD-40. It’s a common home remedy that temporarily masks a mark but leaves a slippery residue and does nothing to repair actual wear-layer damage. Skip steel wool and sandpaper too. Both strip the protective finish and create dull patches that are harder to fix than the original scratch. And skip heat guns or hairdryers as a “fix.” Vinyl is a heat-sensitive material, and localized heat can warp or discolor the plank permanently.
When Is a Scratch Too Deep to Repair Yourself?
Some damage is beyond what cleaning products and buffing pads can address, and pushing DIY methods on a deep scratch usually makes the eventual professional repair more expensive, not less.
-
A fingernail catches and doesn’t glide, meaning the wear layer is gone and you’re into the printed design layer or the core.
-
The printed pattern or base material is visibly exposed, not just discolored.
-
A seam or joint between planks has cracked, which signals structural movement, not surface wear.
-
The same spot keeps getting damaged no matter what you do, which usually means moisture or subfloor movement underneath rather than a scratching problem on top.
-
You don’t have a matching spare plank, and current stock from the manufacturer has shifted in color or texture since installation.
On click-lock luxury vinyl plank, a trained installer can often do a cut-out-and-swap repair, replacing a single damaged plank without pulling up the surrounding field, provided the cut is precise and the replacement plank matches. That precision is exactly where DIY attempts to tend to fall apart. Over-buffing a deep scratch commonly leaves a dull halo where the sheen no longer matches the rest of the floor, and a mismatched filler is often more visible than the scratch it was meant to hide.
How Can You Prevent Scratches on Vinyl Floors?
Prevention costs less than repair, every time, and it’s the one strategy flooring professionals consistently point to as more effective than repeated spot fixes.
-
Attach felt pads to every chair, table, and sofa leg, and check them periodically since they wear thin and pick up grit.
-
Lift furniture when you move it instead of dragging it across the floor.
-
Add a walk-off mat at every exterior entry point to catch the grit and small stones that cause most fine scratching.
-
Consider a no-shoes policy in high-traffic rooms, since outdoor shoes carry the sharp debris that scuffs vinyl fastest.
-
Trim pet nails regularly, and consider soft nail caps for dogs that spend a lot of time indoors on hard flooring.
-
Sweep or vacuum on a regular schedule rather than letting grit accumulate and grind in underfoot.
If you’re shopping for new flooring, prioritize a higher wear-layer rating for rooms with heavy foot traffic or pets. It costs more up front but pays for itself in fewer repairs down the line. For more on daily upkeep, see our vinyl floor care tips for practical routines that fit real households, and for pet owners specifically, this guide to pet-safe floor cleaning recipes covers products that won’t strip the wear layer’s protective finish.
Pro Tip: Keep a small bottle of neutral-pH cleaner and a microfiber cloth near your busiest entryway. Wiping up grit the moment you notice it prevents more scratches than any cleaning schedule you’ll actually stick to.
When Does a Professional Fix Beat Another DIY Attempt?
A trained technician brings two things most homeowners can’t easily replicate: an accurate read on wear-layer depth before any product touches the floor, and color-matching experience that avoids the halo effect of a rushed DIY fill. That matters most in rooms where the floor is the focal point.
-
A living room or entryway scratch sits in direct sightline and any mismatch is obvious to every visitor.
-
Commercial or high-traffic spaces accumulate damage faster than any homeowner-grade product can keep up with.
-
Recurring damage in the same spot often points to moisture or subfloor movement, which needs diagnosis, not another coat of restorer.
Once you’ve patched the same spot twice with no lasting improvement, a professional assessment usually costs less than a third DIY attempt and the products it wastes.
The One Rule Worth Remembering About Vinyl Scratches
Most guides treat every scratch the same way, telling readers to buy a repair kit and hope for the best. That’s backward. The fingernail test paired with your floor’s wear-layer mil rating is the only decision rule that actually matters, and it takes fifteen seconds to run before you spend a cent on products.
The conventional advice oversells buffing. A white pad and a restorer genuinely revive light, intact-wear-layer scratches by evening out how light scatters across the surface, but it’s an optical fix, not a repair. It won’t put missing pigment back. Where the advice falls short is honesty about limits. Once a scratch catches your nail, no amount of buffing effort closes that gap, and further buffing usually just widens the damaged area.
My take: check the mil rating and run the fingernail test before you touch a single product. If it catches, stop buying restorers and start pricing a plank swap or a professional visit. That’s the money and time saved, not spent chasing a fix that was never going to work on breached wear layer.
— Qadir
Get a Vinyl Floor Assessment Instead of Guessing
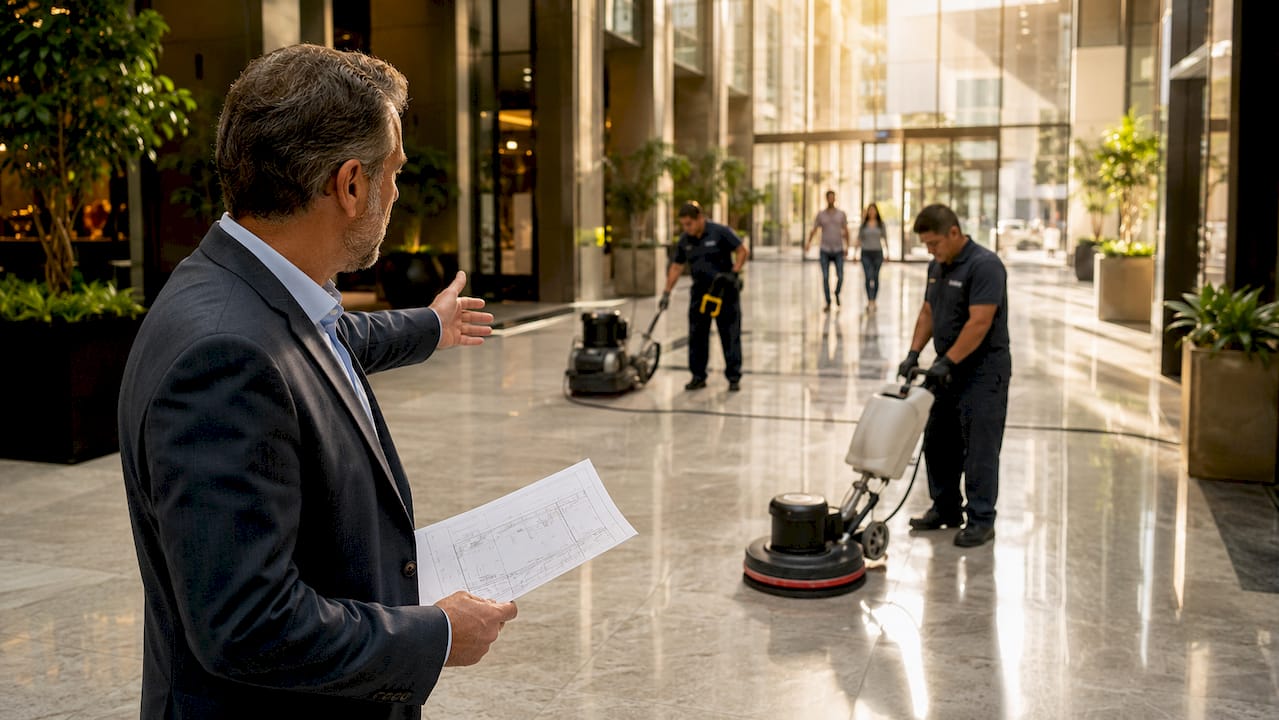
If your fingernail test says the wear layer is breached, or you’ve already tried a restorer without luck, stop experimenting and get an actual read on the damage. Technicians can measure the wear layer accurately, match color and texture on plank swaps more precisely than a DIY filler, and handle a clean cut-out replacement without disturbing the surrounding floor. That’s the gap between a repair that blends in and one you’ll notice every time you walk past it. An inspection tells you honestly whether your floor needs a restorer, a plank swap, or nothing at all, before you spend money guessing. Book a vinyl floor polishing and cleaning inspection and get a straight answer on what your floor actually needs.
Sources for Further Reading
Guidance on the fingernail test and wear-layer mechanics draws on flooring-industry explainers covering LVP wear-layer behavior and manufacturer mil specifications. The caution against WD-40 as a repair method reflects documented advice on resilient flooring maintenance. Stepwise repair and plank-replacement guidance follows established vinyl plank repair procedures, including detailed repair steps for vinyl plank flooring for readers who want the full DIY walkthrough. For more on why repairing scratches matters beyond looks, see this homeowner’s guide.
FAQ
Can You Get Scratches Out of Vinyl Flooring?
Yes, in most cases, if the scratch is shallow enough that a fingernail glides over it without catching. Cleaning, a white buffing pad, and a manufacturer-approved vinyl restorer typically restore an even sheen when the wear layer is still intact.
Do Vinyl Floors Scratch Easily?
It depends heavily on the wear-layer thickness, which varies widely between budget and commercial-grade products. A thinner wear layer scratches more easily under grit, pet claws, and dragged furniture, while a thicker one resists visible marking far longer.
Is It Possible to Get Scratches Out of Vinyl Completely?
Light surface scratches on an intact wear layer can often be made to disappear visually through buffing. Deeper gouges that expose the printed layer or core usually can’t be fully erased and need a color-matched filler or a plank replacement instead.
Does WD-40 Really Remove Scratches From Vinyl?
No. WD-40 can temporarily mask a mark, but it leaves a slippery residue behind and does nothing to repair actual wear-layer damage. It’s a cosmetic trick, not a fix, and it can make the floor unsafe underfoot until it’s cleaned off.