
If you see etches, dullness, uneven tiles, or suspect moisture, arrange a professional inspection and snagging report before you sign handover. Document every defect with photos and labeled locations, room by room, before you accept the keys. This single step preserves your right to have the developer or seller fix problems at their cost instead of yours, and it can save you from irreversible marble damage down the road.
TL;DR:
- A professional inspection with precise measurements is essential to identify deep lippage, trapped moisture, and sealing failures that can cause costly repairs later.
- Common issues such as etching from acids, moisture-related yellowing, and loose tiles require specific restoration methods like grinding, honing, or sealing rather than superficial polishing.
- Restoration costs vary significantly based on treatment type, floor condition, and room size, so obtaining an itemized quote before work begins is crucial.
- Documenting defects with photos and measurements during handover protects your rights and ensures transparency for timely repairs.
- Regular maintenance using pH-neutral cleaners and water-bead tests prolong the lifespan of sealed marble floors in villa environments.
Table of Contents
- Pre-move-in quick checklist: what to look and test for during the walkthrough
- How professionals inspect marble floors: tools, measurements, and reports
- Common marble problems and what causes them
- Restoration options: what each method fixes and when to use it
- Timeline and ballpark costs for villa marble restoration
- Documenting defects with a snagging report at handover
- Post-restoration maintenance to protect the finished floor
- Checking the authenticity and grade of the marble before restoration
- Verifying previous restoration or repair work before you restore again
- Environmental factors that affect villa marble condition
- What I’d tell a friend moving into a new villa
- How FloorPolishing.ae handles marble inspection and restoration
- Key standards and sources referenced
- FAQ
Pre-move-in quick checklist: what to look and test for during the walkthrough
Walk every room with a flashlight and a notepad before you sign anything. Marble hides its problems in good lighting and reveals them the moment the sun angle changes or water sits on the surface for a minute.
- Look for etching (dull, cloudy patches where acid or citrus touched the stone), chips at edges and corners, and yellowing near windows or damp walls.
- Run your palm across joints to feel for lippage, where one tile sits higher than its neighbor.
- Open and close doors near the floor line: sticking or scraping often signals uneven tiles underneath.
- Check bathrooms, kitchens, balconies, and pool-adjacent areas for water stains, soft grout, or a musty smell.
- Photograph grout lines that look stained, crumbly, or missing, and note the room and exact spot for each photo.
Pro Tip: Bring a small bottle of water on the walkthrough. A few drops that bead up show a sealed surface; drops that vanish in seconds point to bare or worn stone that needs attention before you move furniture in.
How professionals inspect marble floors: tools, measurements, and reports
A homeowner’s visual check catches the obvious problems. A professional inspection catches the ones that turn into expensive repairs six months later, because it relies on tools and thresholds instead of guesswork.
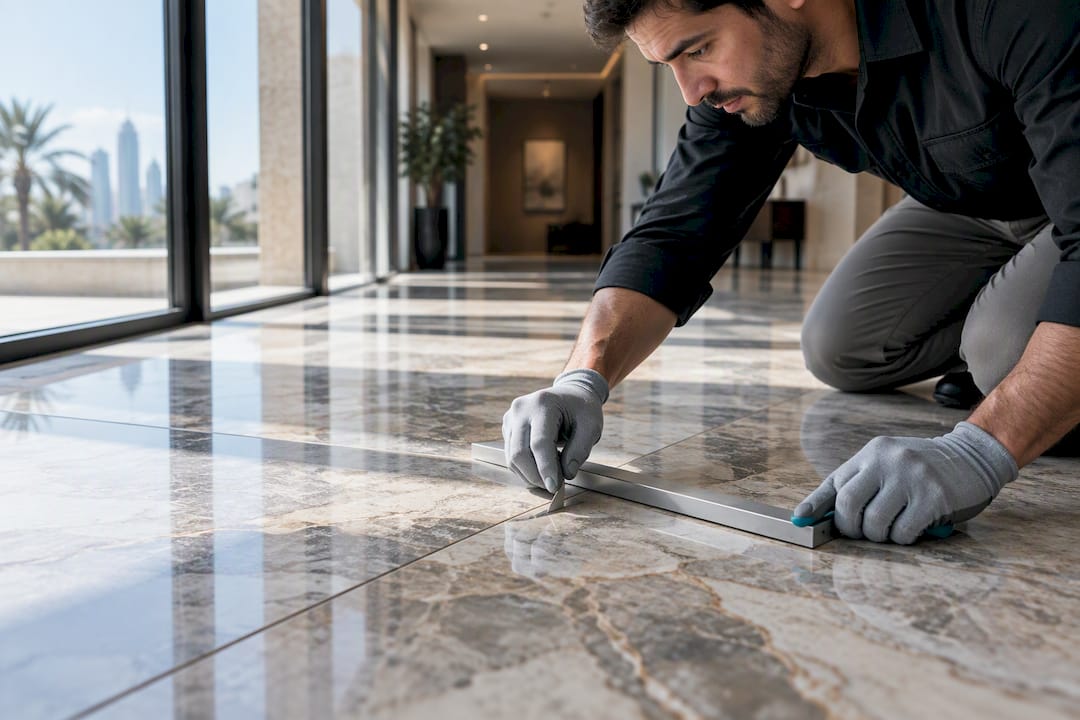
- A laser level or straightedge measures how much one tile edge rises above its neighbor, known as lippage.
- A moisture meter checks for dampness trapped under the stone, especially near bathrooms, kitchens, and exterior doors.
- Thermal imaging can reveal hidden leaks or moisture pockets behind walls and under flooring that a moisture meter alone might miss.
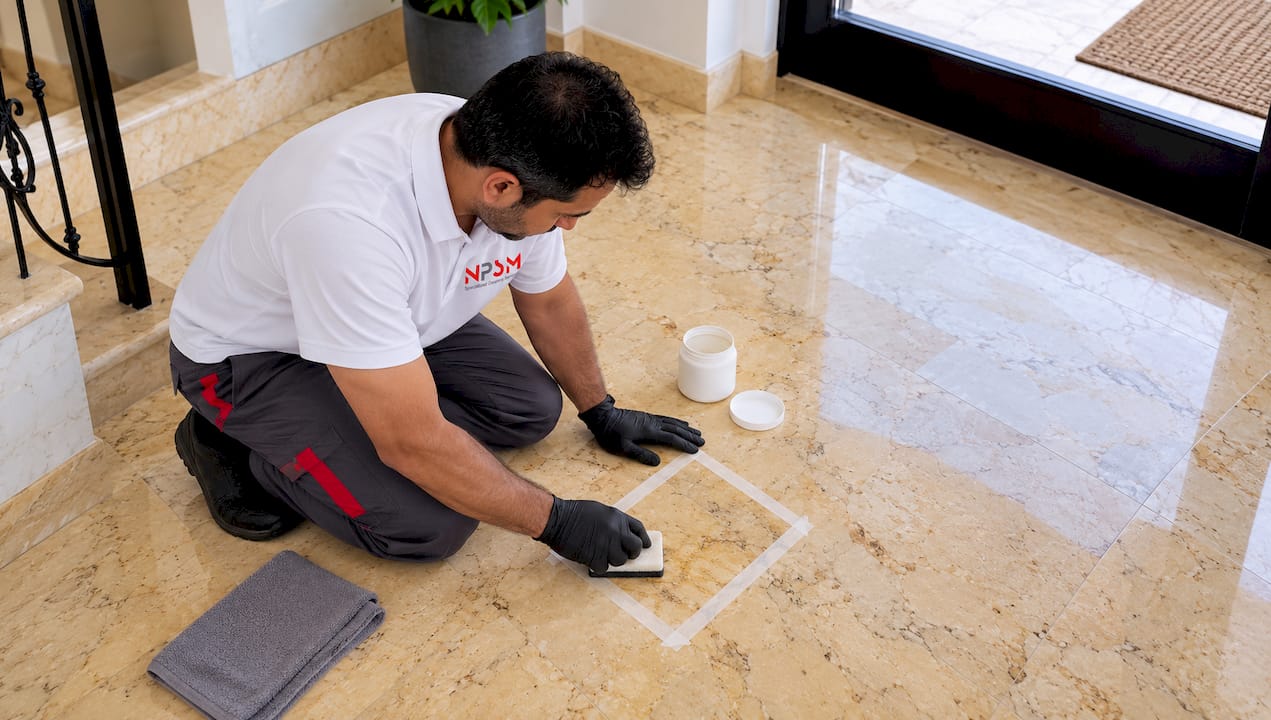
- A water-bead test on multiple spots across the floor shows whether the existing sealer is still doing its job.
Lippage exceeding the industry tolerance specified by ANSI A108.02 is considered a significant trip hazard and should be documented precisely. Any inspection report worth paying for should note actual millimeter measurements against this standard rather than describing joints as merely “uneven.”
A proper snagging or inspection report goes further than a checklist. It should include dated photos tied to a floor plan, the exact measurement for each defect, a severity rating, and a specific recommended fix, not a vague note to “monitor” the issue.
Common marble problems and what causes them
Not every dull patch needs the same fix, and knowing the cause tells you what kind of restoration to ask for.
- Etching looks like a stain but is actually acid damage from citrus, vinegar, or certain cleaners eating into the calcite; it needs grinding or honing, not stain removal.
- Staining sits on or just below the surface and often lifts with the right poultice or cleaning method rather than mechanical grinding.
- Micro-scratches and dulling frequently come from sand and grit tracked in on shoes, which acts like sandpaper under foot traffic.
- Yellowing and efflorescence point to moisture moving through the stone, often from a failed sealer or a hidden leak.
- Hollow-sounding or loose tiles usually mean a grout or installation failure underneath, which is a structural issue, not a cosmetic one.
Mixing these up costs money. Polishing over an etched surface without grinding it first just spreads the damage around and wastes the treatment.
Restoration options: what each method fixes and when to use it
Once you know the cause, the right treatment becomes obvious, and it usually falls into one of five categories.
- Light polishing restores shine on marble that has gone dull from foot traffic but has no deep scratches or etching. It is quick and the least invasive option.
- Diamond grinding and honing removes deep etching, heavy scratches, and uneven lippage by mechanically leveling the stone surface. This is the step that fixes what polishing alone cannot.
- Crystallization hardens the top layer of the stone chemically, adding sheen and some resistance to minor scratching, useful as a finishing step after grinding.
- Sealing protects the stone from future staining and moisture. Penetrating sealers soak into the stone’s pores rather than sitting on top, which tends to hold up better than topical film sealers in humid, sandy, high-heat conditions where a surface coating can peel or haze.
- Slab replacement becomes the only option when a tile is cracked through, structurally unstable, or damaged beyond what grinding can correct.
Pro Tip: Ask your contractor which of these five steps your floor actually needs before agreeing to a full restoration package. A dull entryway rarely needs the same treatment as an etched, chipped pool deck.
For a closer look at how these methods compare, see this breakdown of marble polishing versus grinding.
Timeline and ballpark costs for villa marble restoration
Plan your move-in date around the scope of work, not the other way around. A single room with light polishing can be finished in a few hours, while a full villa with grinding, crystallization, and sealing across multiple rooms typically runs one to three days depending on square footage and how much furniture has to be moved.
Costs vary by treatment and floor condition rather than a single flat rate, so ask for pricing broken down by task:
- A basic refresh polish covers light dulling on floors that are otherwise in good shape.
- Deep polishing or grinding costs more because it addresses etching, scratches, and lippage that a surface polish cannot touch.
- Sealing is usually priced separately from polishing since it is a distinct chemical treatment.
- Grout repair or re-grouting adds to the total when joints are stained, cracked, or missing.
Humidity, the need to protect fixtures and cabinetry, and furniture removal all add time and labor. Always request an itemized, written quote that lists each task separately so you know exactly what you’re paying for and can compare it against other quotes.
Documenting defects with a snagging report at handover
A photographed, dated snagging report is the strongest tool you have during handover. Without it, a verbal complaint about an uneven floor is easy for a developer to dismiss or delay; with dated photos and measurements, it becomes a documented issue tied to a specific defect liability period.
- Photograph each defect with the room clearly identifiable in the frame.
- Record objective measurements, such as the actual lippage figure in millimeters against the ANSI A108.02 threshold, rather than describing it as “a bit uneven.”
- Submit the report to the developer or seller and request a written remediation timeline in response.
- Keep copies of everything you send and receive, including dates and names of anyone you spoke with.
- If repairs are delayed past the agreed timeline, escalate through the developer’s formal complaints process and hold onto the report as evidence for any defect liability period claim.
Post-restoration maintenance to protect the finished floor
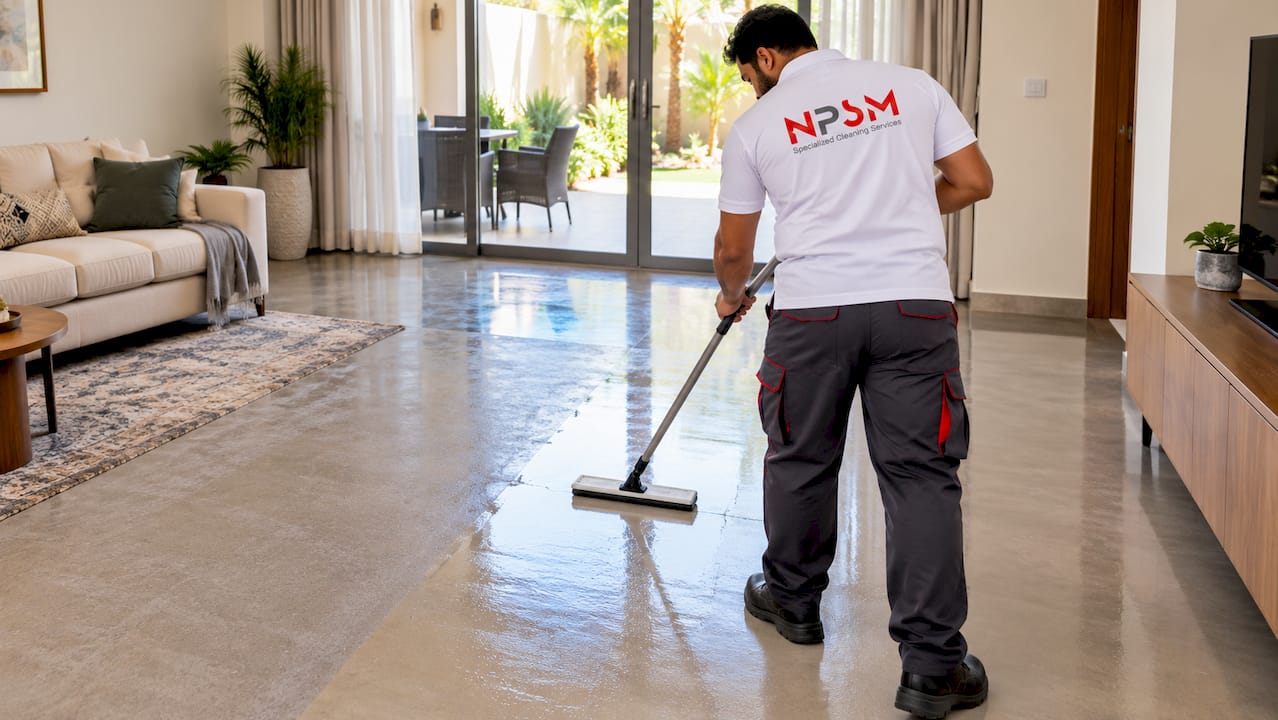
Restoration work only holds up as long as your daily habits support it. The floor you just paid to fix can dull again within a year if it’s cleaned with the wrong products.
- Clean with a pH-neutral stone cleaner and a microfiber mop; avoid vinegar, bleach, or generic all-purpose sprays, which etch marble over time.
- Wipe up spills immediately, especially anything acidic like citrus juice, wine, or coffee.
- Place mats at entrances to cut down on tracked-in sand and grit, and use felt pads under furniture legs.
- Run a quick water-bead test every few months. If water absorbs quickly instead of beading, the sealer has worn down and it’s time to reseal.
Pro Tip: Penetrating sealers used on well-maintained residential floors can last several years between treatments, far longer than the six-to-twelve-month cycle typical of high-traffic commercial floors, so track your last reseal date rather than guessing.
For simple day-to-day upkeep between professional visits, this guide to marble floor care and these DIY steps for water stains cover the basics without requiring a technician.
Checking the authenticity and grade of the marble before restoration
Not all stone sold as “marble” is genuine marble, and grade affects both how it wears and what restoration it can tolerate. Some flooring marketed as marble is actually a composite, a dyed substitute, or a lower-grade stone with heavy resin fill, and each of these response differently to grinding and polishing equipment.
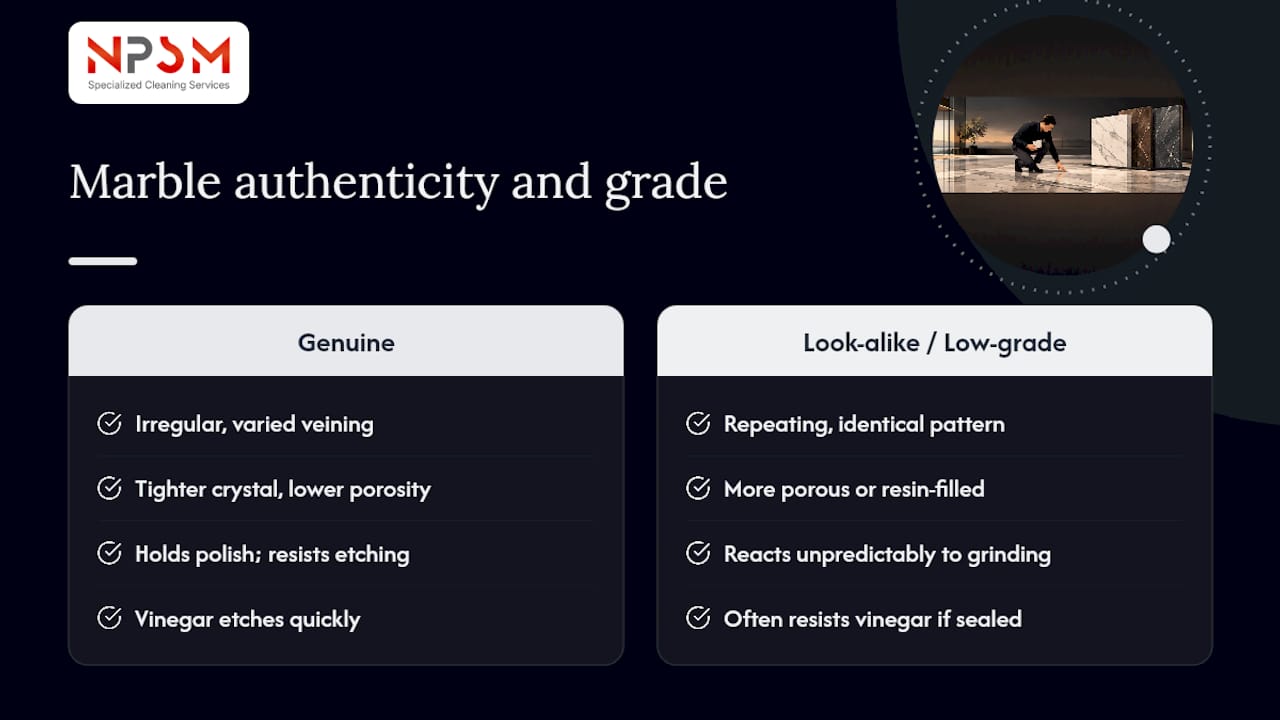
A simple way to start is checking for consistency in veining and color across tiles from the same batch. Genuine natural marble shows organic, irregular veining that varies slightly from tile to tile, while manufactured look-alikes often repeat the same pattern across multiple tiles because they’re printed or molded.
Grade matters because it affects porosity and durability. Higher-grade marble tends to have fewer fissures and a tighter crystal structure, which holds a polish longer and resists etching better than a softer, more porous grade. Lower-grade stone, or marble with heavy resin fill from the factory, can react unpredictably to standard grinding grits or aggressive sealers.
Before committing to a restoration package, ask the contractor to identify the stone type and grade during the initial site visit rather than assuming from appearance alone. This matters most when a villa has mixed flooring, where an entryway might be a premium imported marble while a utility area uses a lower-grade local stone. Treating both the same way wastes money on the cheaper stone and risks under-treating the premium one. A quick test: a drop of dilute vinegar on an inconspicuous spot will visibly etch genuine marble within seconds, which confirms it’s calcite-based stone rather than a sealed composite.
Verifying previous restoration or repair work before you restore again
Villas that have changed hands or been previously renovated often carry restoration history that isn’t obvious at first glance, and it changes what a new restoration job needs to address. A floor that looks evenly polished might be hiding a patch repair, a resin fill, or a topical coating applied by a previous owner or contractor.
Ask the seller, developer, or property manager for any records of past floor work, including invoices, warranty documents, or contractor names. If no records exist, a professional inspector can often spot signs of prior work: a slightly different sheen in one section, a color mismatch where a tile was replaced, or a topical sealer that has started to yellow or peel at the edges.
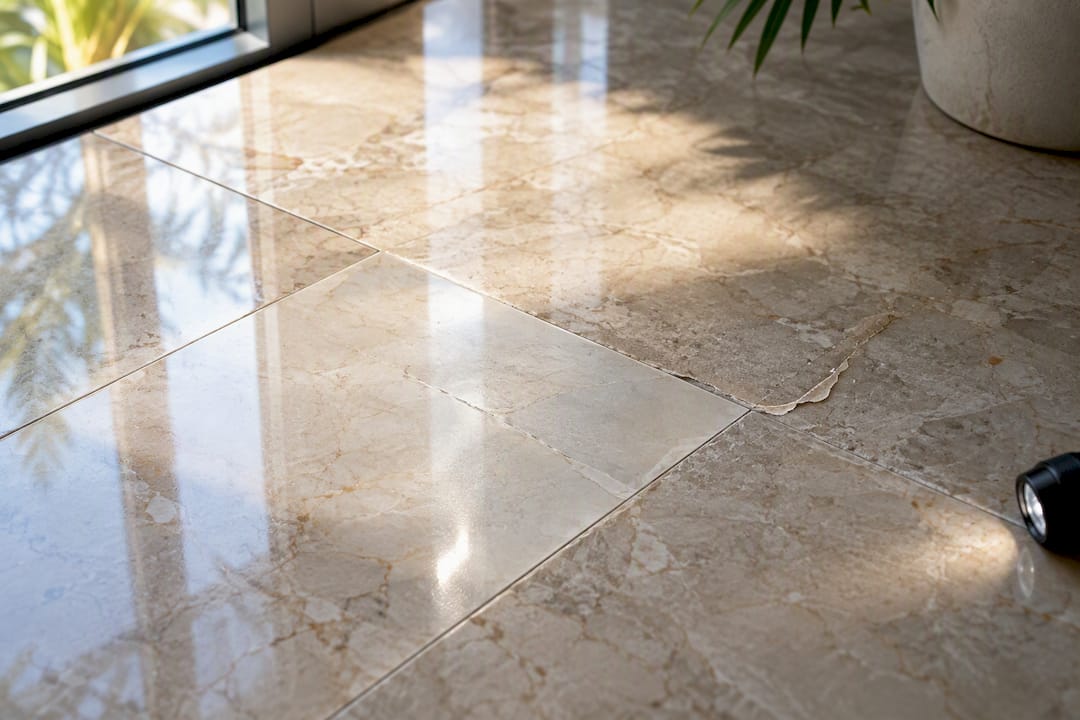
This matters because some treatments interact badly with others. A topical coating applied years ago, for instance, can trap moisture underneath if a new penetrating sealer is applied over it without first stripping the old layer. Similarly, a patch repair using the wrong grout color or a mismatched marble type will show up more clearly once the surrounding floor is freshly polished, so it’s worth identifying before the job starts rather than after.
If the villa was previously renovated, mention this explicitly when requesting quotes. A contractor who knows there’s an existing coating or patch repair can plan the right stripping or grinding sequence upfront instead of discovering it mid-job and adjusting the price and timeline on the fly.
Environmental factors that affect villa marble condition
Marble floors in villas face wear patterns shaped heavily by the local climate, and understanding these helps explain why a floor that looked fine at handover might need attention again sooner than expected. Fine sand and dust, tracked in constantly from outdoor terraces, gardens, and pool decks, act like sandpaper under foot traffic and cause the kind of micro-scratching that dulls a floor faster than normal indoor wear.
Humidity swings, especially in villas near the coast or with poorly ventilated bathrooms, drive moisture into the stone through capillary action. Over time this contributes to yellowing, efflorescence (a white, powdery mineral residue on the surface), and eventual sealer breakdown if the stone wasn’t treated with a sealer suited to those conditions. Thermal cycling, where floors near large windows or exterior doors heat up during the day and cool at night, can also stress grout lines and contribute to hairline cracking over years of exposure.
Professional restoration teams working in these conditions often adjust their approach: using penetrating sealers that resist the film failure common with topical coatings in high heat, and adapting grinding grit sequences to account for sand-driven surface wear rather than typical indoor foot traffic. If your villa has large outdoor-adjacent areas like a pool deck or garden-facing terrace with marble flooring, factor these environmental pressures into how often you schedule maintenance checks, since these zones typically need attention more often than interior rooms. For background on how porosity and sealer choice interact with stone type, this overview of stone selection and sealing covers the underlying material science.
What I’d tell a friend moving into a new villa
Get the inspection done before you sign anything, not after. I’ve seen how a small etch mark or a millimeter of lippage, ignored at handover, turns into a grinding job six months later that costs far more than a documented snag ever would have.
— Qadir
How FloorPolishing.ae handles marble inspection and restoration
Every villa’s marble tells a different story, and getting it right before you move in means starting with an accurate read of the floor rather than a guess. FloorPolishing.ae, run by NPSM Specialized Cleaning Services LLC, offers a full range of marble services built around that first assessment.
- On-site inspection covering visible defects, lippage, and sealer condition ahead of your move-in date.
- Marble polishing, grinding, and crystallization matched to the specific damage found, not a one-size treatment.
- Penetrating sealing suited to villa conditions, along with grout repair where joints have failed.
- A written, itemized quote so you know exactly what each part of the job costs before work begins.
If you’re weighing a move-in date against the state of your floors, request an on-site assessment and a written scope through our marble polishing and restoration services page before you sign your handover paperwork.
Key standards and sources referenced
This guide draws on the ANSI A108.02 lippage tolerance, professional snagging and inspection practices, and stone-care technical guidance on sealers and reseal cycles.
FAQ
What should I check first when inspecting marble before moving in?
Start with visible signs: etching, dull patches, chips, and stained grout, then check for lippage by running your hand across tile joints. Follow up with a water-bead test to check sealer condition and look for moisture signs in bathrooms and balconies.
How much lippage between tiles counts as a problem?
Lippage of a quarter inch (6 millimeters) or more is treated as a significant trip hazard under the widely used ANSI A108.02 tolerance. Anything at or above that threshold should go into your snagging report with an exact measurement.
What is the average cost of maintaining a villa in dubai?
Published figures for overall villa maintenance costs aren’t publicly listed, since they depend heavily on villa size, floor types, and how often each surface needs attention. For marble specifically, costs are best requested as an itemized quote covering polishing, sealing, and any grout repair needed.
How do I know if my marble needs grinding instead of just polishing?
Grinding is needed when there’s deep etching, heavy scratches, or noticeable lippage between tiles, since polishing alone only restores shine on an otherwise smooth surface. If a quick water-bead or visual check shows dulling but no etching or unevenness, a lighter polish is usually enough.
How often should villa marble floors be resealed?
Reseal cadence depends on sealer type and traffic, with penetrating nano-sealers on well-maintained residential floors often lasting several years compared with the six-to-twelve-month cycle typical of high-traffic commercial spaces. A simple water-bead test every few months tells you whether the current seal is still holding.