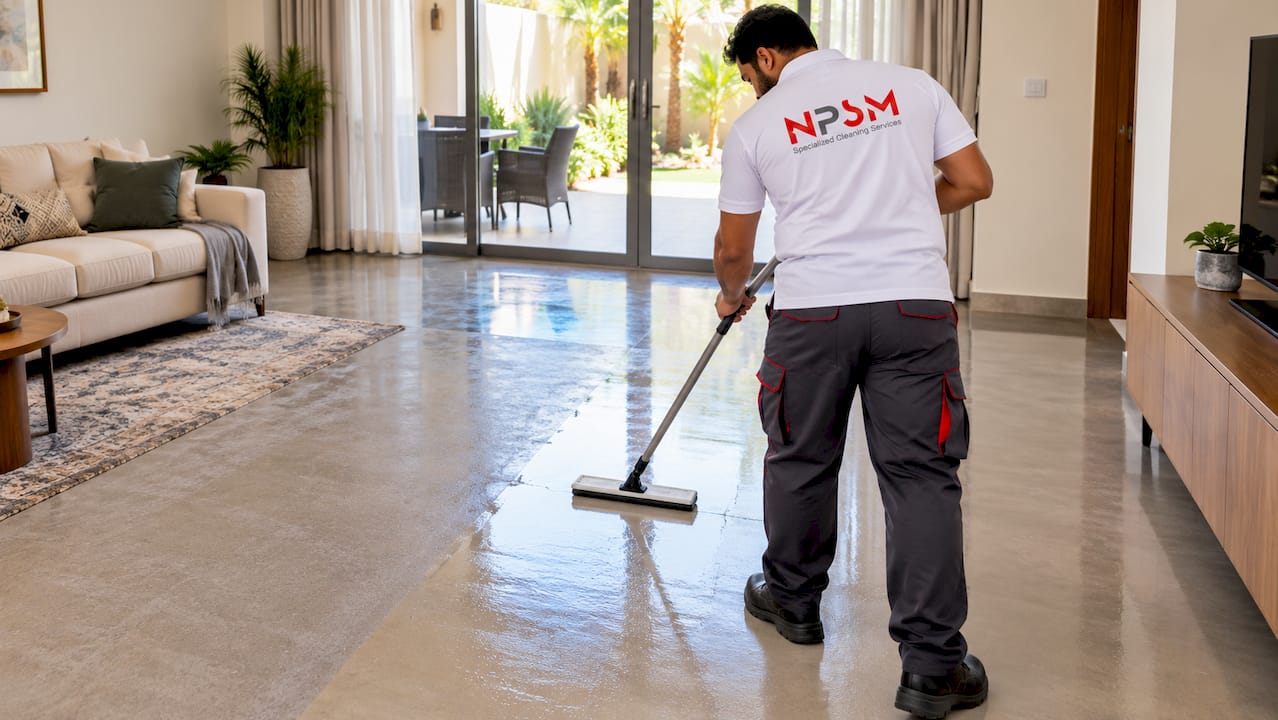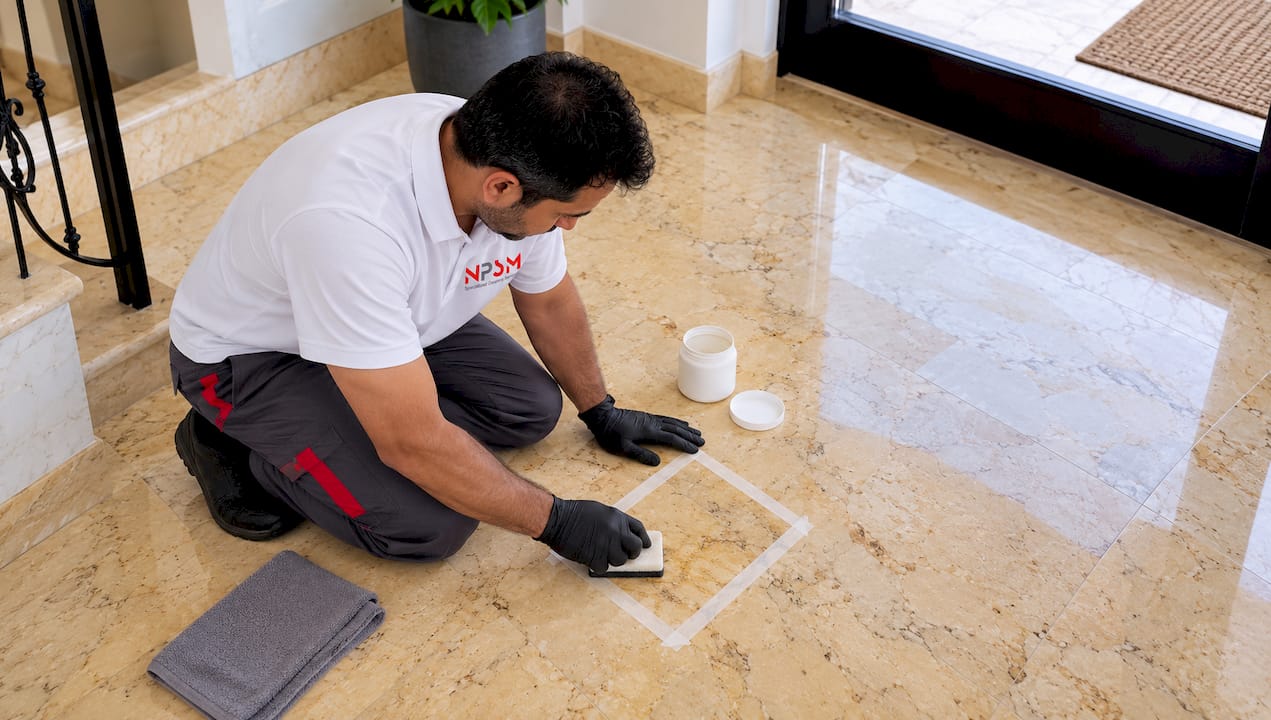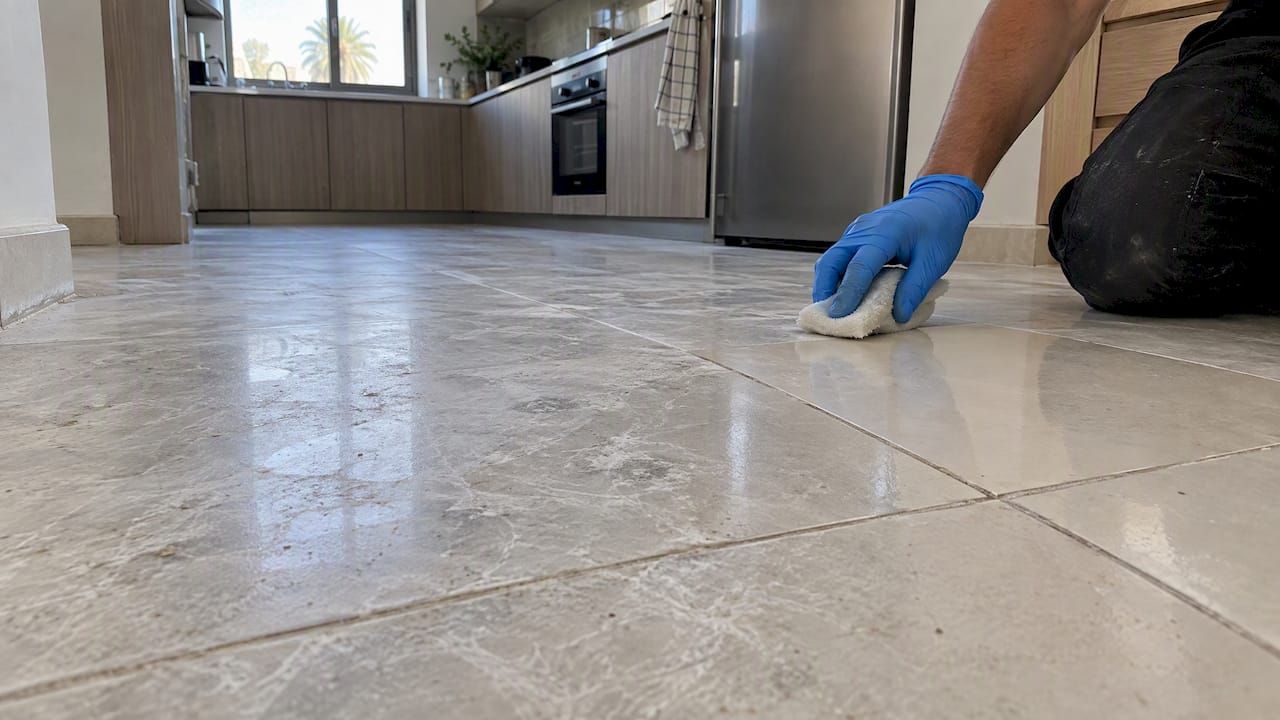

Match the cleaner to your tile and grout: identify the surface, try dry and water-first methods, then use a tile-appropriate haze remover. Never use acid on marble or other acid-sensitive stone. Fresh cement haze typically responds to mild cleanup additives, while cured haze generally requires a dedicated acid-based or epoxy haze remover suited to your specific surface, always after a spot test.
TL;DR:
Fresh cement haze (less than 10 days old) can usually be removed with mild cleaners and a damp sponge, avoiding aggressive acids or scrubbing.
Fully cured cement haze requires stronger, surface-specific remedies such as cement grout haze removers for acid-resistant tiles or dedicated epoxy haze cleaners for resin-based grouts.
Acid-based products are safe on porcelain and ceramic but dangerous for natural stone like marble, limestone, or travertine, which need pH-neutral or stone-safe cleaners.
Using household vinegar or stiff brushes on natural stone or porcelain can cause damage, so spot testing and proper tools are vital for safe cleaning.
When DIY methods fail or damage occurs, professional restoration with mechanical and chemical treatments should be considered to restore the original finish.
Table of Contents
Quick checklist for cement haze removal
Before you touch a bottle of cleaner, run through a few quick checks. Skipping this step is the single biggest reason DIY haze removal goes wrong, either because the wrong chemistry meets the wrong surface or because a mild method never got a fair chance.
-
Identify your tile (porcelain, ceramic, or natural stone) and your grout type (cementitious, epoxy, or urethane).
-
Check how long ago the grout was installed; under 10 days counts as fresh, over that as cured.
-
Start mild: dry buff with a soft cloth, then wash with water only.
-
If haze remains, move to a pH-appropriate cleaner before anything stronger.
-
For stubborn cured haze on acid-resistant tile, use a cement grout haze remover; for epoxy or urethane residue, use a dedicated epoxy haze cleaner instead.
-
Finish every pass with a full rinse, a neutralizing step where the label calls for it, and a dry buff.
-
Spot-test any product in a hidden area first, and keep gloves and eye protection on throughout.
Working through this list in order keeps you from reaching for an acid-based product on marble out of impatience, which is the single most common and most expensive mistake homeowners make.
How to identify your tile, grout, and cure stage
Getting this diagnosis right determines everything that follows, since the wrong chemistry on the wrong surface can cause permanent etching or dulling that no amount of polishing fully reverses.
-
Look at the tile surface. Porcelain and ceramic have a glazed or dense, uniform look and resist scratching with a fingernail; natural stone (marble, limestone, travertine, granite) shows natural veining, pitting, or color variation and reacts to a drop of lemon juice or vinegar left on an inconspicuous spot for a minute, since calcium-based stones will dull or fizz slightly while porcelain will not.
-
Check the grout type. Cementitious grout (the most common bagged or premixed type) looks powdery and slightly porous when dry; epoxy and urethane grouts have a smoother, plastic-like finish and were typically applied with a two-part mixing process. If you were not the installer, the leftover grout bag or a quick call to whoever did the work will confirm it.
-
Test for cure. Rub a finger firmly across the grout line; cementitious grout that still feels slightly soft or leaves a faint powder on your finger is still curing. Manufacturer guidance generally treats grout as “fresh” for up to about 10 days, while epoxy and urethane grouts are often fully cured within 7 to 14 days depending on the formulation.
Cure stage matters because it decides which chemistry is appropriate. Fresh cementitious haze lifts with much milder products, while haze that has fully cured into the tile’s surface usually needs a stronger, purpose-built remover.
Step-by-step methods for fresh, cured, and epoxy haze
The right procedure depends entirely on what you identified above. Treat these as three separate playbooks rather than one universal method.
-
Fresh cementitious grout (under about 10 days). Use a grout-cleanup additive or a heavy-duty stone and grout cleaner recommended for the first 10 days after installation rather than reaching straight for acid. Work a damp sponge in a circular motion over small sections, rinsing the sponge constantly in a two-bucket setup, which is one clean-water bucket for rinsing the sponge and one for wringing it out, so you are not spreading dissolved cement film back onto the tile.
-
Cured cement haze on acid-resistant tile. For light haze, a common dilution is one part acid-based cement grout haze remover to three parts water; heavy haze may call for a stronger mix, up to full strength, following the product label. Apply with a white nylon bristle pad (never steel wool, which can scratch glazes and leave metal residue), keep the surface wet throughout the dwell time, scrub gently, then rinse immediately and thoroughly.
-
Epoxy or urethane grout haze. Standard cement haze removers will not reliably clear epoxy or urethane residue and can damage the surface without touching the haze. Use a cleaner formulated specifically for epoxy haze, applied within the installer’s recommended cleanup window; many of these products are water-based rather than acidic and are designed to be fast-acting and low-odor when used exactly per the label.
Pro Tip: Work in small sections no bigger than a few square feet at a time so the cleaner never dries on the surface before you can rinse it.
A handful of mistakes account for most of the damage we see called in as emergency restoration jobs. Letting any acid or solvent cleaner dry on tile or stone sets the residue and often causes staining instead of removing it. Using household vinegar on marble, limestone, or travertine is a frequent and entirely avoidable cause of etching, since even a mild acid attacks calcium-based stone. Heavy-handed scrubbing, especially with stiff or metal brushes, can pull grout out of the joints or scratch a polished finish, turning a haze problem into a repair job.
Choosing the right cleaner without damaging your floor
Haze removers work because they are acidic, and acid dissolves the thin film of calcium carbonate that cement leaves behind on a tile surface. That same chemistry is what makes acid-based products unsafe for acid-sensitive natural stone, since marble, limestone, and travertine are themselves calcium-based and will etch, dull, or lose their polish on contact with the same acids that clear haze from porcelain.
-
Porcelain and ceramic generally tolerate diluted acid-based cement haze removers, including diluted vinegar in mild cases, because their surface is vitrified and not calcium-reactive.
-
Marble, limestone, travertine, and similar stones need pH-neutral or stone-safe cleaners; acid should be avoided entirely on these surfaces.
-
Epoxy and urethane grout residues need a dedicated epoxy haze cleaner or solvent-based product, since neither acid nor plain water will fully break them down.
-
Any product, acidic or not, should be spot-tested on an inconspicuous area and given a few minutes to show its effect before full application.
Much cement grout haze removers also lift efflorescence, hard-water staining, and light rust films, but manufacturer guidance is consistent that these same acidic products are not suitable for epoxy grout residue. That single distinction, cement chemistry versus epoxy chemistry, explains most of the “I used the wrong cleaner” calls homeowners make to restoration companies.
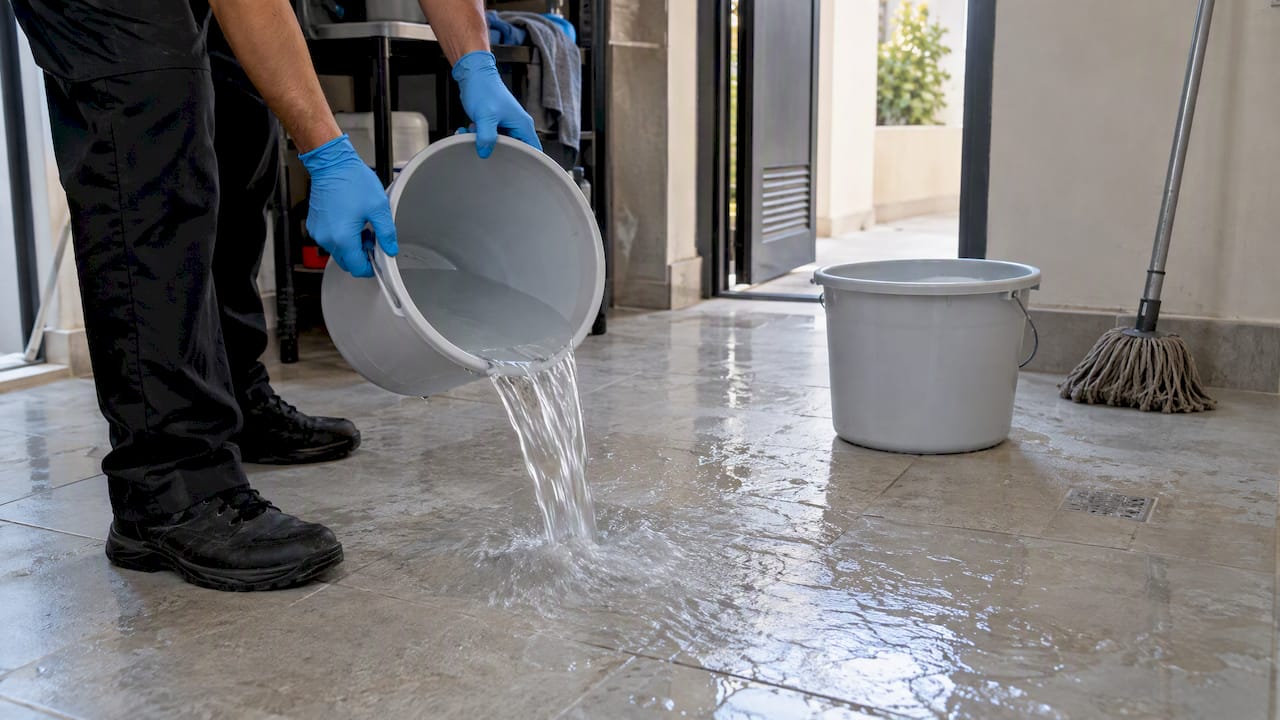
Work with gloves and eye protection on, keep the area ventilated, and store acid-based products away from bleach or ammonia-based cleaners. A simple two-bucket rinse, clean water to flush the surface and a second pass to neutralize where the label specifies, closes out the job and keeps any remaining acid from continuing to react after you’ve stopped scrubbing. For stone specifically, our guide on removing marble water stains walks through non-acidic alternatives that apply just as well to haze concerns on polished stone.
Tools and materials for a cement haze removal job
Having the right kit on hand before you start keeps a haze job from turning into three separate trips to the hardware store.
-
A white nylon scrub pad or soft-bristle brush, since anything stiffer or metal can scratch glazed or polished surfaces.
-
A grout sponge and several microfiber cloths for wiping and final buffing.
-
A two-bucket setup, one for clean rinse water and one for wringing out your sponge or pad.
-
Nitrile gloves and eye protection, non-negotiable whenever you are working with acid-based or solvent-based cleaners.
-
The correct cleaner for your situation: a cement grout haze remover for cured cementitious residue on acid-resistant tile, a dedicated epoxy haze cleaner for epoxy or urethane grout, or a pH-neutral stone cleaner for marble and similar surfaces.
-
A wet/dry vacuum for larger areas, which speeds up rinse-water pickup and reduces the chance of cleaner sitting too long on the tile.
For a single bathroom or small kitchen backsplash, buying these items outright usually costs less than renting equipment. For a whole-floor job, renting a wet/dry vac or a low-speed floor buffer can save time without the cost of owning equipment you will rarely use again.
When a DIY job should become a booked service
Some situations call for professional equipment and judgment rather than another round of scrubbing. Watch for these signals:
-
Visible etching, dull patches, or loss of polish on marble, limestone, or travertine after any cleaning attempt.
-
Haze covering a large floor area rather than a few tiles, where consistent results by hand become difficult.
-
Grout that is crumbling, pitting, or pulling away from the joint during cleaning.
-
Delicate or high-value natural stone, such as a marble entryway or staircase, where a wrong move is costly to fix.
-
Haze that persists after you have correctly matched chemistry to surface and followed label dwell times.
A professional crew approaches the same problem with diagnostic testing to confirm stone type and damage before applying anything, stone-safe chemical systems suited to the specific material, and mechanical options like honing, grinding, and diamond polishing when haze is tangled up with etching or a dulled finish. These processes remove a thin layer of the surface and restore clarity without relying on more aggressive chemistry. If you are weighing a service call, our tile polishing services page explains what that kind of visit typically involves, and a solid general reference on grout and tile cleaning best practices is worth a read before you decide. Before any visit, take photos of the affected area, note what cleaners you’ve already tried, and ask the contractor directly whether they test on a hidden spot before full treatment.
A professional view on where DIY haze removal goes wrong
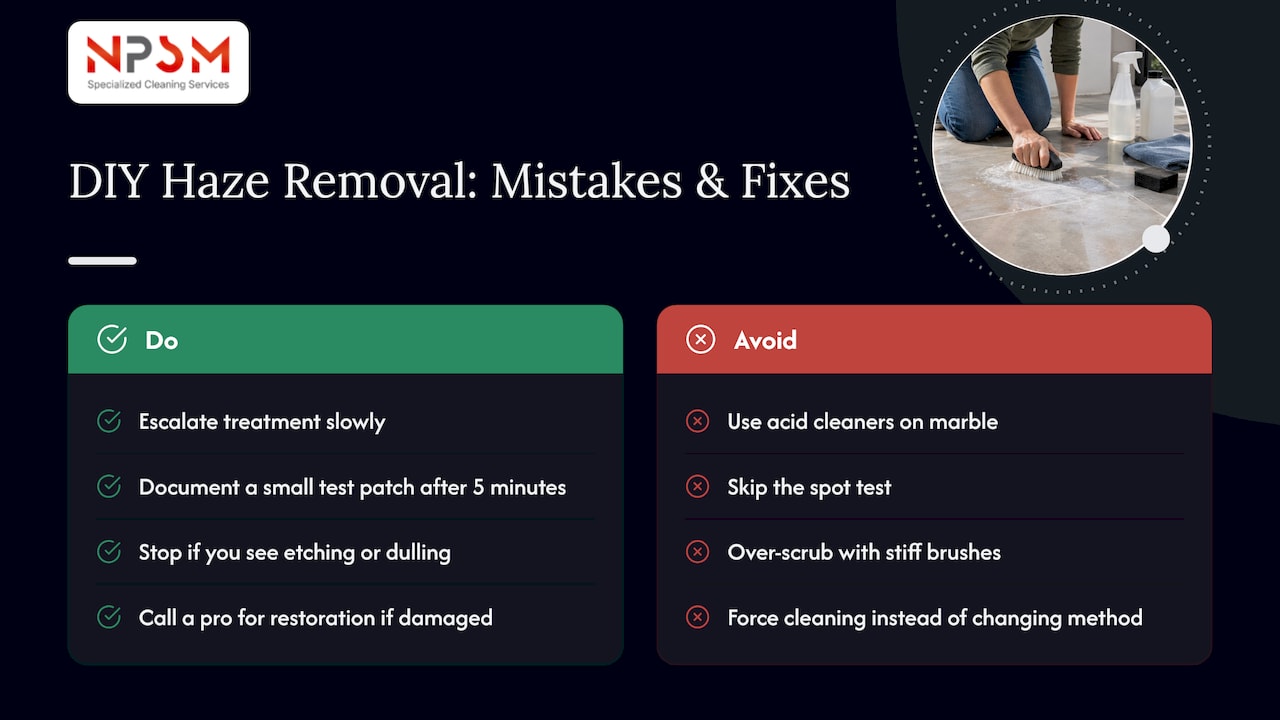
The mistakes we see most often are not complicated: homeowners reach for an acid-based cleaner on marble because it worked on a neighbor’s porcelain, or skip the spot test because the area is small and “it’ll be fine.” Over-scrubbing is the other repeat offender, especially with stiff brushes that chew into grout lines trying to force out haze that actually needed a different chemical, not more muscle.
The fix is not more effort, it’s more discipline. Escalate slowly, document what a small test patch looks like after five minutes, and stop the moment you see etching or dulling rather than pushing forward hoping it improves. Some damage, once it happens on natural stone, is a restoration job rather than a cleaning one.
— Qadir
How we help when haze or damage won’t budge
When cement haze has etched a stone surface or spread across a larger floor than hand-cleaning can reasonably fix, we step in with diagnostic testing, stone-safe chemical systems, and diamond polishing and honing to bring back the original finish instead of masking the problem. Professional restoration teams handle marble, granite, terrazzo, porcelain, and ceramic restoration across various property types, typically involving an inspection before work begins. If your haze problem has gone past a weekend DIY fix, visit our tile and grout restoration services page to request an inspection.
FAQ
How can I remove cement residue?
Start by identifying whether your grout is still fresh (under about 10 days old) or fully cured, since that determines the right cleaner. Fresh residue usually lifts with a grout-cleanup additive and a damp sponge, while cured residue on acid-resistant tile typically needs a diluted cement grout haze remover applied with a white nylon pad, followed by a thorough rinse.
How do I apply a cement grout haze remover?
Rinse immediately and completely once the haze lifts, since letting the product dry on the tile can cause staining.
What is the best cleaner to remove grout haze?
The right cleaner depends on your grout and tile: acid-based cement grout haze removers work on cured cementitious residue over acid-resistant tile like porcelain or ceramic, while epoxy or urethane grout needs a dedicated epoxy haze cleaner instead. Natural stone such as marble or limestone calls for pH-neutral, stone-safe products rather than any acidic cleaner.
How do I get concrete haze off brick?
Brick behaves more like a porous masonry surface than glazed tile, so a mild approach, dry brushing followed by a water rinse, is worth trying first before any chemical treatment. If haze persists, a cleaner labeled safe for masonry and matched to the brick’s finish is the safer route, always after testing on a hidden section first.
Is it safe to use vinegar on grout haze?
Diluted vinegar can help with light cement haze on porcelain or ceramic tile, but it should never be used on marble, limestone, or travertine, since even mild acid etches these calcium-based stones. A pH-neutral stone cleaner is the safer choice whenever natural stone is involved.