
The best approach to adhesive residue tile removal starts gentle and escalates only when needed: mechanical scraping and heat first, household solvents second, and commercial removers or power tools as a last resort. Always spot-test and ventilate before any chemical step. Old adhesive doesn’t always need full removal before re-tiling, but new thin-set adheres better to a clean, sound surface.
TL;DR:
Using heat and mechanical scraping should be attempted before resorting to chemical removers, especially on thin-set or natural stone surfaces.
For stubborn adhesive, isopropyl alcohol or citrus-based solvents are the next step after heat, but prolonged dwell time improves effectiveness.
Avoid dry-sanding or power-scraping old mastic, especially on floors installed before the 1980s, due to asbestos health risks; wet methods are safer.
Power tools are a last resort and should be used carefully to prevent damaging tiles, with a professional recommended for large or delicate areas.
Proper ventilation, personal protective equipment, and spot-testing are essential for safety during chemical adhesive removal, especially with solvent or caustic products.
Table of Contents
Quick decision map: which method to try first
Different adhesive types respond to different first moves, and picking the right one saves you an afternoon of frustration. Fresh glue that hasn’t fully cured usually lifts with warm soapy water and a plastic scraper. Peel-and-stick tack, the kind left by vinyl tiles or stick-on vinyl planks, typically softens with a hair dryer before it will peel away in strips. Hardened mastic, the thick black or tan adhesive common under older vinyl or ceramic, often needs heat plus a citrus-based solvent to break down. Carpet tack residue tends to respond well to isopropyl alcohol. Paint-like or latex-based residue usually comes off with warm water and a nylon scrub pad before anything stronger is needed.
Once you know what you’re dealing with, follow a simple escalation ladder instead of jumping straight to the strongest product in the cabinet:
-
Start with gentle cleaners: warm water, dish soap, or diluted vinegar on a cloth or soft scrub pad.
-
Add controlled heat: a hair dryer or heat gun to soften adhesive before scraping.
-
Move to solvents: isopropyl alcohol or citrus-based adhesive removers for stubborn spots.
-
Use commercial removers: solvent-based or caustic products for mastic that won’t budge otherwise.
-
Bring in power tools or a professional: floor scrapers and rotary tools only for large areas or after every gentler step has failed.
Some situations call for stopping the ladder entirely and calling a professional. If you suspect the floor was installed before the 1980s, treat any black mastic as a possible asbestos risk and don’t scrape, sand, or heat it yourself. The same goes for large areas (more than a small room), delicate natural stone like marble or limestone, and any adhesive that releases a strong chemical smell you can’t ventilate away quickly.
Step-by-step removal methods that actually work
Each method below has a place, and the order matters more than the tools themselves. Working gentle-to-aggressive protects your tile’s finish and keeps you from reaching for solvents you didn’t need.
-
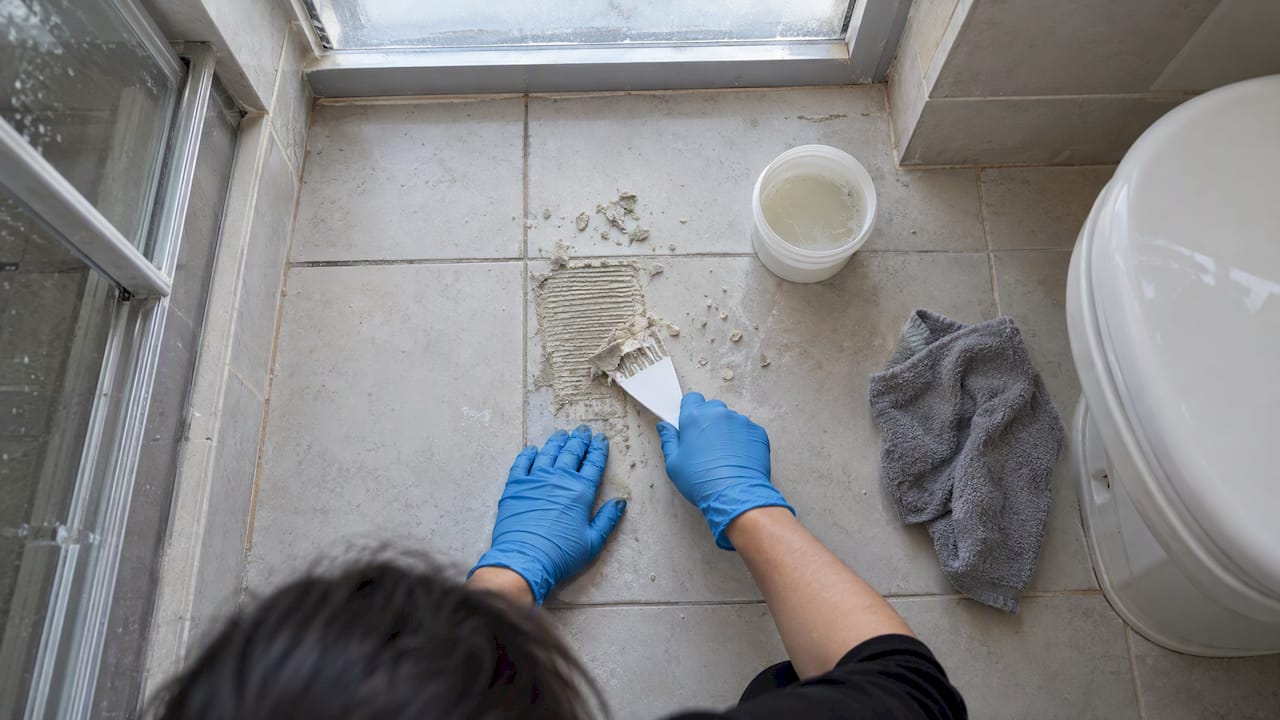
Scrape mechanically first. Use a plastic putty knife or a dedicated floor scraper held at a low angle, close to flat against the tile, so the edge glides under the adhesive rather than digging into glaze or grout lines. Work in short, overlapping strokes and clear the blade often so you’re not grinding softened adhesive back into the surface. A metal razor scraper works on tough spots, but keep it nearly flat to avoid scratching glazed ceramic or porcelain.
-
Add heat where scraping alone stalls. A hair dryer on its highest setting, held 4 to 6 inches from the surface and moved constantly, softens pressure-sensitive adhesives like peel-and-stick tack within a minute or two. A heat gun works faster on thicker mastic but runs hotter, so keep it moving and test on a small patch first since excess heat can melt or discolor vinyl and some resilient flooring. Skip heat entirely on vinyl composition tile unless you’ve confirmed the tile itself tolerates it.
-
Try household solvents next. Warm soapy water handles light residue. Isopropyl alcohol applied with a cloth and left to sit for a few minutes works well on carpet tack and light adhesive films. White vinegar or a citrus-based solvent breaks down stickier residues, especially peel-and-stick glue, when given time to soak in rather than being scrubbed immediately. Dwell time matters here: applying a solvent and walking away for several minutes almost always outperforms scrubbing the moment you apply it, and rushing this step tends to smear residue rather than lift it.
-
Reach for a commercial adhesive remover if household options fail. These fall into two families: solvent-based removers (often containing acetone or similar compounds) and caustic, alkaline removers. Solvent-based products are flammable and should never be used near an open flame or pilot light, while caustic removers can burn skin on contact. Read the label fully before opening the container, apply in a well-ventilated room, let it dwell for the time the label recommends, then scrape and wipe clean. Rinse the area afterward to neutralize any residue before it dries into a film.
-
Use power tools only as a last resort. Rented floor scrapers, oscillating multi-tools with a scraper attachment, or rotary discs can clear large areas faster than hand scraping, but they also carry the highest risk of gouging tile, chipping grout lines, or throwing dust into the air. These tools make sense for a full room of hardened mastic, not a few square feet of tacky residue, and if the floor’s history is unknown, a professional with proper dust containment is the safer choice.
Pro Tip: Work in small sections, roughly 2 to 3 square feet at a time, so heat or solvent doesn’t dry out before you get to scraping it.
If you’re also dealing with paint spots near the adhesive, the same gentle-first logic applies. Our guide on removing paint from wood floors walks through a similar escalation approach for a different surface.
Safety, spot testing, and the asbestos question
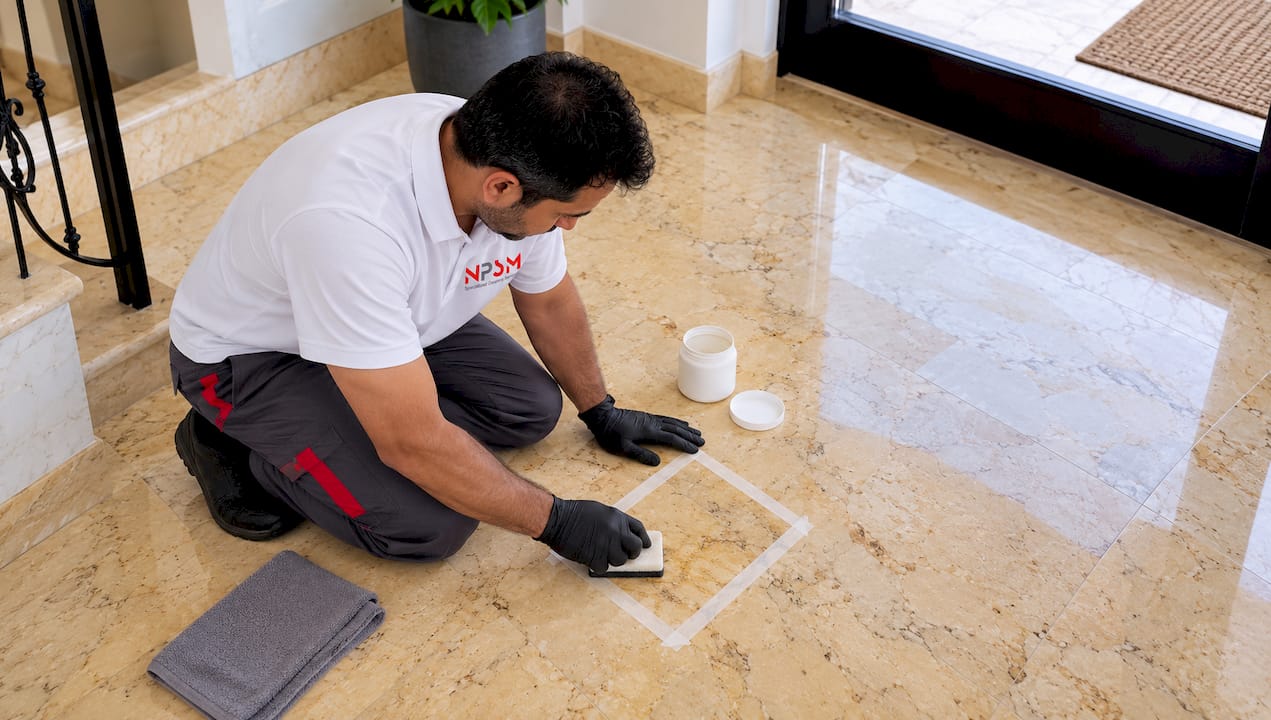
Before any chemical touches your tile, test it. Pick a hidden spot, such as under an appliance or inside a closet, and apply the cleaner or solvent exactly as you plan to use it elsewhere. Let it sit the full recommended dwell time, then wipe it away and let the area dry completely. Check for color change, dulling, or a slightly etched texture before moving to the rest of the floor. Skipping this step on polished stone or a glazed finish is the most common reason DIY adhesive removal ends in a bigger restoration job than the one you started with.
Ventilation isn’t optional once you’re using anything stronger than soapy water. Open windows, run a fan, and keep the room air moving the entire time you’re working, even with products labeled safe for household use, since fumes concentrate quickly in closed rooms. Wear nitrile gloves and eye protection at minimum, and add a respirator rated for organic vapors when working with solvent-based or caustic removers for more than a few minutes. Solvent-soaked rags should go into a sealed metal container, not a regular trash bag, since they can pose a fire risk if left bunched up.
The asbestos question deserves its own pause. If your tile or the mastic beneath it was installed before the 1980s, assume it may contain asbestos until you know otherwise. HSE guidance on asbestos-containing floor tiles and EPA interim guidelines both point to the same rule: never dry-sand or power-scrape old mastic, because that’s exactly the action that releases fibers into the air you’re breathing. Wet methods that suppress dust are the safer DIY approach when asbestos is a possibility, but licensed abatement professionals are the right call for any confirmed asbestos-containing material.
-
Spot-test first, every time, on a hidden section before treating the whole floor.
-
Ventilate continuously when using solvents, alcohol, or commercial removers.
-
Wear gloves, eye protection, and a respirator for anything beyond soap and water.
-
Never dry-sand or power-scrape mastic from a pre-1980s floor.
-
Dispose of solvent rags in a sealed metal container, away from heat sources.
Indoor air quality takes a measurable hit from solvent fumes released during adhesive removal, which is why ventilation during the job matters as much as the product you choose.
Cleaning up and prepping tile after adhesive removal
Once the adhesive is gone, the surface still needs attention before it’s ready for new flooring, sealant, or just everyday use. Rinse the area thoroughly with clean water to wash away any solvent or caustic residue, then dry it completely with a clean cloth or let it air dry before inspecting. Leftover film from a chemical remover can interfere with new adhesive bonding or trap grit under a sealer, so a second rinse pass is worth the extra five minutes.
Whether you need every trace of old adhesive gone depends on what comes next. If you’re laying new tile with fresh thin-set, a thin, flat, well-bonded layer of old adhesive is often fine to tile over, since most thin-set mortars bond to a clean, sound substrate regardless of minor residue. If you’re resealing or polishing the existing tile, though, any leftover adhesive will show through as a dull patch or uneven sheen, so full removal matters more for a finished, visible floor.
-
Rinse and dry fully before judging whether more cleaning is needed.
-
Leave thin, flat residue in place if you’re about to apply new thin-set over it.
-
Remove all residue if the existing tile will stay exposed and visible.
-
Reseal natural stone only after the surface is completely dry and free of solvent film.
Restoring shine on natural stone after adhesive removal is where DIY often hits its limit. A light surface polish with a stone-safe cleaner can bring back some gloss on a small patch, but matching that finish across a whole room usually calls for diamond honing and professional-grade polishing equipment. Our tile gloss restoration guide covers the difference between a quick DIY buff and a full restoration pass.
Fixes when the first attempt doesn’t work
Stubborn residue usually means one of three things went wrong, and each has a specific fix rather than just repeating the same step harder.
-
If residue keeps re-forming or turns gummy, you likely didn’t give the solvent enough dwell time, or you’re using the wrong solvent family for that adhesive. Try a longer soak or switch from a water-based cleaner to alcohol or a citrus solvent, and always spot-test the new product before applying it broadly.
-
If the tile finish looks dull, hazy, or slightly etched, stop using solvents immediately. Rinse the area thoroughly, let it dry, and assess whether a light polish restores the shine or whether the damage needs professional attention. Etching on natural stone rarely reverses with household products.
-
If grout lines crumbled or tile edges chipped during scraping, small grout gaps can be patched with matching grout from a hardware store, but chipped tile edges or cracked pieces usually need a professional repair to avoid water getting underneath and causing bigger problems later. Our grout restoration guide covers basic grout patching in more detail.
When DIY hits its limit: a realistic perspective
Most small patches of adhesive residue, a few square feet near where an appliance or rug used to sit, are genuinely manageable with a scraper, some heat, and patience over an afternoon. A full room of hardened mastic under old vinyl is a different project entirely, often taking a full day or more and carrying real risk of damaging tile or grout if you’re not used to the tools.
The decision point isn’t really about skill, it’s about risk. A chipped tile in a hallway is an inconvenience. A disturbed asbestos-containing mastic layer, or a ruined marble finish that took decades to develop its patina, is a much costlier mistake. When the floor’s age is uncertain, when the area is large, or when the surface is natural stone, the safer and often cheaper path in the long run is to have a professional assess it before you start scraping.
— Qadir
When to choose professional tile and floor restoration
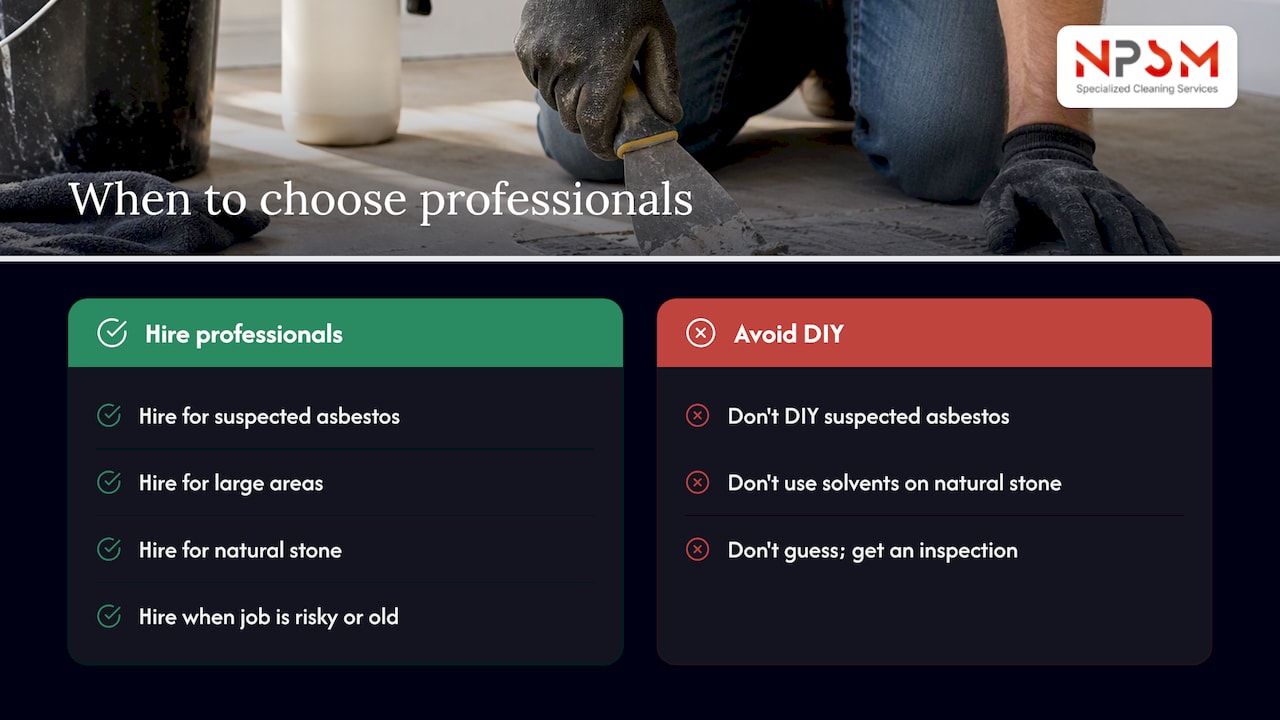
For small, fresh residue spots, the steps above will get you there. For anything involving suspected asbestos, large areas, or natural stone that can’t afford a solvent mistake, professional adhesive and mastic removal as part of broader tile and floor restoration work is recommended.
A professional team assesses the adhesive type, the tile or stone underneath, and the safest removal method before starting, which avoids the guesswork that turns a weekend DIY job into a repair bill. Professional-grade equipment and eco-friendly products suited to each floor type should be used, so a marble threshold gets different treatment than a porcelain hallway. Beyond removal, we also handle the polishing and grout restoration that often follows, since adhesive cleanup frequently leaves a surface that needs a finish pass to look right again.
If you’re facing a job that feels too large, too old, or too risky to tackle yourself, our tile polishing and restoration services page outlines what a professional visit covers, from initial inspection to final finish. You can also browse our full floor polishing and restoration services to see how adhesive cleanup fits alongside tile, marble, and grout care for your property.
FAQ
How do you get rid of adhesive residue on tile?
Start with a plastic scraper and warm soapy water for light residue, adding heat from a hair dryer for stickier spots. For stubborn mastic, isopropyl alcohol or a citrus-based solvent applied with a few minutes of dwell time usually finishes the job, with commercial removers reserved for residue that resists everything else.
What will dissolve floor adhesive?
Isopropyl alcohol, citrus-based solvents, and white vinegar dissolve many common household adhesives when given a few minutes to soak in before scraping. Harder mastic often needs a commercial solvent-based or caustic adhesive remover, applied in a ventilated space and rinsed thoroughly afterward.
Do I need to remove old adhesive before re-tiling?
Not always: a thin, flat, well-bonded layer of old adhesive is often fine to tile over with fresh thin-set, since the mortar needs a clean, sound surface rather than a bare one. Thick, uneven, or crumbling adhesive should come up first, since it will create an unstable base for new tile.
What is the best adhesive remover for tile?
There’s no single best product since the right remover depends on the adhesive type and your tile’s finish. Start with isopropyl alcohol or a citrus-based solvent for most residues, and move to a labeled commercial remover only if those don’t work, always spot-testing first on a hidden area.
How do I know if old adhesive might contain asbestos?
Floors or mastic installed before the 1980s carry a higher chance of containing asbestos, especially black or dark-colored adhesive under vinyl tile. If you suspect this, avoid any dry scraping or sanding and consider having the material tested or handled by a licensed abatement professional rather than removing it yourself.