TL;DR:
- Proper floor polishing restores shine and protects floors in Dubai’s harsh environment.
- Different floor types require specific techniques, tools, and maintenance routines.
- Regular professional care and careful DIY methods extend floor lifespan in Dubai’s unique climate.
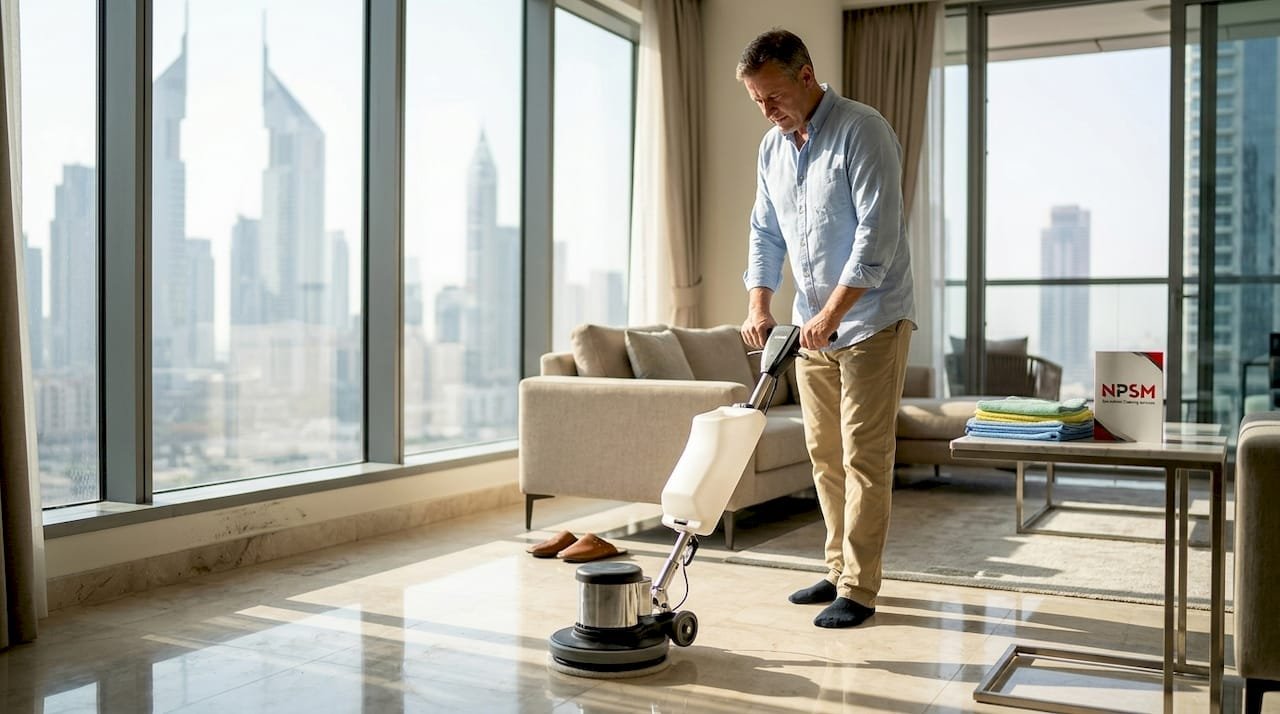
Dull, scratched floors can make even the most beautifully furnished Dubai villa or apartment feel neglected. Whether it’s marble that’s lost its mirror shine, wood that looks tired and gray, or tiles clouded by years of sand and foot traffic, worn floors are one of the most common frustrations property owners face here. The good news is that the right polishing process can restore your floors to better-than-new condition, protect them from further damage, and genuinely increase your property’s value. This guide walks you through everything you need to know, from identifying what your floors need to maintaining that shine for years to come.
Table of Contents
- Understanding floor polishing in Dubai
- Essential tools, materials, and preparations
- Step-by-step floor polishing process
- Troubleshooting and common mistakes
- Maintaining your polished floors for lasting beauty
- A professional perspective: What most guides miss about Dubai floors
- Transform your floors with expert help
- Frequently asked questions
Key Takeaways
| Point | Details |
|---|---|
| Know your floor type | Each surface—marble, wood, vinyl, or tile—needs the right method for best results in Dubai. |
| Preparation is crucial | Proper cleaning and equipment protect your surfaces and ensure a longer-lasting shine. |
| Follow clear steps | Using the correct process minimizes risk and delivers professional-level outcomes. |
| Avoid common pitfalls | Mistakes like skipping surface prep or using wrong products can quickly damage floors. |
| Maintain for longevity | A simple, regular care routine will help polished floors keep their luster for years. |
Understanding floor polishing in Dubai
Floor polishing is more than just buffing a surface to make it look nice. It’s a targeted process that removes surface scratches, fills micro-abrasions, and applies a protective layer that hardens the floor against everyday wear. Depending on the material, polishing can involve mechanical grinding, chemical treatments, crystallization, or a combination of all three.
Different floor types need different approaches. Marble responds well to diamond-pad grinding followed by crystallization. Wood requires sanding to remove the old finish before a fresh coat of oil or lacquer is applied. Vinyl and tile typically need chemical stripping, cleaning, and a fresh sealer or polish coat. Granite and natural stone often need honing before any shine treatment.
Knowing when your floors need attention is just as important as knowing how to treat them. Watch for these signs:
- Visible scratches or scuff marks that don’t clean away
- A dull, hazy appearance even after mopping
- Discoloration or yellowing, especially near windows or high-traffic zones
- Grout lines that look dark, cracked, or uneven
- A surface that feels rough or gritty underfoot
Dubai’s environment adds a layer of complexity that most generic guides ignore. Frequent sand and dust accelerate floor wear significantly, acting like fine sandpaper every time someone walks across the surface. High humidity in summer months can cause wood to swell and certain sealers to bubble. Air conditioning cycling also creates temperature shifts that stress floor materials over time.
| Floor type | Recommended polish method | Frequency in Dubai |
|---|---|---|
| Marble | Diamond grinding + crystallization | Every 12-18 months |
| Wood | Sanding + oil/lacquer finish | Every 18-24 months |
| Tile | Chemical strip + sealer | Every 12-18 months |
| Vinyl | Buffing + floor finish coat | Every 12 months |
| Granite/natural stone | Honing + sealing | Every 18-24 months |
Understanding your specific floor type and Dubai’s local conditions is the foundation for everything that follows. Whether you’re deciding DIY or hire a pro, this knowledge shapes every decision you’ll make.
Essential tools, materials, and preparations
Once you understand your floors’ needs, it’s time to gather the right tools and check your surfaces. Going in unprepared is the fastest way to create new problems while trying to fix old ones.
Here’s what you’ll need for most residential polishing jobs:
- Floor polisher or buffer machine (rotary or orbital, depending on floor type)
- Diamond polishing pads (for marble and stone, in grits from coarse to fine)
- Sandpaper or sanding belts (for wood floors, starting at 40-60 grit)
- Floor stripper solution (for vinyl and tile with old wax buildup)
- pH-neutral cleaner (safe for all floor types during prep)
- Polish or sealer matched to your specific floor material
- Microfiber mops and clean cloths
- Safety gear: gloves, eye protection, knee pads, and a dust mask
Proper preparation prevents damage and ensures lasting results. Before you apply any product, the surface must be completely clean and dry. Remove all furniture from the area. Sweep or vacuum thoroughly, paying attention to corners and grout lines where Dubai’s fine sand collects.
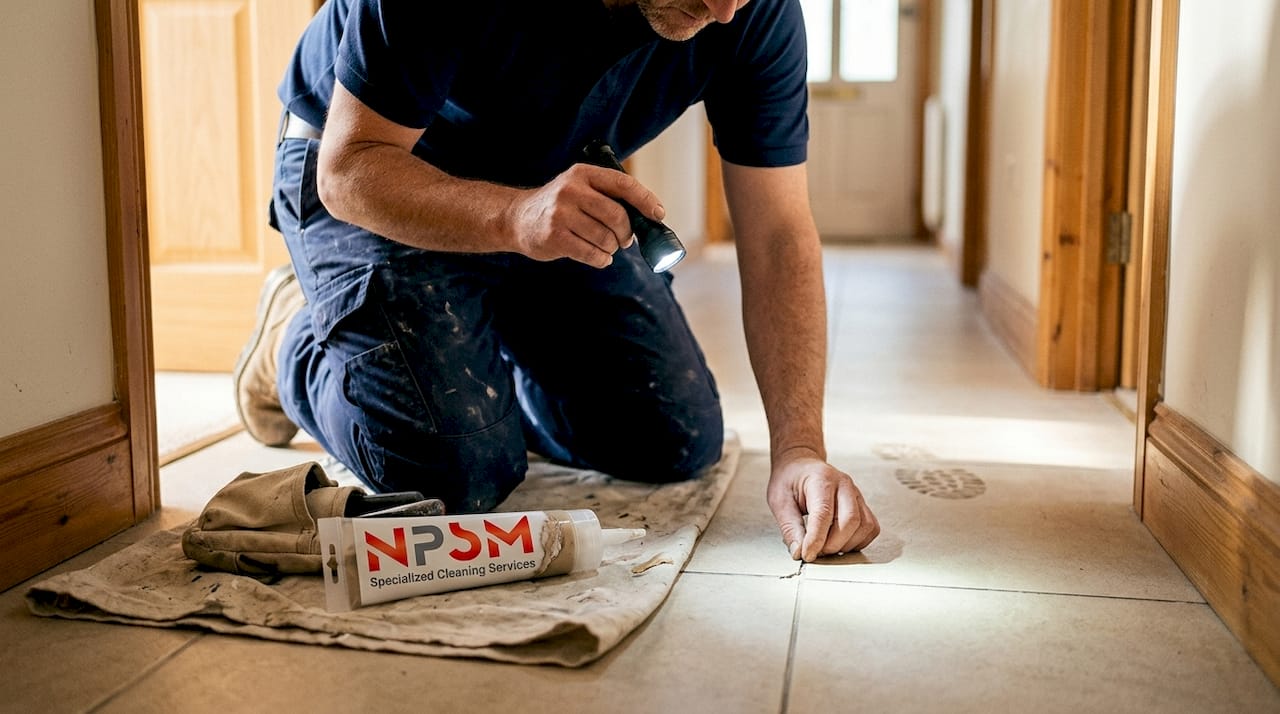
Inspect the floor for cracks, chips, or loose tiles. These need to be repaired before polishing. Applying polish over a damaged surface will only seal in the problem and make future repairs harder.
Pro Tip: Before committing to any polish or chemical product on your full floor, test it in a small, hidden area like inside a closet or behind a door. Wait 24 hours to check for discoloration, bubbling, or any adverse reaction. This one step can save you from a costly mistake.
For a more detailed walkthrough specific to larger properties, the Dubai villa prep guide covers surface-specific preparation in depth. You can also review floor prep safety tips before handling chemical strippers or sealers.
| Floor type | Key prep tool | Product to use | Safety note |
|---|---|---|---|
| Marble | Vacuum + damp mop | Stone-safe cleaner | Avoid acidic products |
| Wood | Vacuum + dry sweep | Wood floor cleaner | No excess water |
| Tile | Grout brush + mop | Tile degreaser | Ventilate well |
| Vinyl | Soft broom + mop | pH-neutral stripper | Wear gloves |
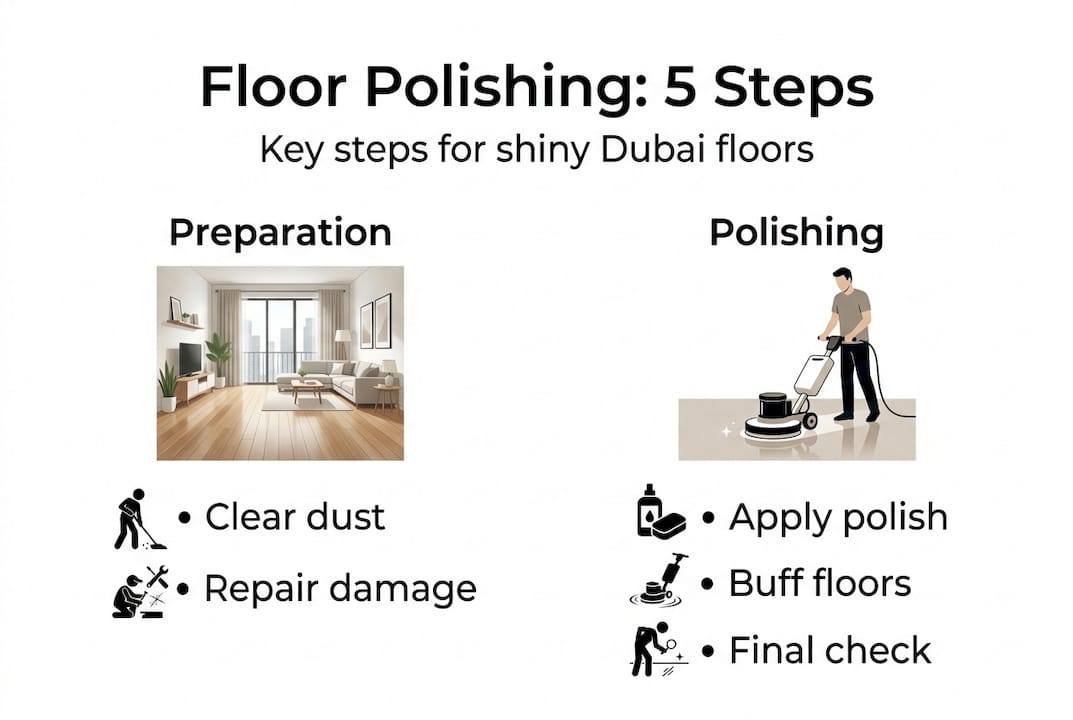
Step-by-step floor polishing process
After gathering supplies, you’re ready to begin polishing. Here’s what to do, step by step.
Safety warning: Always ventilate the room fully before working with chemical polishes, strippers, or sealers. Open windows and doors, use a fan if needed, and wear gloves and eye protection throughout the process. Never mix chemical products.
For marble floors:
- Vacuum the entire surface to remove all grit and sand.
- Mop with a stone-safe, pH-neutral cleaner. Let it dry completely.
- Attach a coarse diamond pad (400 grit) to your floor polisher and work in overlapping circles.
- Progress through finer grits (800, 1500, 3000) until the surface feels smooth.
- Apply a marble crystallizer or polishing powder with a white buffing pad.
- Buff to a high shine, then apply a marble sealer to protect the finish.
For detailed marble floor polishing steps, including how to handle etching from acidic spills, the full process is covered in our complete guide.
For wood floors:
- Clear the room and vacuum thoroughly.
- Sand the floor starting with coarser grit, moving to finer grit for a smooth finish. See how wood sanding vs polishing differ before choosing your method.
- Vacuum all dust immediately after sanding.
- Apply wood floor oil or lacquer in thin, even coats.
- Allow each coat to dry fully before applying the next.
- Buff lightly between coats for a smoother result.
For tile and vinyl floors:
- Strip old wax or sealer using an appropriate floor stripper.
- Rinse thoroughly and allow to dry.
- Apply a fresh coat of floor finish or sealer with a clean applicator.
- Allow to cure fully before foot traffic.
Correct steps maximize shine and durability while minimizing risk of surface damage.
Pro Tip: Work in small sections of about 3 to 4 square meters at a time. This keeps the product from drying unevenly and gives you consistent control over the finish across the entire floor.
Troubleshooting and common mistakes
Even with thorough preparation, challenges may arise. Here’s how to avoid and address them.
The most common problems homeowners run into after polishing include:
- Streaky finish: Usually caused by applying too much product at once or not buffing evenly.
- Cloudy or hazy surface: Often a sign that the old stripper wasn’t fully rinsed away, or that the wrong sealer was used.
- Rapid re-soiling: Happens when the sealer is too thin or was applied to a surface that wasn’t fully clean.
- Swirl marks on marble: Caused by using too coarse a pad without progressing through finer grits.
Common mistakes that make things worse:
- Skipping grout restoration before polishing tiles. Dirty or cracked grout will undermine even a perfect polish.
- Using a polish designed for one floor type on another. A wood polish on vinyl, for example, can create a dangerously slippery surface.
- Over-buffing. More passes don’t always mean more shine. On softer materials like vinyl, over-buffing can actually remove the finish layer.
Inexperienced DIY can lead to uneven results or surface damage that costs more to fix than hiring a professional would have. For a clear comparison of outcomes, see professional vs. DIY results.
| Problem | DIY fix | Call a pro when… |
|---|---|---|
| Streaks | Re-buff with clean pad | Streaks persist after 2 attempts |
| Cloudy finish | Re-strip and reapply sealer | Stone surface is etched or pitted |
| Swirl marks | Progress through finer pads | Deep scratches are visible |
| Rapid re-soiling | Deep clean and reseal | Floor has structural damage |
For floors damaged during renovation, after-renovation care is a separate process that needs specific attention.
Pro Tip: Always vacuum the entire floor thoroughly before any wet polishing step. Even a small grain of sand trapped under a buffing pad can leave a deep scratch across marble or wood that takes significant effort to repair.
Maintaining your polished floors for lasting beauty
Proper maintenance means enjoying your results longer with less effort. Here’s how to protect what you’ve put into your floors.
A simple daily and weekly routine makes a dramatic difference:
- Daily: Dry sweep or use a microfiber dust mop to remove sand and grit before it gets ground into the surface. In Dubai, this step is non-negotiable.
- Weekly: Mop with a pH-neutral cleaner diluted in clean water. Wring the mop almost dry before use, especially on wood or marble.
- Monthly: Inspect grout lines and sealer condition. Address any dull patches before they spread.
- Every 6 months: Apply a maintenance coat of sealer or polish appropriate for your floor type.
Products and habits to avoid:
- Vinegar, lemon juice, or any acidic cleaner on marble or natural stone. These etch the surface and destroy the polish.
- Steam mops on wood or vinyl. The heat and moisture can warp wood and loosen vinyl adhesive.
- Abrasive scrubbing pads on any polished surface.
- Dragging furniture without felt pads underneath.
Regular maintenance can extend the time between major polishing sessions by years, saving you significant cost and effort over the life of your floors. Keeping up with the routine is far cheaper than restoration. The floor maintenance blog has seasonal tips tailored to Dubai’s climate shifts, which is especially useful heading into summer humidity.
A consistent routine can effectively double the lifespan of your polish, meaning you may only need a full professional treatment every two to three years instead of annually.
A professional perspective: What most guides miss about Dubai floors
Most polishing guides are written for temperate climates with stable conditions. Dubai is neither of those things. The combination of fine desert sand, salt air near the coast, extreme summer heat, and aggressive air conditioning cycling creates stress on floor materials that generic advice simply doesn’t account for.
What experienced local professionals know is that the type of polish matters as much as the application method. A sealer that performs beautifully in a European home may fail within months in a Dubai villa because it wasn’t formulated for high UV exposure or temperature swings.
We’ve also seen homeowners invest in quality products but apply them at the wrong time. Polishing marble during peak humidity, for example, can trap moisture under the sealer and cause it to cloud over within weeks.
For marble specifically, understanding the difference between marble polishing methods is critical before choosing an approach. Crystallization, for instance, creates a chemical bond with the stone that outperforms topical sealers in Dubai’s conditions by a wide margin.
“In Dubai, choosing the right method isn’t just about appearance. It’s about durability in extreme conditions.”
Knowing when to DIY and when to call a specialist isn’t a sign of giving up. It’s the smartest decision you can make for your floors.
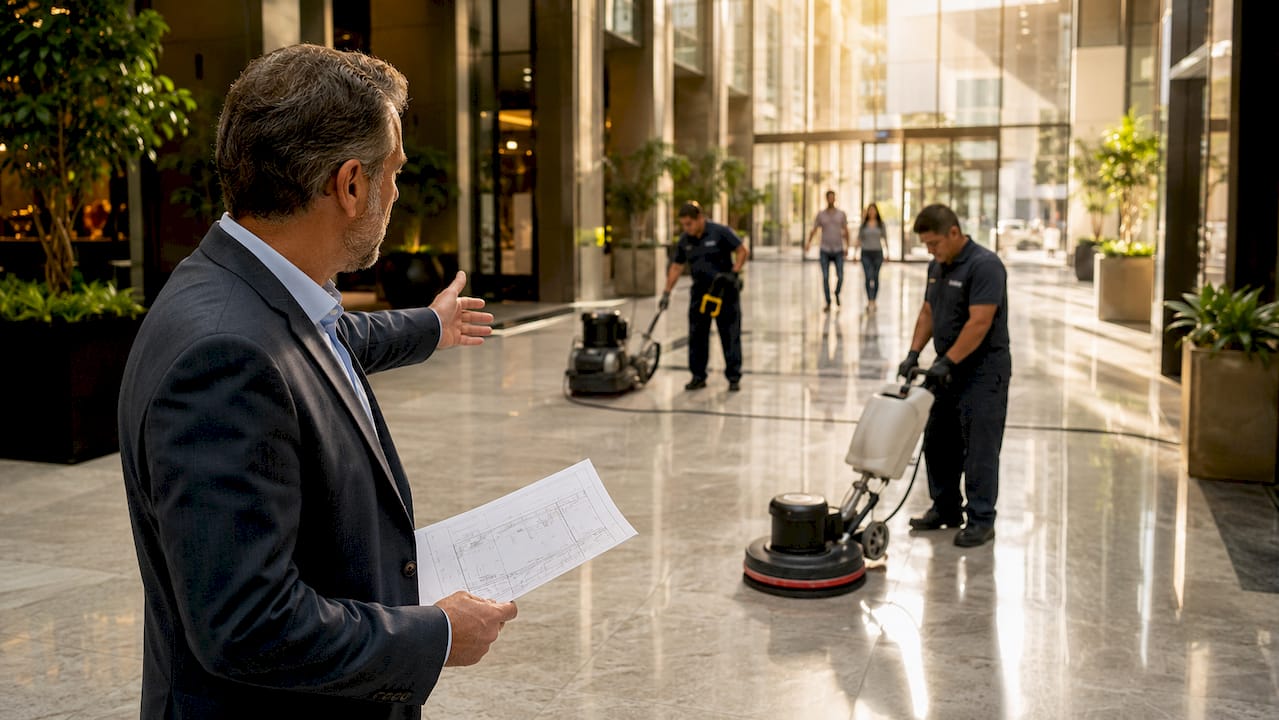
Transform your floors with expert help
If you want best-in-class results or simply want to avoid DIY mistakes, consider these local options. Our team of Dubai floor polishing experts works across all floor types including marble, granite, wood, vinyl, tile, and natural stone. We handle everything from grout restoration and broken tile repair to full villa interior painting and epoxy floor coatings. Whether you need a single room refreshed or a full property restored, we bring the right equipment and products for Dubai’s specific conditions. Check our floor care costs to plan your budget, or visit our floor restoration services page to book a consultation.
Frequently asked questions
How often should I polish floors in a Dubai villa?
Most Dubai homes benefit from polishing every 12 to 24 months. Dubai’s climate demands more frequent maintenance than cooler, less dusty environments.
Is it safe to polish marble, tile, and wood floors myself?
Light maintenance polishing is generally safe for DIY. However, inexperienced DIY can cause damage to marble and wood, so deep stains, large areas, or significant scratches are best left to a professional.
Which method is best for long-lasting shine on marble floors?
Professionals typically combine mechanical polishing with crystallization for the most durable finish. Crystallization is favored for its durability in demanding environments like Dubai.
Can regular cleaning products damage polished floors?
Yes. Wrong cleaners can degrade polished surfaces through etching or chemical breakdown. Always use products specifically designed for your floor type.
Permalink
Permalink