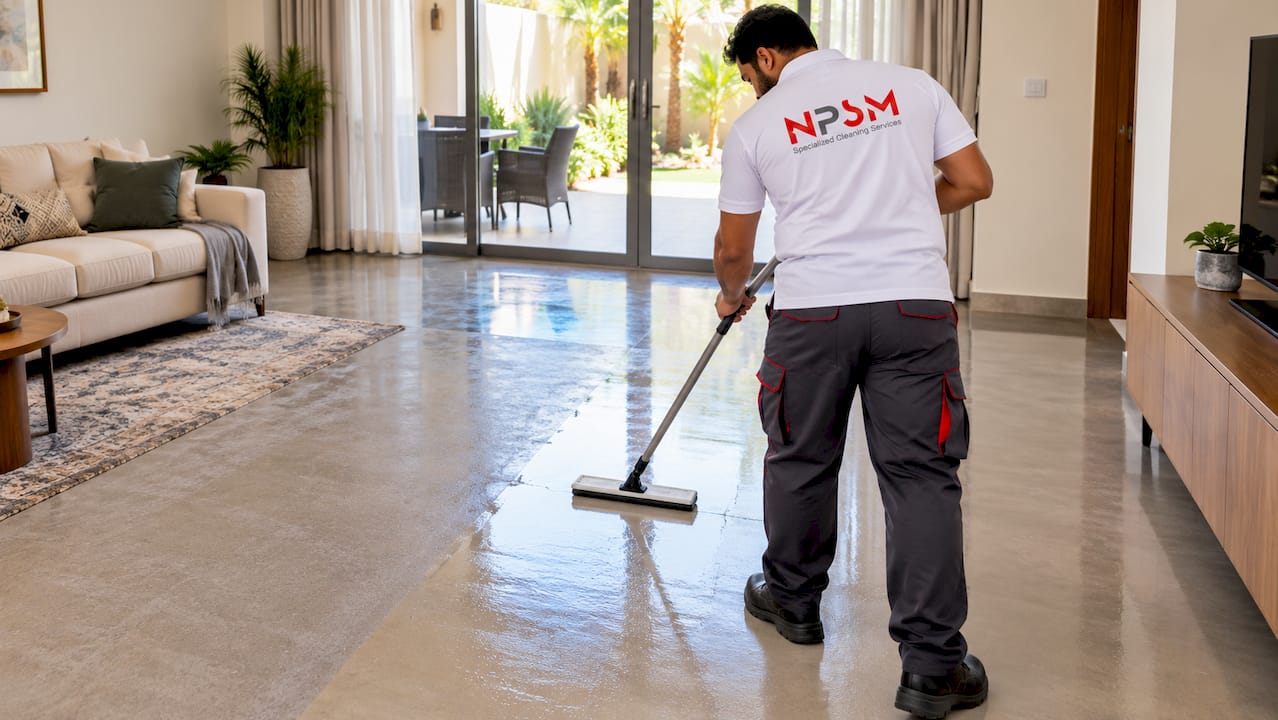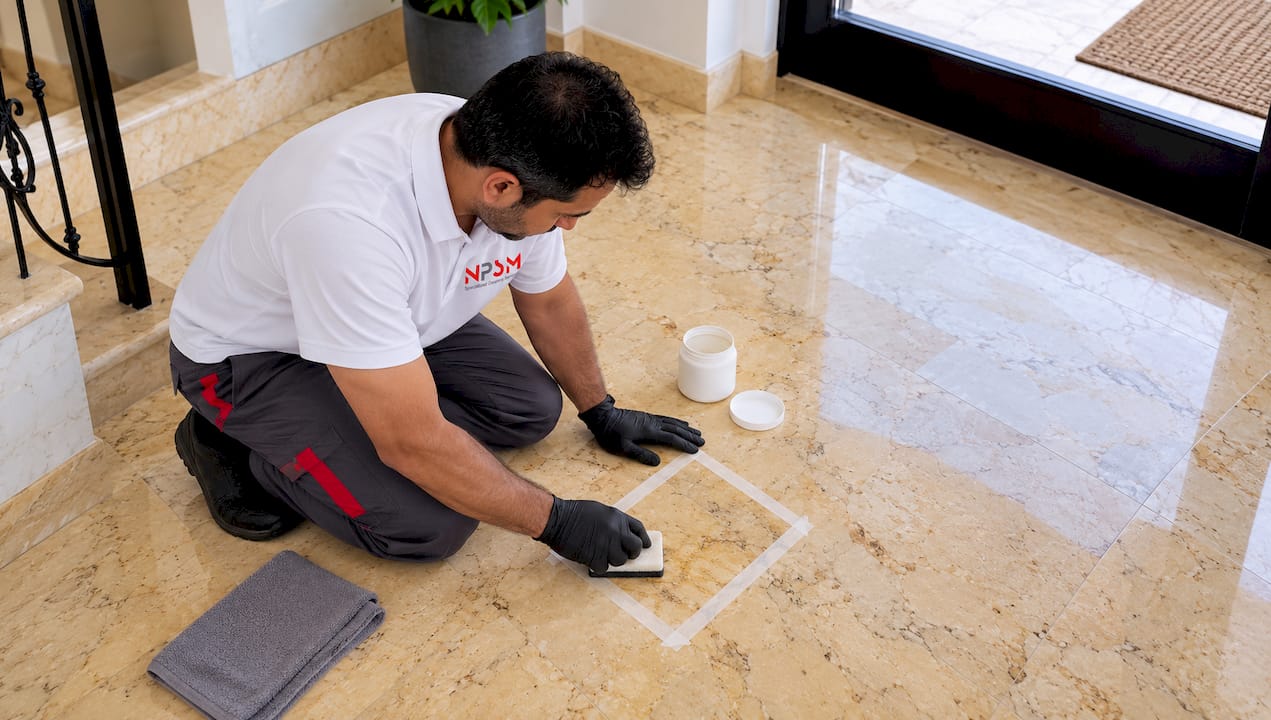

Deep scratches on marble floors are fixable, but not with a mop and a prayer. If a mark catches your fingernail or has any visible groove, stop cleaning with vinegar or off-the-shelf polish, dust-mop away grit so it does not grind deeper, photograph the damage, and note any recent cleaner or sealer used. From there, professional restoration, meaning inspection, a test patch, controlled grinding, honing, and polishing, is what actually removes it.
TL;DR:
- Deep scratches require professional grinding, honing, and polishing, especially if the fingernail catches or grooves are visible, rather than DIY fixes.
- Testing a small patch before full repair ensures the finish matches and prevents costly mismatches or uneven results.
- Proper assessment involves identifying whether the damage is a mechanical scratch or chemical etching, as they demand different repair methods.
- Repair costs depend on area size, marble type, blending scope, edge damage, containment needs, and sealer choices, with a typical job taking less than a day for small areas.
- Post-repair, avoid acidic cleaners, use pH-neutral products, and employ protective measures like entrance mats and furniture glides to prevent future scratches.
Table of Contents
- How to Remove Deep Scratches from Marble Floors in Dubai: Know What You’re Dealing With
- Should You DIY or Call a Professional?
- What a Professional Deep-Scratch Repair Actually Looks Like
- Building a Service Brief That Gets You Comparable Quotes
- Timeline, Cost Drivers, and What Actually Moves the Price
- Keeping Your Marble Scratch-Free After the Repair
- Why Dubai Property Owners Should Trust the Process, Not the Promise
- Get Your Marble Floor Assessed Before the Scratch Gets Worse
- Sources and Further Reading
- FAQ
How to Remove Deep Scratches from Marble Floors in Dubai: Know What You’re Dealing With
Not every mark on a marble floor is the same injury, and treating a gouge like a light surface scuff is how property owners end up making things worse. The Natural Stone Institute draws a clear line here: slight scratches can sometimes be buffed out, but deeper scratches need to be repaired and re-polished by a professional. That distinction should shape everything you do next.
Here’s how the damage typically breaks down:
- Surface or light scratches: Thin, hairline marks that only show up under raking light. They usually sit in the stone’s polish layer, not the marble itself.
- Medium scratches: Visible from a normal viewing angle, with a faint groove you can feel if you run a finger across it slowly.
- Deep scratches and gouges: The fingernail catches immediately, there’s a real groove, and the edges may be chipped or slightly raised (a condition called lippage).
- Etching: Often mistaken for a scratch, but it’s chemical, not mechanical. Etching happens when something acidic, citrus juice, vinegar, a bathroom cleaner, dulls the polish in a hazy patch rather than cutting a line.
Telling these apart matters because the repair paths diverge completely. A surface scratch might respond to a gentle buff. A deep scratch needs material removed through grinding. Etching needs re-polishing of the surface layer, not abrasive leveling, since there’s no groove to fill. A technician who tests before working will catch this difference; one who does not may grind a spot that only needed a lighter touch, or polish a spot that actually needed grinding.
Check the surrounding grout lines and stone edges too. Chipped edges near the scratch usually mean the damage runs deeper than it looks on the surface, and it changes how much area a repair needs to cover.
Should You DIY or Call a Professional?
The honest answer depends on three things: whether your fingernail catches, how big the affected area is, and whether the edges are chipped. If none of those apply and you’re looking at a faint, hairline mark you can barely see except in raking light, a careful DIY approach is reasonable. Anything beyond that belongs to a professional.
Here’s a quick way to sort it:
- Fingernail catches, or there’s a visible groove. This is a repair job, not a cleaning job. Attempting to sand it yourself on a large floor area risks uneven results and low spots that show up under light.
- The mark is confined to a small, isolated area with no groove. You may be able to buff it out gently.
- You see chipped edges or the mark is visible from multiple angles across the room. Call a professional and request a test patch before committing to full-area work.
- You’re unsure which category it falls into. Treat it as deep until a technician confirms otherwise. Guessing wrong is expensive.
For the genuinely light marks, 0000 grade steel wool used gently, in the direction of the stone’s grain, with a stone-safe polishing powder, is about as far as a careful DIY attempt should go. Skip coarse sandpaper, acidic pastes, baking soda scrubs, or anything marketed as an all-purpose abrasive. Marble is soft enough that a heavy hand with the wrong material turns a small problem into a bigger one, and improper grinding can expose filler, soften edges, or create the very lippage you’re trying to avoid.
Pro Tip: Before you touch a scratch with anything, stop cleaning the area with your regular products entirely. Acidic and abrasive cleaners are a major reason light scratches turn into etched, dulled patches that need far more repair work than the original mark.
What a Professional Deep-Scratch Repair Actually Looks Like
A competent restoration follows a sequence, and knowing it helps you evaluate whether a contractor’s quote is actually going to solve your problem or just make the floor shinier around the scratch.
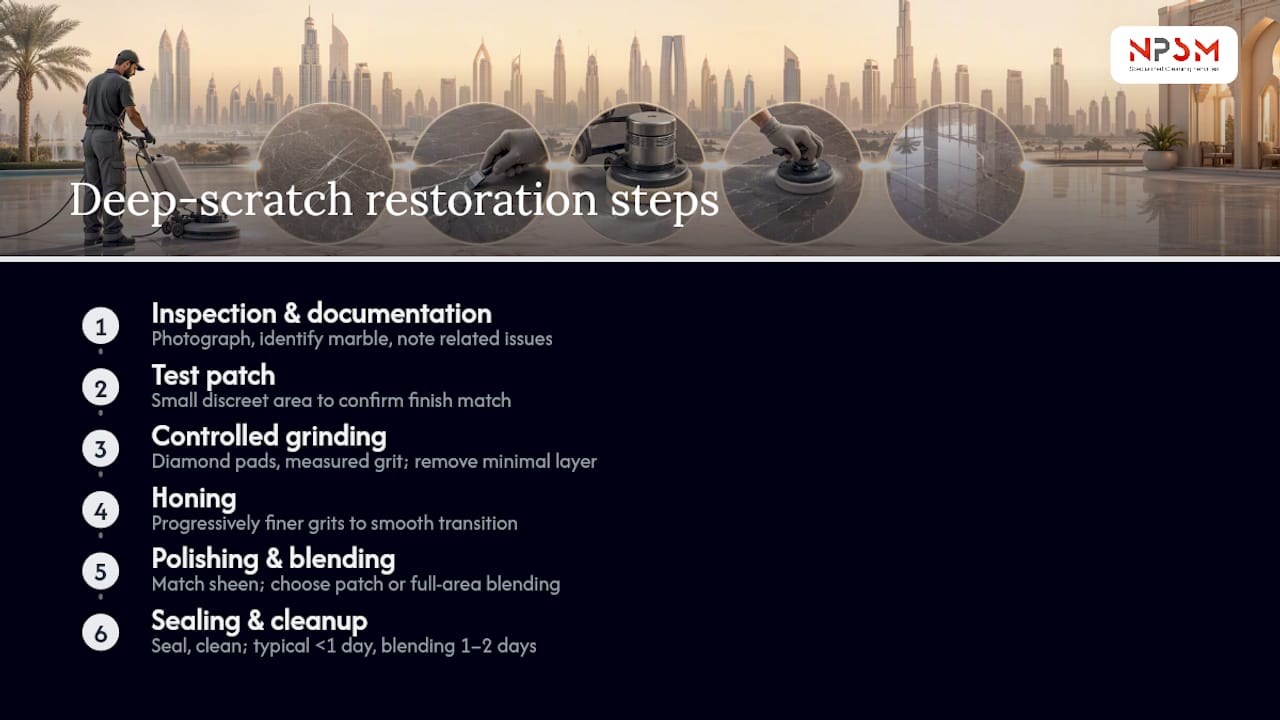
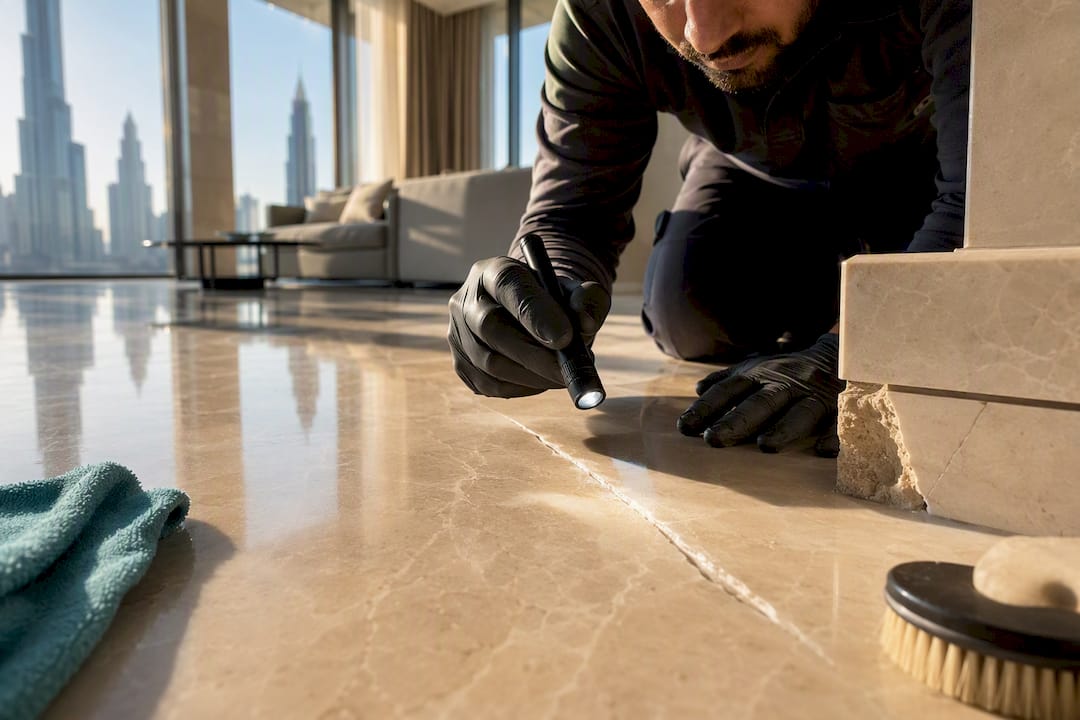
Inspection and documentation come first. A technician should photograph the damage, identify the marble type and its existing finish, and check for related issues, etching, staining, cracks, lippage, before touching anything. This step exists because a scratch and an etch mark can look almost identical to an untrained eye, and treating one like the other wastes time and money.
A test patch follows, on a small, discreet section of the affected area. This confirms how the stone responds to the planned grit progression and lets you see, under your actual lighting, whether the finish will match the surrounding floor. Skipping the test patch is one of the most common corners cut by underpriced contractors, and it is the step most likely to prevent a mismatched, embarrassing result.
Controlled grinding removes only the damaged layer. Professionals use diamond abrasive pads in a measured grit sequence, along with water or dust containment, to take off the minimum material needed. This is the part DIY attempts get wrong most often: without the right equipment, it is very easy to remove too much stone unevenly and create new low spots.
Honing levels the surface using progressively finer grits, smoothing out the transition between the repaired area and the untouched stone around it.
Polishing brings back the sheen, matched to the finish you agreed on: high-gloss polished, satin honed, or something in between. This is also where blending decisions get made. A small local patch is faster and cheaper, but on a highly reflective polished floor it can leave a visible ring where light catches the new surface differently than the old one. Full-area blending costs more but reads as seamless.
Sealing and cleanup close out the job. Sealing protects against staining, though it’s worth knowing that sealing does nothing to prevent future etching. That protection comes down to what you clean the floor with afterward, not the sealer itself.
A typical restoration for a contained scratch, test patch through polish, often wraps up in under a day. Larger blending jobs or full-floor work can run one to two days depending on the footprint and site access. If you want the deeper mechanics of how grinding, honing, and crystallization differ as techniques, this comparison of polishing methods breaks it down further.
Building a Service Brief That Gets You Comparable Quotes
Property managers who send contractors a vague “there’s a scratch in the lobby, come take a look.” Requesting this ends up comparing apples to oranges when the bids come back. A tighter brief fixes that.
Before you contact anyone, gather this:
- Close-up photos of the scratch, taken at a low angle so the groove and any raised edges are visible.
- A note on whether your fingernail catches, plus a rough measurement of the scratch’s length.
- A record of recent cleaning products or sealers used on that floor, since some cleaning chemistries mimic or mask scratch damage.
- A simple room plan showing where the damage sits relative to entrances, seating, or high-traffic paths.
- Marble type, if you know it, along with the current finish (polished, honed, etc.).
Once you’re talking to contractors, a real quote should spell out the test patch process, the grinding and honing steps, the target finish, the sealer type, how dust and slurry will be contained, expected downtime, and blending scope, whether that’s a local patch or full-area work. If a quote just says “polishing” with a price per square foot and nothing else, that’s a red flag for a deep-scratch job specifically. Ask directly: what’s the minimum blending area, how will slurry be managed on-site, who approves the test patch before full work starts, and what’s the payment structure tied to milestones. A marble polishing and restoration service worth hiring will answer all of this without hesitation.
Timeline, Cost Drivers, and What Actually Moves the Price
Most contained deep-scratch repairs, test patch through final polish, finish in well under a day. Full-floor restoration or extensive blending work can take one to two days or longer, mainly driven by total area and how accessible the space is during working hours.
What actually drives cost:
- Area size. A single scratch near a doorway costs far less to fix than damage spread across a lobby.
- Marble type and existing finish. Some stones and finishes take more grit stages to match than others.
- Blending decisions. A tight local patch is cheaper than restoring an entire room to avoid a sheen mismatch.
- Edge and chip repair. Damaged corners or lippage add labor beyond straightforward grinding.
- Containment needs. Occupied buildings, hotels, offices, retail spaces, often require tighter dust and slurry control, which adds time.
- Sealer choice. Premium sealers cost more but may extend the interval before the next maintenance cycle.
A cheap “polishing only” quote for a genuinely deep scratch is usually a sign the contractor is planning to skip grinding altogether, which means the groove stays. You can get a general sense of what local pricing looks like through this marble polishing cost guide for Dubai, but treat any number as a starting point, not a substitute for a written, itemized scope.
Keeping Your Marble Scratch-Free After the Repair
The work isn’t done once the polish dries. What you do in the following weeks determines whether that repair holds up or you’re calling someone back in six months.
- Follow your contractor’s curing guidance exactly, including any wait time before heavy foot traffic returns to the area.
- Switch to a pH-neutral, stone-safe cleaner for ongoing maintenance. Acidic cleaners are still the top cause of dulled, etched patches that mimic scratch damage.
- Put entrance mats at every exterior door to catch the grit that causes most surface abrasion before it ever touches the floor.
- Use felt glides under furniture legs, especially in offices and hotel lobbies where chairs and tables move often.
- Dry dust-mop regularly rather than relying on wet mopping alone. Grit left sitting on the surface is what turns everyday foot traffic into a slow-motion scratching machine.
- Schedule a visual inspection every few months in high-traffic zones, catching medium scratches before they become deep ones is far cheaper than waiting.
Pro Tip: Sealing protects against stains, but it does nothing against acid etching. If your maintenance routine still includes vinegar-based glass cleaner or citrus-scented all-purpose spray anywhere near the marble, that’s the habit to break first. For more on daily upkeep specific to villa flooring, this marble floor care guide for Dubai villas covers the routine side well, and this partner guide on grout and tile cleaning has useful notes on the same acidic-cleaner problem across other stone and tile surfaces.
Why Dubai Property Owners Should Trust the Process, Not the Promise
Plenty of ads promise a shiny floor. Fewer explain what actually happens between “scratched” and “shiny,” and that gap is where property owners get burned by underscoped work. NPSM Specialized Cleaning Services LLC operates FloorPolishing.ae with marble polishing and restoration as a core specialty, alongside natural stone, granite, and terrazzo work, serving villas, apartments, hotels, offices, and retail spaces across Dubai.
The approach follows the sequence outlined above: inspection first, a test patch before any full-area commitment, then controlled grinding, honing, and polishing rather than a quick buff that leaves the groove intact. Before-and-after project photos are a standard way restorers in the UAE demonstrate finish and blending results, and asking to see them is a reasonable thing for any property manager to request before signing off on a scope. Professional-grade diamond polishing systems and industry-approved methods matter here because deep-scratch repair is unforgiving of shortcuts, get the grit sequence or containment wrong, and the fix becomes visible from across the room.
— Qadir
Get Your Marble Floor Assessed Before the Scratch Gets Worse
Every day a deep scratch sits untreated, foot traffic and grit make it a little worse, and a same-day fix slowly turns into a full-floor blending job. NPSM Specialized Cleaning Services LLC, through FloorPolishing.ae, offers a more direct alternative to guessing your way through DIY steel wool or hiring a generalist cleaner who calls a grind job a “polish.” The process starts with an on-site inspection and a test patch you approve before any grinding begins, followed by controlled honing and polishing matched to your floor’s existing finish, then sealing and cleanup.
Marble floor polishing and restoration pricing varies, and the team handles everything from a single lobby scratch to full-property restoration across various property types. If you’re staring at a groove that catches your fingernail right now, the smartest next move is requesting an inspection through the marble polishing and restoration services page rather than reaching for another bottle of cleaner.
Sources and Further Reading
For deeper background on stone care and damage assessment, the Natural Stone Institute publishes consumer guidance on stone cleaning products and stain removal, and UseNaturalStone offers practical self-assessment tips for identifying stone damage before calling a contractor. Both are useful starting points for property owners who want to understand their marble before requesting a quote.
FAQ
How Do You Get Scratches Off a Marble Floor?
Light surface scratches can sometimes be buffed out with fine-grade steel wool and a stone-safe polishing powder, but deep scratches need professional grinding, honing, and polishing to remove the groove entirely. If your fingernail catches on the mark, treat it as a job for a marble restoration specialist, not a home remedy.
What Kit or Products Work Best for Marble Scratch Repair?
For genuinely light marks, 0000 grade steel wool and a marble-specific polishing powder are about the safest DIY combination, used gently and along the stone’s grain. Avoid vinegar, lemon, baking soda, or any acidic or coarse abrasive product, since these tend to etch or worsen the surface rather than repair it.
How Do You Remove Marks From a Marble Floor Without Damaging It?
Start by identifying whether the mark is a scratch, an etch, or a stain, since each needs a different fix and using the wrong method can make things worse. Stick to pH-neutral stone cleaners for daily marks, and reserve abrasive correction only for confirmed light surface scratches.
How Do You Make a Scratched Marble Floor Shiny Again?
Shine comes back through the honing and polishing stages of restoration, not from cleaning products alone, since the scratch itself has to be leveled out first. A professional will match the final polish to your floor’s existing finish so the repaired section blends rather than standing out.
Can Deep Scratches Really Be Completely Removed From Marble?
Yes, in most cases controlled grinding followed by honing and polishing removes deep scratches and restores the surface to match the surrounding floor. The result depends on correct blending decisions and finish matching, which is why a test patch before full-area work matters so much.