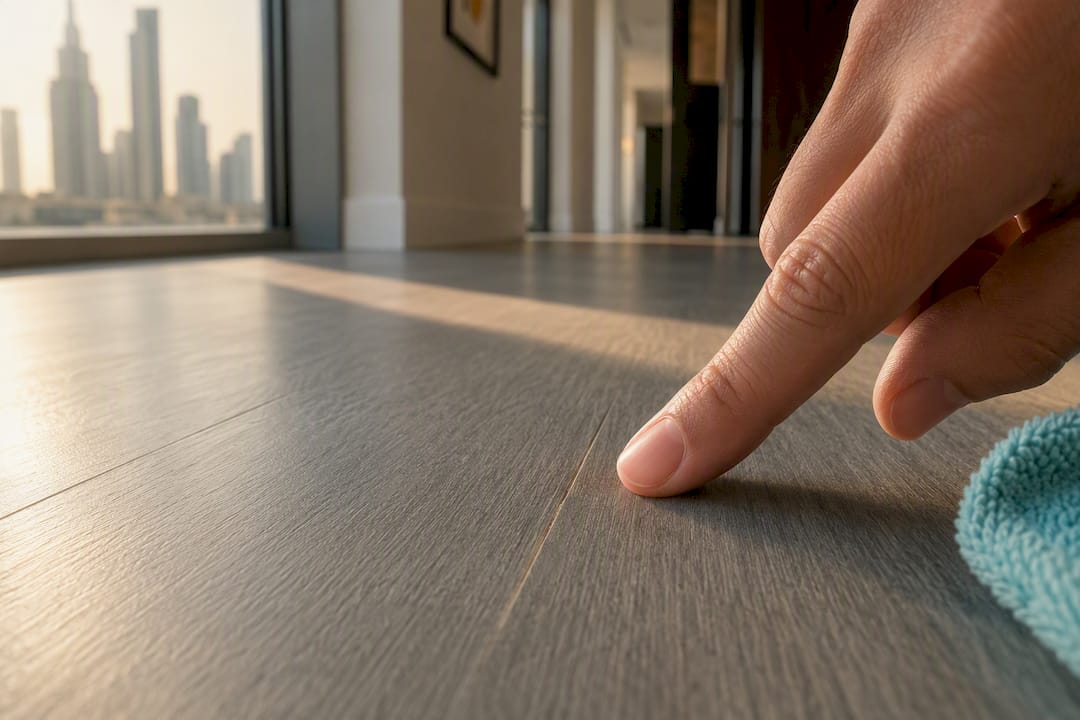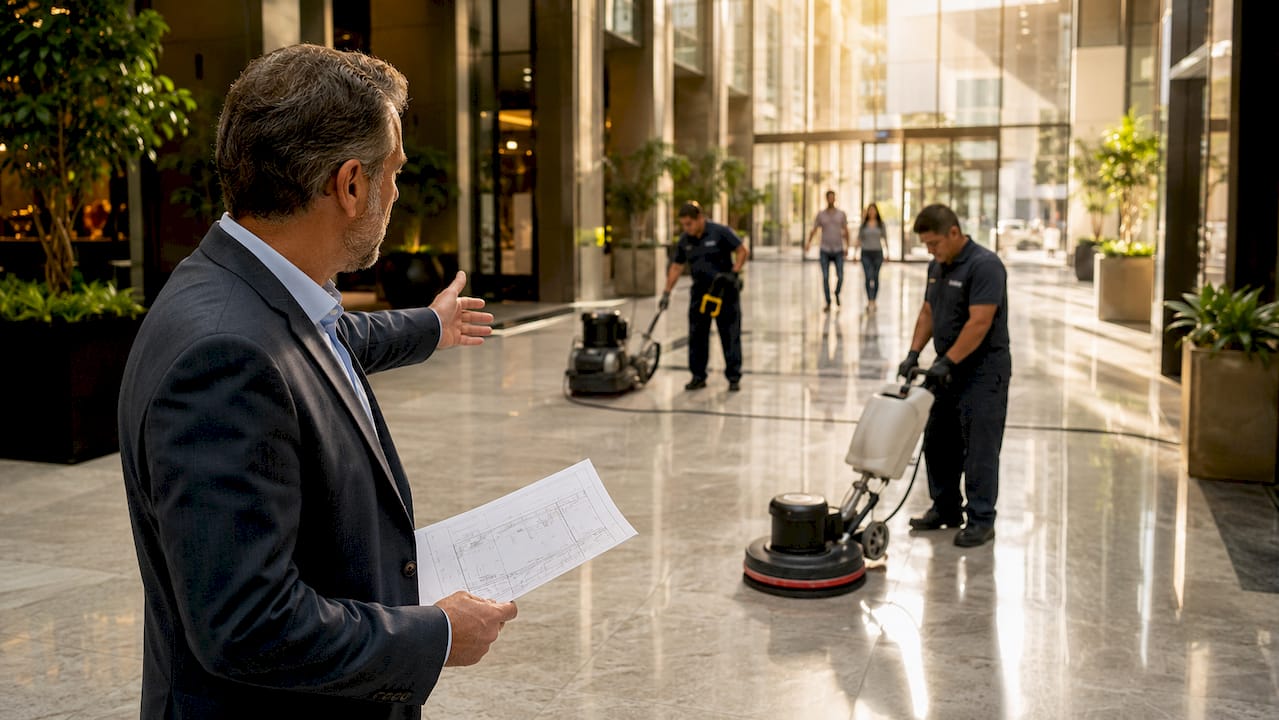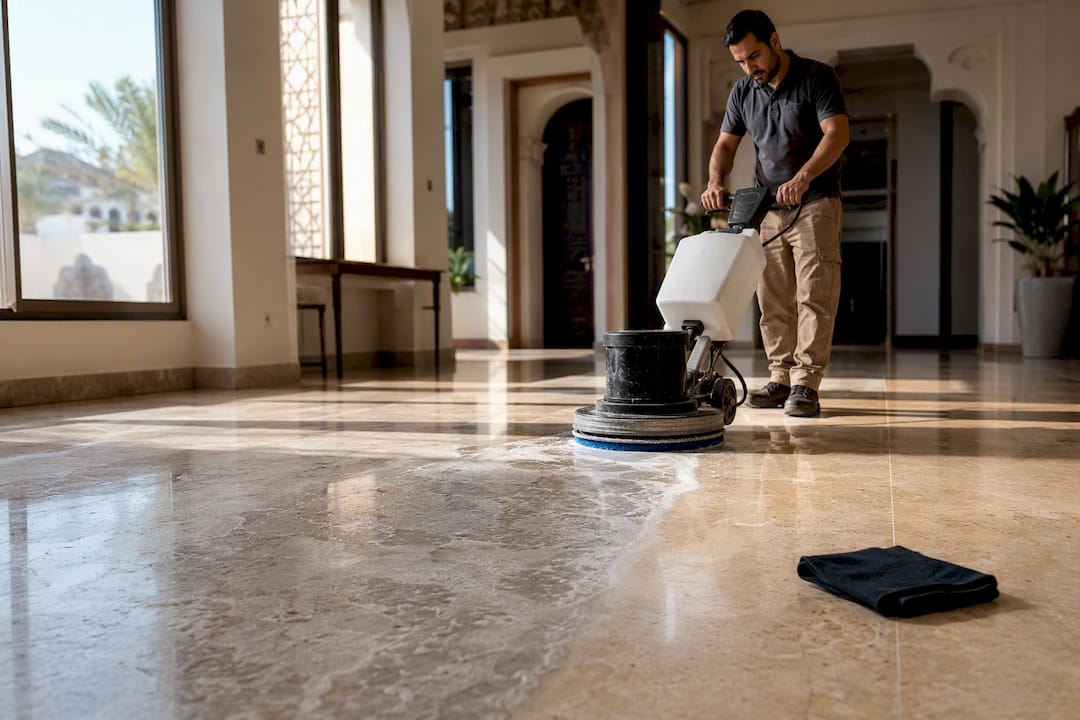

If your limestone floor looks patchy, etched, or dull no matter how much you clean it, that’s usually a job for a professional, not a mop. Restoration typically runs through five stages: a deep clean to strip old residue, mechanical surface refinement, targeted repairs, an impregnating sealer, and a maintenance routine to protect the result. Exact cost and timeline depend on the floor’s condition, so most companies will want photos or an in-person inspection before quoting a firm number.
TL;DR:
Professional restoration involves multiple stages, including deep cleaning, honing, polishing, repairs, and sealing, which cannot be effectively done with DIY methods.
Acidic spills or improper cleaning can cause irreversible etching and dull patches that only a professional restoration can repair, especially if the damage has penetrated the stone.
A test patch and detailed inspection are essential before restoration, as different finishes and repair needs impact overall cost and durability, which will vary based on floor condition.
Routine maintenance with pH-neutral cleaners, dust-mopping, prompt spill blotting, and timely resealing can extend the lifespan of a restored limestone floor significantly.
Costs depend on the extent of damage; basic polishing is cheaper than full restoration with grinding and repairs, and high-traffic or complex areas can increase prices.
Table of Contents
What Does Limestone Floor Restoration Actually Involve?
Limestone is a calcium-carbonate stone, which makes it soft, porous, and vulnerable to acid. Lemon juice, vinegar, wine, or any cleaner with the wrong pH can etch the surface in minutes, leaving a dull, cloudy mark that no amount of scrubbing will buff out. That single fact drives almost every rule in professional limestone care, from the cleaners technicians choose to the sealer they apply at the end of the job.
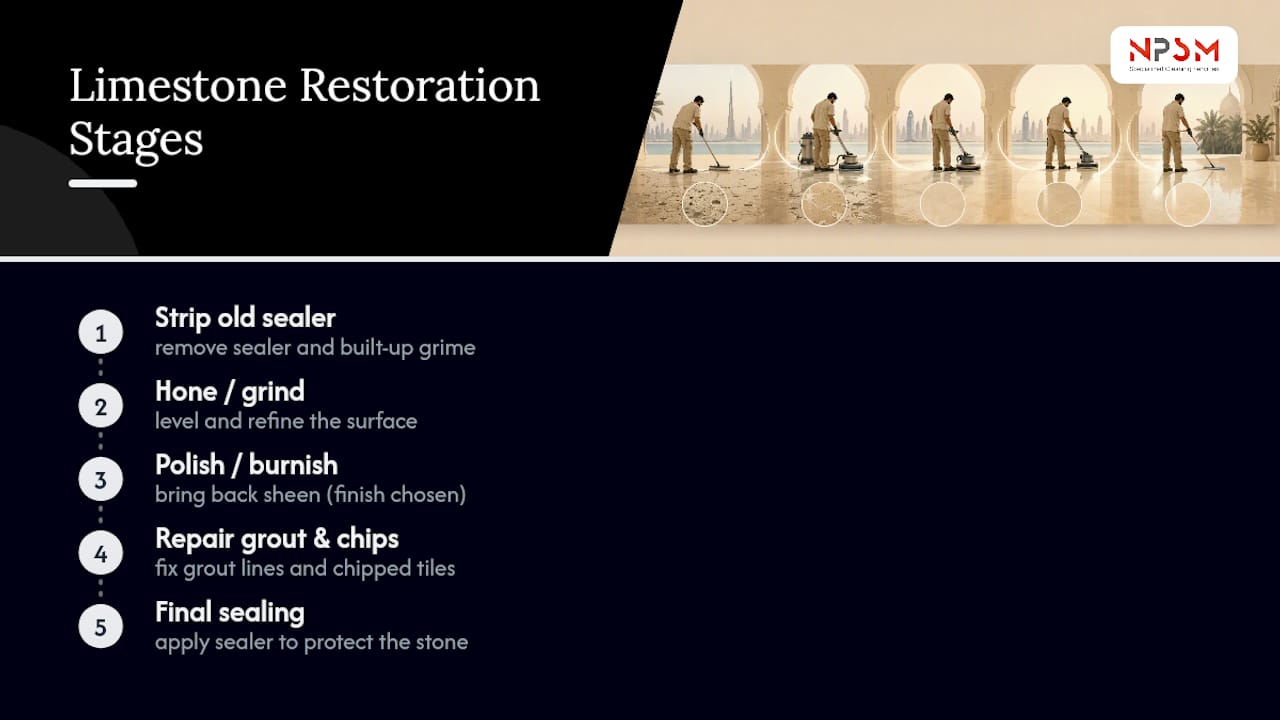
A real restoration job typically includes several distinct stages: stripping old sealer and built-up grime, honing or grinding to level and refine the surface, polishing or burnishing to bring back sheen, repairing damaged grout or chipped tiles, and finally sealing the stone. Each stage solves a different problem, and skipping one usually shows up later as uneven color or premature wear.
Finish choice matters more than most property owners expect. A honed finish (matte, low sheen) tends to hide foot traffic and minor scratching better and suits high traffic hallways, kitchens, and commercial lobbies. A polished finish looks more dramatic but shows dust, footprints, and fresh etching faster, and it demands a tighter maintenance schedule to stay looking sharp. Deciding on the finish before restoration starts, rather than after, saves an argument with your contractor later.
Does Your Limestone Floor Need Professional Restoration?
Not every dull limestone floor needs a full restoration crew. Some just need a better cleaning routine. The difference usually comes down to whether the damage is sitting on the surface or has worked its way into the stone itself.
Watch for these signals that point to professional work rather than a deeper mop session:
-
Patchy or uneven shine that persists even right after cleaning
-
Visible etching (dull, cloudy spots) where acidic spills or cleaners made contact
-
Ingrained dirt in the stone’s pores that no amount of scrubbing lifts
-
Cracked, crumbling, or discolored grout lines
-
Chips, cracks, lippage (uneven tile height), or tiles that feel loose underfoot
-
A water drop that soaks in fast instead of beading, which suggests the sealer has worn through
If you’re only seeing surface dust and light footprints, a proper pH-neutral cleaning routine may be all you need. If water disappears into the stone or the shine looks blotchy after cleaning, the damage has likely gone past what mopping can fix.
How Do Professionals Restore a Limestone Floor?
A trustworthy restoration always starts with an inspection and a test patch, not a truckload of equipment. Limestone varies tile to tile, and even a small trial area tells a technician how the stone responds before committing to the whole floor.
-
Inspect and test. The crew checks for cracks, hollow tiles, sealer failure, and stain depth, then runs a test patch in a low-visibility corner.
-
Deep clean. Stone-safe, pH-neutral chemicals strip old sealer, wax, and grime without etching the surface.
-
Mechanical refinement. Diamond-impregnated pads move through a grit sequence, often starting around 400 grit and progressing to 3000 or 3500 grit, grinding out scratches and building the final finish through honing and polishing or burnishing.
-
Slurry extraction. Between passes, technicians rinse and wet-vacuum the residue rather than letting it dry back into the pores, which keeps grit from re-scratching the stone.
-
Repairs. Cracks get filled, chips patched, and lippage ground level so tiles sit flush.
-
Sealing. An impregnating (penetrating) sealer soaks into the stone and protects it from within, then needs curing time before the floor takes traffic again.
Topical coatings, the kind that sit on top of the stone like a film, are usually a poor fit for limestone. They can peel, yellow, or trap moisture underneath, and they mask developing damage instead of preventing it. Impregnating sealers let the stone breathe while still resisting staining, which matters more for a porous material like limestone than for denser stones.
Pro Tip: Ask any contractor to show you the test patch results before they touch the rest of the floor. If they skip this step, that’s a red flag, not a shortcut.
What Does Limestone Restoration Cost in the UAE?
Pricing depends heavily on how much repair work the floor needs versus a straightforward refresh. A light polish costs far less than a full multi-stage restoration with grinding and repairs, and both scale with square footage, access difficulty, and how much edge or detail work is involved.
| Grinding, repairs, and full restoration generally cost a higher range per square metre in the UAE | Grinding, honing, repairs, multi-stage polish, sealing |
| Small or detail-heavy jobs | Minimum-job rate | Often priced flat rather than per sqm |
Small bathrooms, entryways, or heavily detailed areas often get a flat minimum-job rate rather than a per-square-meter number, since setup time eats into the job regardless of size. Before signing off on any quote, confirm in writing what process they’re using, whether repairs are included or billed separately, which sealer they’re applying, what’s explicitly excluded, and how long the floor needs to cure before you can walk on it.
How Do You Maintain a Limestone Floor After Restoration?
The sealer buys you protection, not immunity. Daily habits determine how long that fresh finish actually lasts.
-
Dust-mop or vacuum with a soft-bristle attachment before wet cleaning, so grit doesn’t get dragged across the surface like sandpaper.
-
Damp-mop with a microfiber pad and a pH-neutral stone cleaner formulated for natural stone, never an all-purpose kitchen spray.
-
Blot spills immediately, especially wine, coffee, citrus, or anything acidic, rather than wiping them across the surface.
-
Skip vinegar, bleach, and abrasive scouring pads entirely. They’re the fastest route back to etching and dull patches.
-
Test your sealer every so often with a water drop test: if water beads up, the seal is holding; if it soaks in fast, it’s time to reseal.
Reseal indoor limestone approximately every few years, with more frequent sealing recommended for high-moisture or high-traffic areas, sooner in bathrooms, entryways, or other high-moisture, high-traffic zones. A light buff or polish handles surface dulling long before you need to repeat the full restoration process.
Pro Tip: Keep a spray bottle of pH-neutral cleaner by any spill-prone spot. The seconds it saves in blotting a spill are usually the difference between a clean floor and a permanent etch mark.
Should You DIY or Hire a Professional for Limestone Care?
Plenty of limestone maintenance is genuinely safe to handle yourself. Dust-mopping, damp-mopping with a pH-neutral cleaner, blotting fresh spills, and running a small test patch with an approved product before using it floor-wide all fall well within a homeowner’s ability.
Hire a professional once you’re dealing with etching that won’t buff out, deep or old stains, worn-through sealer, visible scratching, cracked tiles, or any job that requires grinding, honing, or slurry extraction equipment. These jobs call for floor honing equipment and technique most households don’t have on hand.
When vetting a contractor, ask for:
-
A test patch before full-floor work begins
-
A written scope covering process, sealer type, and repairs
-
Examples of comparable jobs they’ve completed
-
Their method for extracting slurry and waste, not just how they’ll polish
How Is Dust and Waste Managed During Restoration?
Grinding and honing limestone generates fine mineral dust and wet slurry, and how a contractor handles both says a lot about how the rest of the job will go. Dry grinding without dust control sends stone particles into the air, which settles on furniture, gets tracked into other rooms, and irritates anyone with respiratory sensitivity. Reputable crews use wet processes or dust extraction attachments on their equipment to keep particulate contained at the source instead of relying on cleanup after the fact.
Slurry, the wet paste created when water meets ground stone during polishing, needs to be vacuumed and removed between passes rather than left to dry on the floor or washed down a household drain. Left standing, it can re-scratch the surface during the next pad pass or dry into a hard residue that’s harder to remove than the original problem. Professional crews use wet-vacuum extraction and dispose of the slurry appropriately rather than treating it as ordinary wastewater.
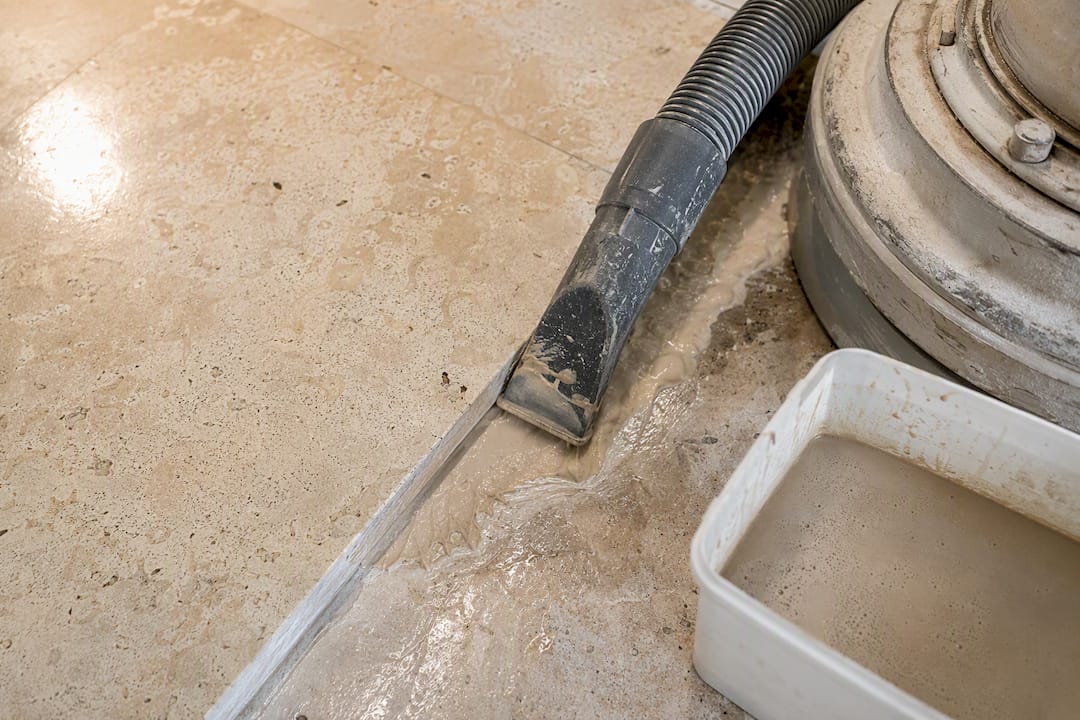
Ventilation matters too, particularly in enclosed rooms or during multi-day jobs. Ask any contractor working in an occupied home or office how they plan to contain dust, protect adjacent surfaces and furnishings, and dispose of slurry and old sealer residue. A crew that has a clear answer for all three has probably done this enough times to have refined their process, and a crew that hasn’t thought about it is worth a second look before you sign anything.
How Long Does a Restored Limestone Floor Last?
A properly restored limestone floor with routine care typically holds its finish for several years before needing another full-scale restoration, though light maintenance polishing extends the interval considerably. Longevity depends on traffic volume, how consistently you follow a pH-neutral cleaning routine, and whether the sealer gets renewed on schedule rather than left until it fails completely.
High-traffic commercial lobbies and busy kitchens wear faster than a rarely used guest bathroom, simply because grit and moisture exposure accumulate faster. Climate plays a role too: humidity, sand, and dust common in the UAE can accelerate surface wear if floors aren’t dust-mopped regularly, since airborne grit acts like sandpaper underfoot over time.
The single biggest factor in longevity isn’t the restoration itself. It’s what happens afterward. A floor sealed correctly and then mopped with the wrong cleaner will etch and dull faster than a floor with an average sealer job that gets proper daily care. Restoration resets the clock, but your cleaning habits set the pace from there. Since limestone restoration is almost always more cost-effective than tile replacement when the stone itself is structurally sound, protecting that investment with the right maintenance routine matters more than it might seem at first glance.
A Practitioner’s Note on Priorities and Common Mistakes
The biggest mistake I see is chasing shine before fixing the stone underneath. A high-gloss finish over unresolved cracks or contamination looks great for a month and fails fast. Prioritize correct methods and material health first. Skip vague quotes, don’t delay repairs, and never let a contractor use an unlabeled “stone cleaner” you can’t verify is pH-neutral. Ask for a photo assessment before committing to anything.
— Qadir
Get a Professional Limestone Restoration Quote
Some professional companies handle limestone restoration using inspection first, followed by multi-stage diamond polishing, repairs, impregnating sealing, and a maintenance plan built around traffic levels. Teams may serve various property types and use diamond polishing systems and stone-safe methods tailored to each floor’s condition rather than offering a one-size-fits-all package. Full floor polishing and restoration services start with an honest look at your floor, whether that’s a site visit or a set of photos you send over. If your limestone is showing etching, patchy shine, or grout damage, send a few photos through the natural stone polishing and restoration page and get a written scope back before any work begins.
Sources and Further Reading
For the chemistry behind acid sensitivity and sealer choice, Aqua Mix’s surface type guidance is a solid technical reference for anyone comparing cleaning products. Tile Doctor’s polishing and maintenance guides break down the diamond pad and sealing workflow in more mechanical detail. Bestimate.ae’s Dubai cost guide offers grounded, regional pricing context for anyone budgeting a restoration job locally. For a broader look at finish tradeoffs across other flooring materials, Tenen’s flooring products guide covers comparable considerations for homeowners weighing matte versus polished options.
FAQ
How Do I Maintain My Limestone Floor?
Dust-mop regularly to remove grit, then damp-mop with a microfiber pad and a pH-neutral cleaner made for natural stone. Blot spills immediately, avoid acidic or abrasive products, and reseal indoor limestone roughly every one to two years, sooner in high-moisture or high-traffic areas.
How Do You Restore Shine to a Limestone Floor?
Shine comes back through mechanical polishing, not chemical shortcuts: diamond pads progress from coarse to fine grit to grind out scratches and rebuild the finish, followed by an impregnating sealer. A light buff can refresh minor dulling, while etched or heavily worn floors usually need the full multi-stage process described earlier in this guide.
How Do I Clean My Limestone Floors Safely?
Use a soft-bristle vacuum or dust mop first, then a damp microfiber mop with a pH-neutral stone cleaner, never vinegar, bleach, or all-purpose kitchen sprays. Acidic cleaners etch limestone within minutes and the damage doesn’t buff out with routine cleaning.
What Are the Downsides of Limestone Flooring?
Limestone is porous and soft compared to denser stones, so it etches easily from acidic spills and scratches more readily under grit or heavy foot traffic. It also needs more frequent resealing and a stricter pH-neutral cleaning routine than harder flooring materials, which makes upkeep more demanding if you skip proper maintenance.
Is Limestone Restoration Cheaper Than Replacing the Floor?
Restoration is typically the more cost-effective route when the tiles themselves are structurally sound, since it avoids demolition, new material, and reinstallation costs entirely. Most restoration jobs also include selective repairs rather than replacing whole sections, which keeps the original stone and its character intact.