
TL;DR:
- Removing floor scratches early prevents moisture entry and structural damage that can lead to costly repairs. Proper diagnosis and timely repairs, whether DIY or professional, preserve the floor’s appearance and property value. Regular maintenance and prompt fixings keep floors uniform and extend their lifespan effectively.
Scratch removal for floors is defined as the process of repairing surface or structural damage to flooring materials to restore their appearance and protect their long-term integrity. Knowing why remove floor scratches matters is the first step toward protecting one of your home’s most visible and valuable assets. Scratches left untreated do not stay small. They collect dirt, allow moisture to penetrate, and eventually compromise the floor’s structural finish. NPSM Specialized Cleaning Services LLC works with homeowners and property managers across Dubai who discover, often too late, that a minor scratch became a costly refinishing job. Acting early is always the cheaper, smarter choice.
Why remove floor scratches before they get worse
Scratches on wood and stone floors fall into two categories: finish-level damage and structural damage. The difference between them determines everything about how you repair them and what happens if you ignore them.
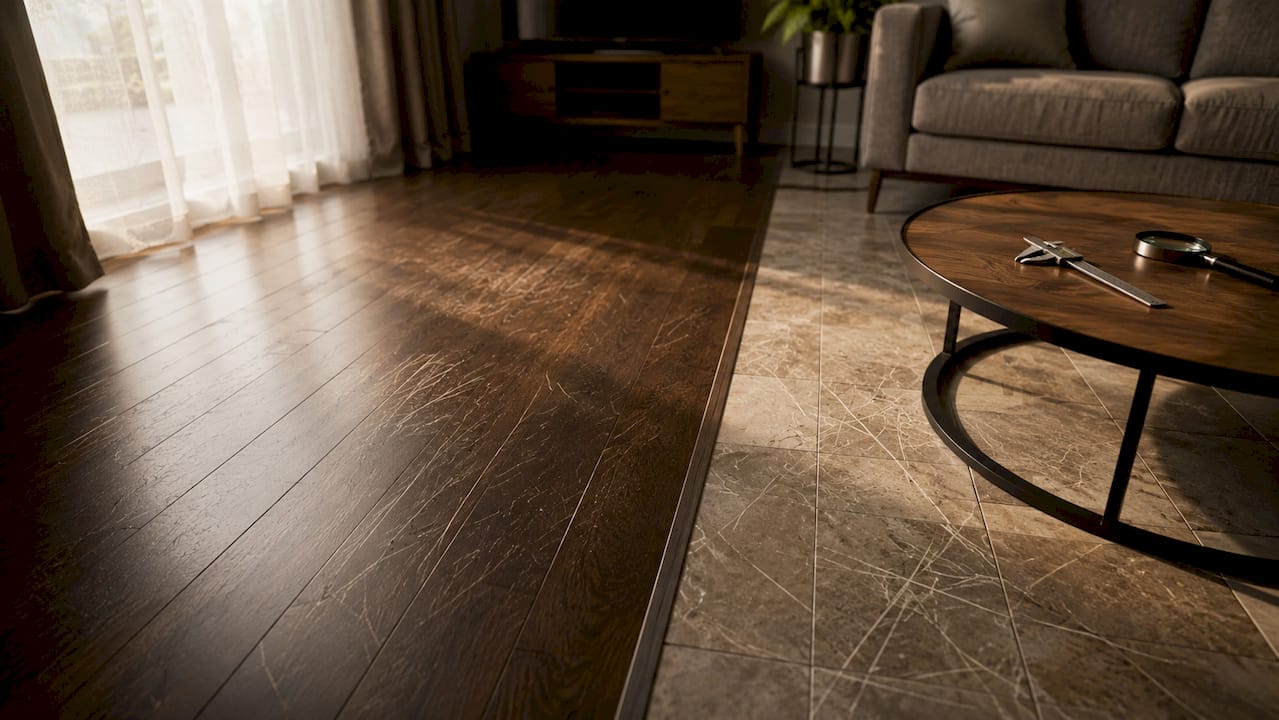
Finish-level scratches affect only the protective coating on top of the floor. They do not reach the wood fibers or stone surface beneath. Structural scratches, or gouges, cut through the finish and expose the raw material below.
Here is how to tell which type you are dealing with:
-
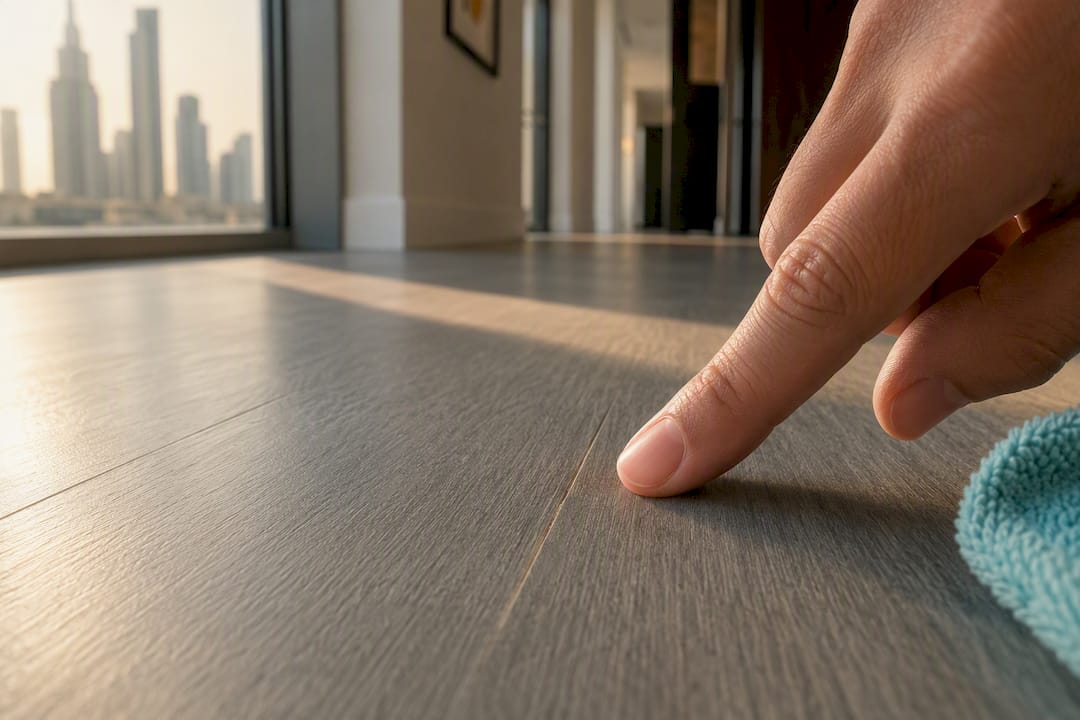
Fingernail test: Run your fingernail across the scratch. If your nail glides over it without catching, it is a finish-level scratch. If your nail drops into the groove, the damage goes deeper.
-
Visual check: Finish scratches appear as dull, hazy lines. Deep scratches show a color change, a raised edge, or a visible groove in the material.
-
Light reflection: Hold a flashlight at a low angle. Deep scratches cast a shadow. Surface scratches only disrupt the sheen.
Misdiagnosing scratch depth is one of the most common reasons repairs fail. Correct identification of scratch depth prevents wasted effort and prevents making the damage worse with the wrong product. Applying a touch-up marker to a deep gouge, for example, fills the visual gap temporarily but does nothing to seal the exposed wood fiber from moisture.
The type of flooring also matters. Engineered wood, solid hardwood, laminate, marble, and vinyl each respond differently to the same scratch. Laminate cannot be sanded like solid wood. Marble requires honing rather than filling. Knowing your floor type before reaching for any repair product saves you from permanent damage.
What are the real benefits of removing floor scratches early?
Prompt scratch removal protects your floor from a chain of worsening problems. A scratch that exposes raw wood or stone becomes an entry point for moisture. Moisture causes swelling, warping, and staining that no touch-up marker can fix.
Scratched floors also look neglected, even when everything else in the room is clean. A uniform floor surface signals a well-maintained property. Patchwork repairs, or worse, visible scratches left untreated, signal the opposite to buyers, tenants, and guests. Floor condition is one of the first things a property appraiser or prospective buyer notices.
Proactive floor care is not about chasing perfection. It is about keeping your floors in a condition that protects their value and avoids the far higher cost of full refinishing. A small scratch repaired today costs a fraction of a full floor restoration job next year.
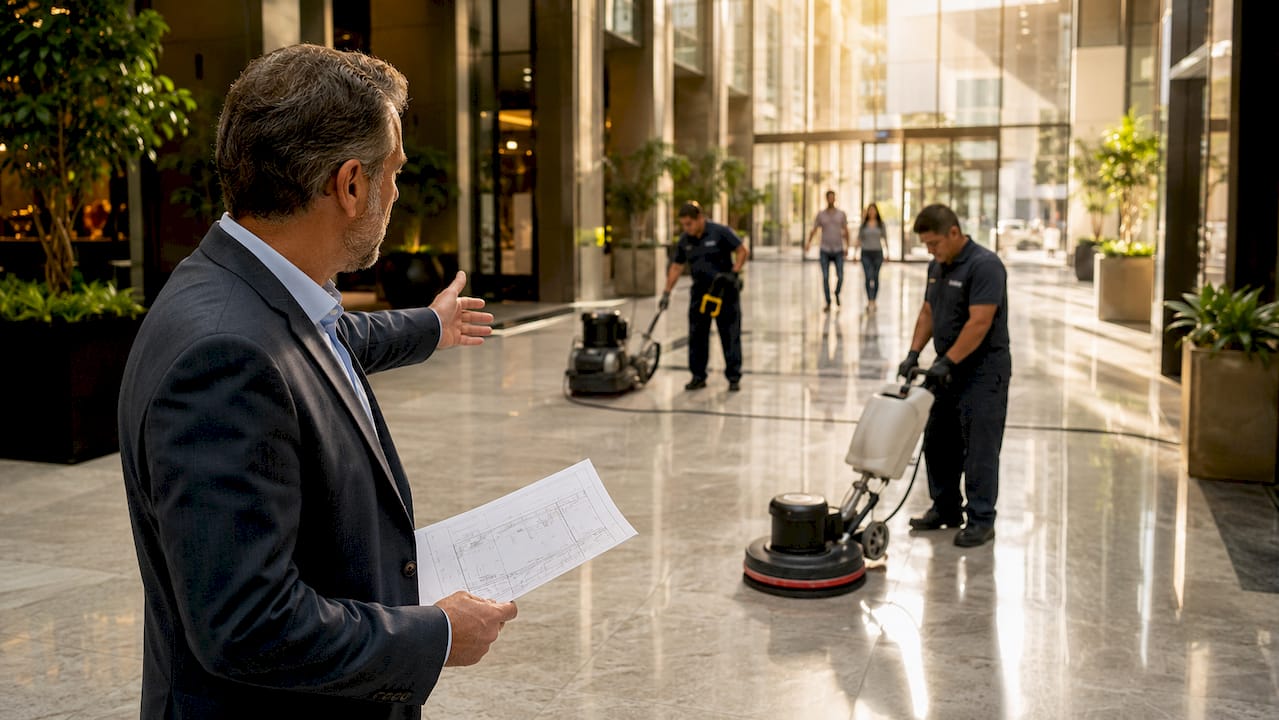
The importance of scratch removal is especially clear in high-traffic properties. Hotels, retail stores, and rental apartments take heavy foot traffic daily. A scratch in a lobby or corridor that goes unaddressed for weeks collects grit, darkens, and widens. What started as a surface scuff becomes a structural repair.
Maintaining a consistent appearance also reduces the “patchwork” problem. When you repair scratches as they appear, the floor looks uniform. When you let them accumulate and then repair them all at once, color and sheen variations between repaired and original sections become obvious. Early, consistent care keeps the floor looking like one cohesive surface.
Pro Tip: Keep a small bottle of color-matched touch-up oil or a wax stick in your cleaning cabinet. Addressing a new scratch within the first week takes two minutes and prevents it from collecting dirt and deepening.
How to fix floor scratches yourself: methods that actually work
DIY scratch repair works well for light to medium damage on most floor types. The key is matching the repair method to the scratch depth and floor material.
For minor finish-level scratches:
-
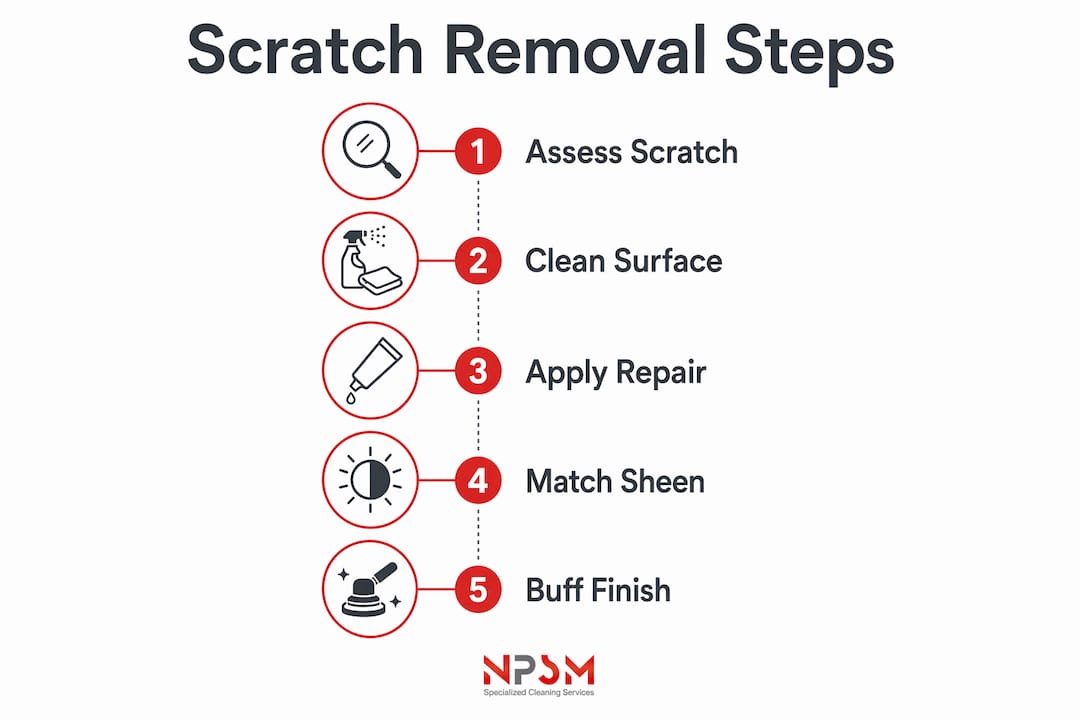
Clean the scratched area with a dry microfiber cloth to remove all grit and dust.
-
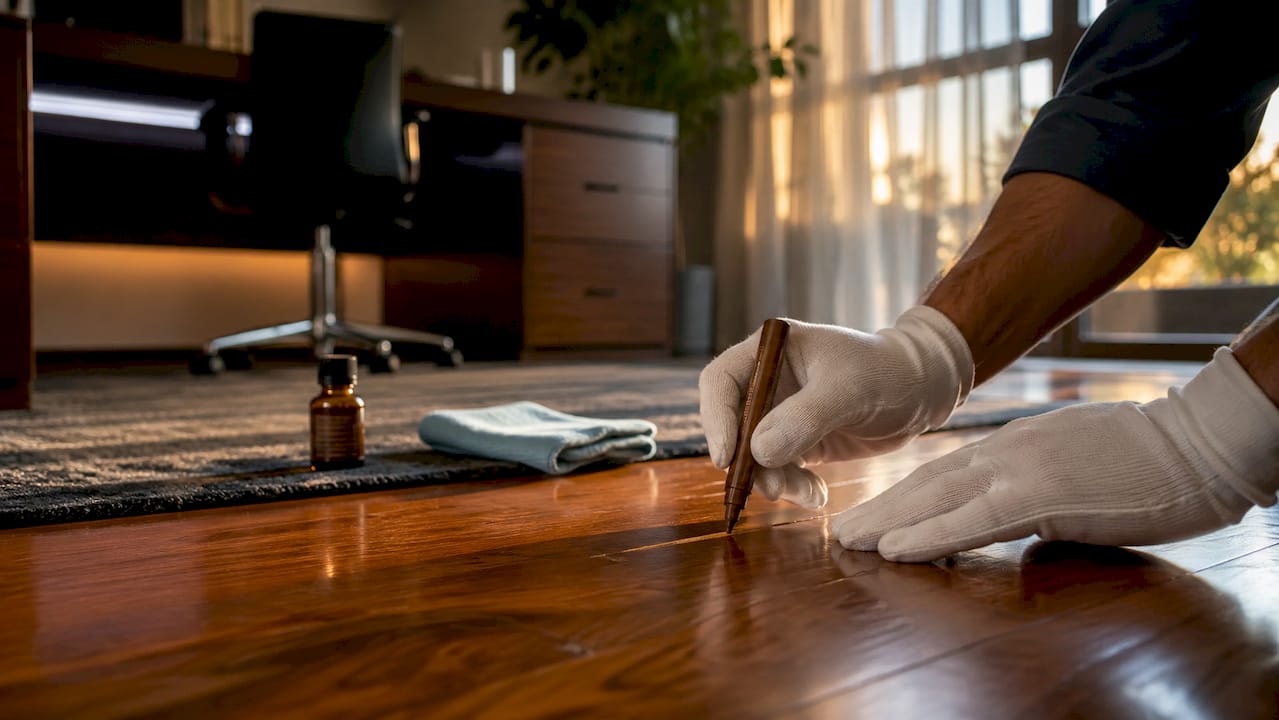
Apply a color-matched touch-up marker or scratch-covering oil directly to the scratch. Work in the direction of the wood grain.
-
Wipe away any excess product with a clean cloth before it dries.
-
Buff lightly with a soft cloth to blend the sheen with the surrounding floor.
-
Minor finish scratches can often be repaired in about 10 minutes using touch-up markers or oils. That speed makes early action the obvious choice.
For deeper scratches and gouges:
-
Clean and dry the area completely.
-
Select a wood filler that closely matches your floor color. Mix pigment into the filler before applying it, not after it dries. Mixing pigment before application achieves a far better color match than staining dried filler.
-
Apply the filler in thin, layered coats. Layered filler application prevents cracking and shrinking as each coat dries.
-
Allow each layer to cure fully before adding the next.
-
Sand lightly with fine-grit sandpaper once the final coat is fully dry.
-
Apply a finish coat that matches the existing floor sheen.
-
Deep gouges need up to 24 hours of curing time after filler and sanding. Rushing this step causes the repair to fail within weeks.
Household remedies for laminate and light surface damage:
Toothpaste and baking soda paste can treat minor laminate scratches, but apply them cautiously. Both are mildly abrasive and can dull the floor finish if overused. A walnut rubbed along a light scratch on hardwood releases natural oils that temporarily fill and darken the mark. These methods work as short-term fixes, not permanent repairs.
Furniture polish mixtures can camouflage minor scratches temporarily, but they do not replace proper repair and require regular reapplication. Use them as a stopgap while you source the correct repair product.
One warning applies to all DIY repairs: sheen matching is critical. A repair done in a matte finish on a semi-gloss floor stands out more than the original scratch. Always test your product on an inconspicuous area first. For flooring maintenance tips that go beyond scratch repair, a consistent care routine prevents most surface damage before it starts.
When should you hire a professional for floor scratch removal?
DIY repair has real limits. Deep scratches, widespread damage, or floors with multiple layers of old finish all require professional tools and techniques to fix correctly.
The clearest signs that professional help is the right call:
-
Widespread scratching: When scratches cover more than a small section of the floor, spot repairs create visible color and sheen inconsistencies across the surface.
-
Finish failure: If the protective coating is worn through in multiple areas, no amount of touch-up product restores a uniform appearance.
-
Deep gouges on aged floors: Older floors may have limited remaining thickness. Sanding them without knowing how many refinishes they have already had risks sanding through to the subfloor.
-
Engineered wood or specialty materials: These floors have a thin wear layer. Aggressive sanding by an untrained hand destroys them permanently.
-
Patchwork accumulation: There is a point of no return when scratches and finish wear become so extensive that full refinishing is the only way to restore a consistent appearance.
Professional repairs use a technique called feathering. Professional repairs feather the finish beyond the scratch to blend gloss variation across a wider area. This is what separates a professional result from a visible patch. Heavy sanding or thick filler causes visual inconsistencies that no amount of buffing corrects.
NPSM Specialized Cleaning Services LLC offers sanding, refinishing, buff-and-coat, and stain-matching services for wooden floors across Dubai. For floors where spot repairs have accumulated or the finish is broadly compromised, full buff-and-coat or refinishing restores surface uniformity in a way that individual spot repairs cannot. The enduring value of refinishing hardwood floors goes beyond appearance. It resets the protective layer and extends the floor’s usable life by years.
Key Takeaways
Removing floor scratches early is the single most cost-effective action a homeowner or property manager can take to preserve floor appearance, prevent structural damage, and protect property value.
| Point | Details |
|---|---|
| Diagnose scratch depth first | Use the fingernail test to distinguish finish scratches from deep gouges before choosing a repair method. |
| Act within the first week | Early repair prevents dirt and moisture from entering the scratch and worsening the damage. |
| Match filler color before applying | Mix pigment into wood filler before application to avoid patchy, mismatched repairs. |
| Know when DIY stops working | Widespread damage or finish failure requires professional sanding, feathering, and refinishing. |
| Consistent care beats periodic overhaul | Regular touch-ups keep floors uniform and avoid the higher cost of full restoration. |
The honest truth about floor scratches I’ve learned over the years
Homeowners often fall into one of two traps. The first is ignoring scratches entirely, telling themselves the floor still “looks fine.” The second is over-repairing, chasing every tiny mark with filler and polish until the floor looks more like a patchwork quilt than a cohesive surface.
Many scratches are part of the natural patina on wood floors. That patina adds character and tells the story of a lived-in home. The goal is never factory-new perfection. The goal is a cared-for appearance that signals the floor has been maintained, not neglected.
What I have found actually works is a tiered approach. Address new scratches quickly with the right product. Leave light surface marks that do not catch your fingernail alone. Reserve professional refinishing for when the floor genuinely needs it, not as a reaction to every scuff. That balance keeps costs manageable and the floor looking its best without the over-repaired, inconsistent look that comes from too many spot fixes.
The other thing worth saying plainly: color matching is where most DIY repairs go wrong. People grab the nearest touch-up marker without checking the sheen level or the wood tone. The repair ends up more visible than the original scratch. Slow down, test in a hidden corner, and get the match right before touching the main floor. That one habit prevents most of the repair failures I have seen.
— Qadir
Professional floor scratch repair and restoration in Dubai
NPSM Specialized Cleaning Services LLC provides floor polishing and restoration services across Dubai for homeowners, property managers, hotels, and commercial facilities. Whether you are dealing with light surface scratches on a villa’s hardwood floor or widespread finish wear in a high-traffic retail space, the team at NPSM Specialized Cleaning Services LLC uses professional-grade sanding, diamond polishing systems, and stain-matching techniques to restore your floors to a consistent, attractive finish. For wooden floors specifically, the wooden floor polishing service covers everything from minor scratch repair to full refinishing. Request a quote and find out which service fits your floor’s current condition.
FAQ
What is scratch removal for floors?
Scratch removal for floors is the process of repairing surface or structural damage to restore a floor’s appearance and protect its finish. Methods range from touch-up markers for minor scratches to sanding and refinishing for deep gouges.
How do I know if a floor scratch needs professional repair?
If your fingernail catches in the scratch, the damage goes below the finish layer and likely needs professional attention. Widespread scratching or finish failure across multiple areas always requires professional refinishing rather than spot repair.
Can household items really fix floor scratches?
Toothpaste, baking soda paste, and walnut oil work as temporary fixes for very light laminate or wood surface scratches, but they do not replace proper repair products and need regular reapplication.
How long does floor scratch repair take?
Minor finish scratches can be repaired in about 10 minutes with the right touch-up product. Deep gouges filled with wood filler require up to 24 hours of curing time before the repair is complete.
Does removing scratches actually protect property value?
Yes. Floor condition is one of the first things buyers and appraisers assess. Scratched, worn floors signal deferred maintenance and reduce perceived property value, while well-maintained floors support stronger asking prices and faster sales.