TL;DR:
- Grout lines in Dubai deteriorate quickly due to harsh environmental factors, impacting tile appearance and longevity. Proper preparation, professional cleaning, drying, recoloring, sealing, and maintenance are essential for durable grout restoration. Hiring experts ensures lasting results, prevents common mistakes, and maintains the integrity of tiled surfaces over time.
Grout lines that were once crisp and clean can turn into dark, stained streaks that make even expensive tiles look neglected. In Dubai’s climate, where sand, humidity, and hard water accelerate the problem, grout deteriorates faster than most homeowners expect. Whether you own a villa in Jumeirah or an apartment in Dubai Marina, restoring your tile grout is one of the highest-impact improvements you can make to your interior. This guide walks you through every stage of the process, from gathering the right tools to maintaining your results for years.
Table of Contents
-
Expert perspective: The hidden value of professional grout restoration in Dubai
-
Tile and floor restoration services for Dubai villas and apartments
Key Takeaways
| Point | Details |
|---|---|
| Preparation is crucial | Gather proper tools and prepare the site thoroughly for best restoration results. |
| Follow each step | Deep cleaning, drying, repairs, recoloring, sealing, and polishing ensure long-lasting grout. |
| Avoid common mistakes | Not drying or sealing properly can lead to early grout failure and extra repairs. |
| Annual maintenance matters | Routinely reseal grout every year and address problems early to maximize lifespan. |
| Professional help is worth it | For severe damage or a flawless finish, professional restoration delivers superior results. |
What you need before starting: Tools and preparation
Now that you understand why grout restoration matters, let’s make sure you’re fully prepared before starting the process.

Good preparation separates a lasting restoration from a temporary fix. Skipping this stage is the number one reason grout looks patchy or starts failing within months. Before you touch a single tile, you need the right tools, the right mindset, and a clear understanding of what you’re working with.
Tools and materials checklist
| Tool or material | Purpose |
|---|---|
| Stiff-bristle grout brush | Scrubbing surface stains |
| Steam cleaner | Deep pore cleaning |
| Hydrogen peroxide or tile cleaner | Breaking down biological stains |
| Grout sealer | Post-restoration protection |
| Grout colorant (optional) | Refreshing or changing grout color |
| Epoxy or standard grout | Crack repair and regrouting |
| Painter’s tape | Edge and tile protection |
| Drop cloths | Floor and surface coverage |
| Rubber gloves and safety glasses | Personal protection |
| pH-neutral cleaner | Routine maintenance after restoration |
Professional methods use steam, hydrogen peroxide mixtures, or industrial cleaners to deep clean tile grout, which means amateur scrubbing with household soap often falls far short. Choosing the right tools from the beginning saves you from repeating the entire process three months later.
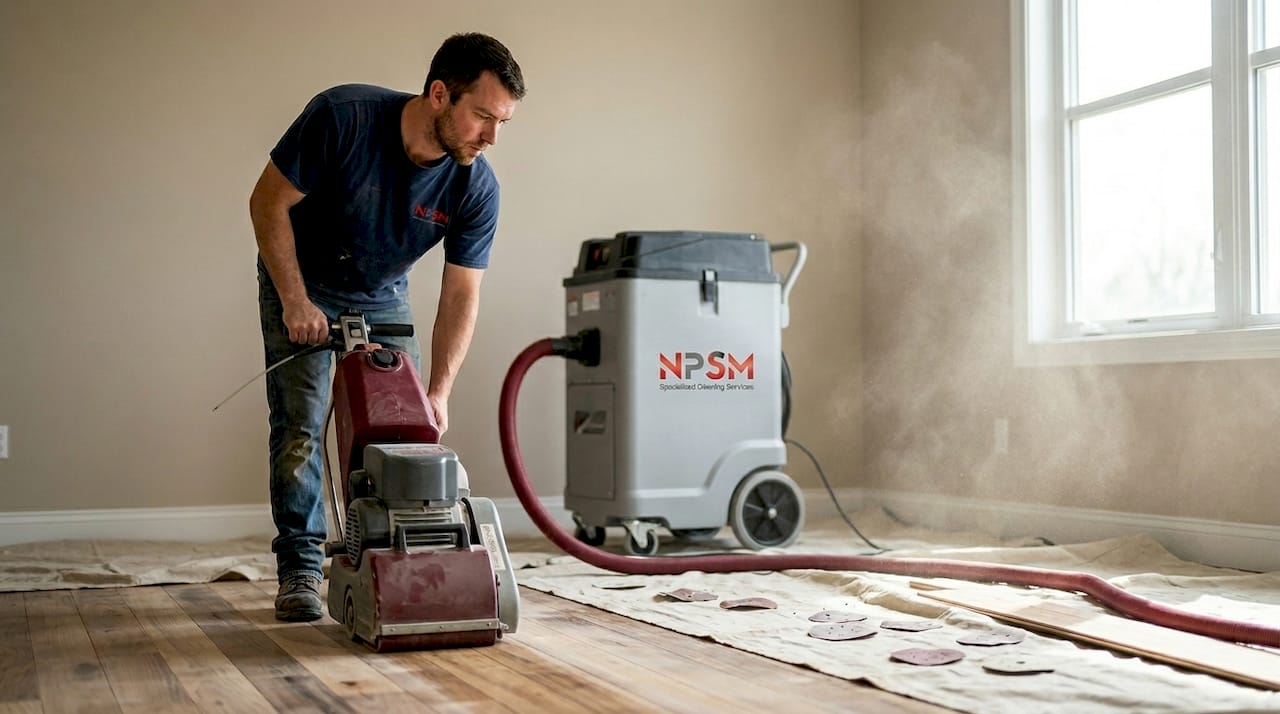
You’ll also want to review the tile polishing tools available for professional use, because some situations call for rotary pads and orbital machines rather than manual brushes alone.
Testing grout before you start
Not all grout behaves the same way. Cement-based grout is porous and absorbs sealers quickly. Epoxy grout is much denser and sometimes requires specialized cleaners. To test porosity, drop a small amount of water onto the grout. If it absorbs within 30 seconds, the grout is porous and needs sealing as a priority. If it beads up, the sealer is still partially active.
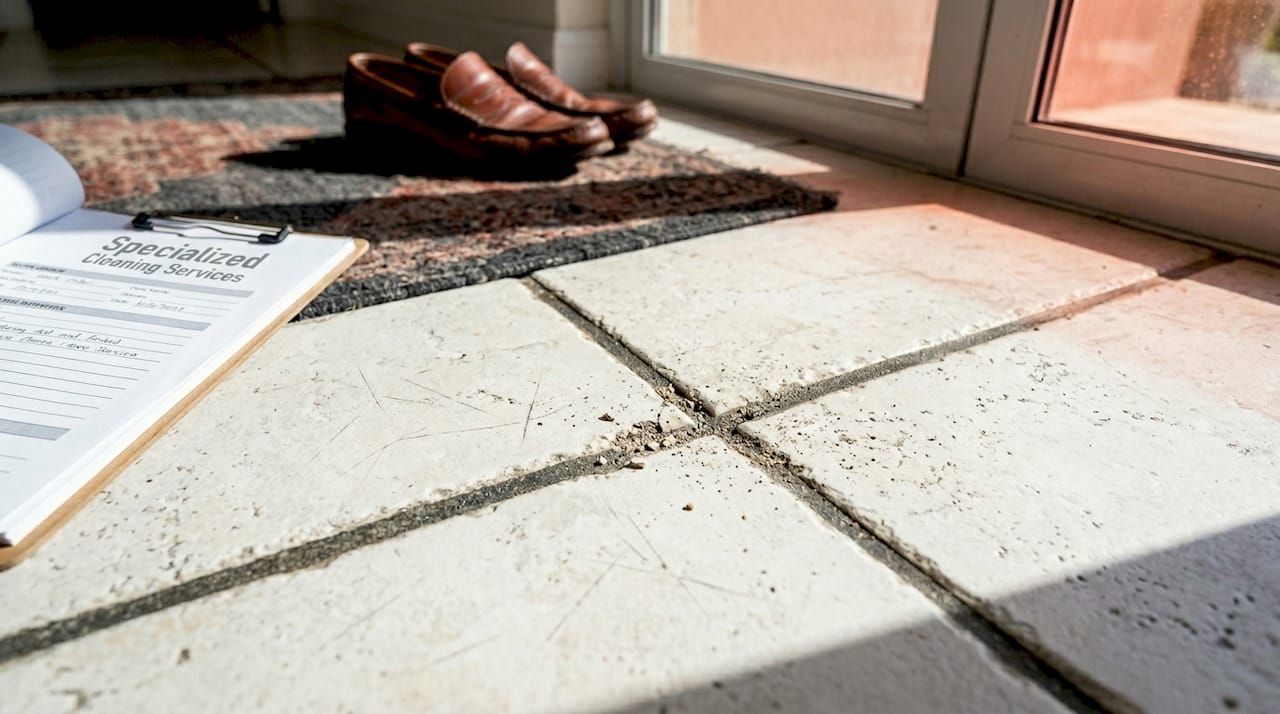
Also look for cracking, crumbling, or grout that sounds hollow when tapped. These are signs that you’ll need more than cleaning. A visual check across the entire floor, particularly near corners, doorways, and wet areas, helps you map out the scope of work before you begin.
Reviewing grout cleaning essentials gives you a solid foundation on what to look for and how to categorize the damage level you’re dealing with.
Site preparation
-
Clear all furniture and rugs from the area
-
Sweep and vacuum to remove loose dirt and sand
-
Apply painter’s tape along baseboards and any surfaces adjacent to grout lines
-
Lay drop cloths over tiled areas not being worked on
-
Open windows and run a fan to ensure airflow
Pro Tip: Use painter’s tape generously along tile edges before applying any colorant or sealer. Even a small amount of sealer on a polished tile surface can leave a dull film that’s hard to remove.
Safety notice: Always wear rubber gloves and safety glasses when using chemical cleaners, steam equipment, or industrial solvents. Work in a well-ventilated space to avoid inhaling fumes. This is especially important in Dubai’s enclosed apartment bathrooms where air circulation is limited. Check this deep cleaning guide for additional safety protocols used by professionals.
Step-by-step tile grout restoration process
With materials ready, follow these steps for a professional-grade grout restoration that lasts.
The typical process involves cleaning, drying, recoloring, sealing, and optional tile polishing, and each stage builds on the one before it. Rushing any single step compromises the entire result.
The complete restoration walkthrough
-
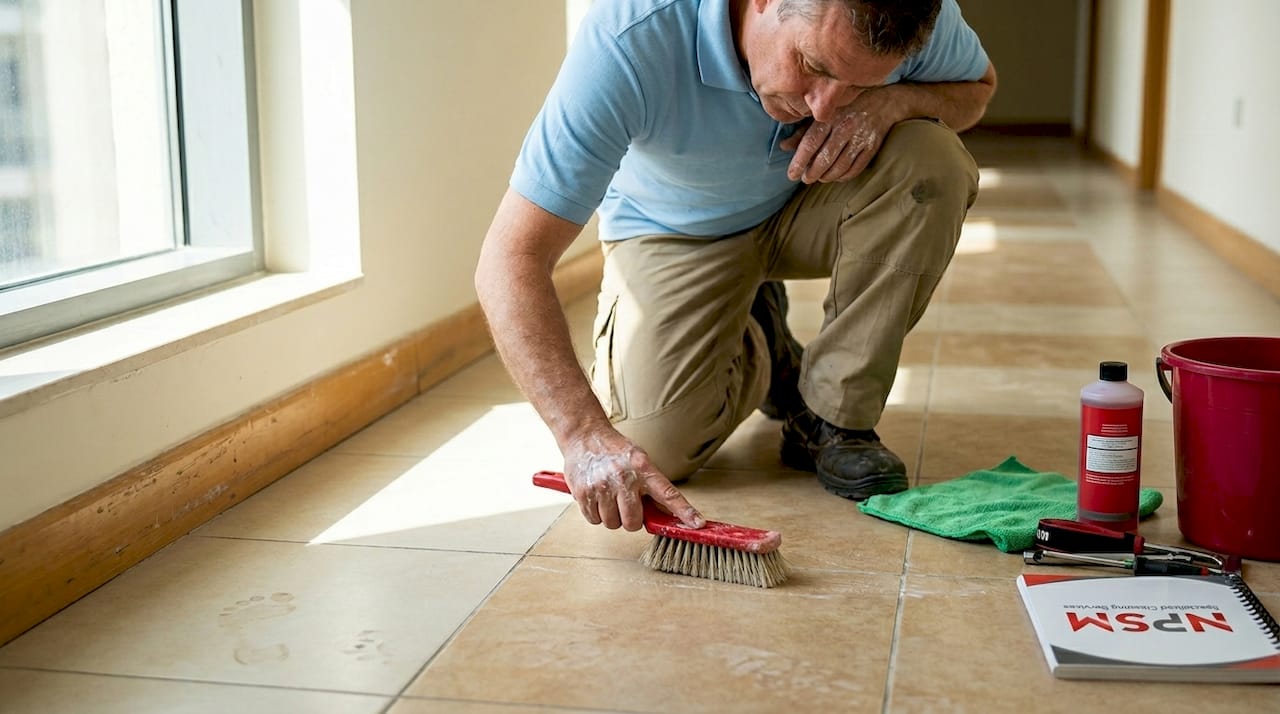
Deep cleaning. Start with a steam cleaner or a hydrogen peroxide and dish soap mixture. Apply the solution along grout lines, let it sit for 10 to 15 minutes, then scrub with a stiff brush. Work in sections roughly 3 feet wide so the cleaner doesn’t dry before you scrub. For stubborn biological stains like mold or mildew, common in Dubai’s humid bathrooms, use an oxygen-based bleach cleaner. Rinse each section thoroughly after scrubbing.
-
Complete drying. This is the step most people underestimate. Grout must be bone dry before any colorant or sealer is applied. In Dubai’s summer humidity, this can take longer than expected. Use a fan or dehumidifier and wait at least 24 hours after cleaning. Damp grout repels sealer and causes colorant to peel within weeks.
-
Optional recoloring. If your grout has stained beyond what cleaning can fix, a grout colorant restores a fresh, uniform appearance. Apply the first coat with a small brush, working it into the grout line. Allow it to dry fully before a second coat. Two thin coats outperform one thick coat every time. Colors range from bright white to charcoal, so you can either match the original or update the look entirely.
-
Crack repair or regrouting. For cracked or crumbling grout, remove the damaged section with a grout saw or oscillating tool. Vacuum the debris, then press fresh grout into the joint and level it with a rubber float. Allow it to cure properly before moving to sealing. The step-by-step grout restoration process outlined by restoration professionals mirrors what we apply on Dubai villa projects daily.
-
Sealing for protection. Apply a penetrating grout sealer using a foam applicator or a small roller. Wipe away any excess sealer from the tile surface within 5 minutes. Two coats provide the best protection, especially in wet areas. Check whether the sealer has bonded by doing the water bead test again.
-
Final polishing and cleanup. Remove all painter’s tape carefully. Clean tile surfaces with a pH-neutral cleaner to remove residue. For an elevated finish, consider professional tile polishing, especially on natural stone or large-format tiles that show micro-scratches. Bathroom restoration standards used in luxury hotel properties offer a useful benchmark for the finish quality you should be aiming for.
DIY vs. professional restoration: A real comparison
| Factor | DIY restoration | Professional restoration |
|---|---|---|
| Labor | Requires significant personal time | Handled entirely by specialists |
| Time to complete | 1 to 3 days for average home | 4 to 8 hours for most properties |
| Cleaning depth | Surface level with household tools | Industrial steam and chemical treatment |
| Crack repair quality | Variable, prone to gaps | Precision regrouting with correct mix ratio |
| Sealer durability | Consumer-grade, lasts 6 to 12 months | Professional-grade, lasts 2 to 5 years |
| Overall finish | Noticeable inconsistencies | Uniform, showroom-quality result |
Pro Tip: Always work in small, manageable sections rather than tackling an entire room at once. Grout cleaners dry fast, especially in Dubai’s warm interiors, and dried cleaner is much harder to remove than fresh residue.
Critical cure time notice: Never apply grout sealer immediately after regrouting. Fresh grout must cure completely before sealer is added. Sealing too early traps moisture inside the joint, which weakens the grout and causes premature failure.
Troubleshooting and common mistakes in grout restoration
Even with careful following of the previous steps, mistakes can happen. Here’s how to spot and fix them before they become big repair jobs.
The most common errors
-
Using too much water during cleaning. Flooding grout lines softens the cement bond and washes away residual sealer. Use just enough solution to work the cleaner in, then rinse minimally.
-
Skipping the drying stage. Applying sealer or colorant over damp grout is the single most common cause of peeling and discoloration.
-
Under-applying sealer. One thin coat does not provide adequate protection in wet areas. Two full coats, applied with adequate drying time in between, are the minimum for bathrooms and kitchens.
-
Using acidic cleaners on natural stone surrounds. Vinegar and citrus-based cleaners damage marble and travertine. Always verify your cleaner is appropriate for adjacent surfaces.
-
Skipping the edge tape. Colorant or sealer smeared across polished tile is genuinely difficult to correct and can leave permanent dull patches.
For [severely damaged grout, regrouting is required when grout is loose, crumbling, or missing entirely, and fresh grout must cure for 24 to 72 hours before sealing. When an entire bathroom floor shows widespread cracking or the grout has gone gray and powdery, DIY approaches will not produce lasting results. That’s the moment to consider professional restoration costs and weigh them against the recurring expense of repeated temporary fixes.
When to call a professional
If you notice any of the following, stop and seek expert help:
-
Grout is hollow-sounding across large areas
-
Persistent black stains that don’t respond to bleach or steam
-
Cracking that spans multiple tiles in a linear pattern (possible substrate movement)
-
Water seeping beneath tiles causing tiles to lift or rock underfoot
Professional grout services, like those used in Dubai villa renovations, bring industrial-grade equipment and technical knowledge that resolves these problems correctly the first time. Reviewing what professional grout services include helps you understand the gap between a deep professional treatment and a DIY clean.
Pro Tip: Mark your calendar to reseal grout every 12 months. Setting a recurring annual reminder means you catch deterioration early, before you’re facing a full regrouting job.
Important reminder: Whether using fresh grout for repairs or full regrouting, the 24 to 72 hour cure window before sealing is not flexible. Rushing this step is one of the leading causes of grout failure within the first year.
How to verify results and maintain restored grout
After your restoration is complete, follow these checks and routines to keep your floors looking their best for years to come.
Post-restoration inspection checklist
-
Color is uniform across all grout lines, with no patchy or lighter areas
-
No visible cracks, gaps, or crumbling sections remain
-
Water beads on sealed grout rather than absorbing immediately
-
Grout lines feel smooth and solid when pressed gently
-
Tile surfaces are clean and free of sealer haze or colorant residue
Sealed grout should be checked regularly and resealed annually for best protection, particularly in bathrooms and kitchens that see daily moisture exposure. In Dubai homes where water quality is high in mineral content, the resealing schedule matters even more.
Simple maintenance habits that extend grout life
-
Wipe up spills and puddles quickly, especially near showers and sinks
-
Sweep or vacuum before mopping to prevent abrasive particles from grinding into grout lines
-
Always use a pH-neutral cleaner for routine mopping. Harsh acidic or alkaline products strip sealer over time
-
Dry bathroom floors after showering to reduce sustained moisture contact
-
Avoid using wire brushes or abrasive pads during routine cleaning. A soft nylon brush is all you need for weekly maintenance
Connecting your grout maintenance to a broader professional floor polishing routine ensures every element of your floor stays in top condition simultaneously. Many Dubai homeowners bundle grout resealing with annual tile polishing appointments for exactly this reason.
Reviewing tips on maintaining bathroom grout gives you a clear picture of the long-term habits that keep restoration results intact.
Pro Tip: Take a dated photo of your grout right after restoration and save it in your phone. When you’re assessing whether it’s time for maintenance, the before-and-after comparison makes the decision obvious.
Expert perspective: The hidden value of professional grout restoration in Dubai
Here’s something most grout articles won’t tell you. The real problem isn’t dirty grout. It’s the cycle of surface-level cleaning that never actually solves anything.
We’ve walked through dozens of Dubai villas where owners had scrubbed grout weekly for years. The lines looked clean enough until you steam-cleaned them professionally and revealed a layer of biological growth, mineral deposits, and embedded sand that no household brush had ever touched. That’s not a failure of effort. It’s a failure of method.
Dubai’s environment is genuinely harsh on grout. Fine desert sand acts like sandpaper on grout surfaces. Hard water leaves calcium deposits that lock in stains. Humidity from the Gulf accelerates mold growth inside porous grout, sometimes in areas that never look obviously wet. These aren’t problems that basic scrubbing solves.
What we see consistently is that professional restoration doesn’t just improve appearance. It removes biological contamination that affects indoor air quality. It restores the waterproof barrier that protects the structural substrate beneath your tiles. And it resets the surface to a condition where proper maintenance actually works. Many villa owners we work with are genuinely surprised to discover that their tiles, which they thought needed replacing, look brand new after a complete grout restoration combined with floor polishing benefits.
Combining grout restoration with professional tile polishing in a single service visit delivers the most dramatic visual transformation. Polished tiles reflect light differently, grout lines read as crisp and intentional, and the overall floor reads as new rather than maintained.
“A well-restored grout line not only looks new, it protects your investment for years.”
Short-term fixes keep you in a loop of diminishing returns. A proper professional restoration, done once and maintained correctly, pays for itself in avoided repair costs and preserved property value.
Tile and floor restoration services for Dubai villas and apartments
If you want professional, hassle-free results, consider these trusted Dubai restoration services.
We specialize in complete floor and tile restoration for villas and apartments across Dubai. From deep grout cleaning and regrouting to tile polishing and internal wall painting, our team handles every detail so you don’t have to. Our work covers marble, granite, natural stone, porcelain, ceramic, and wooden floors, making us the single point of contact for complete interior floor care. Start with our complete grout cleaning guide to understand the full scope of what professional grout care involves, explore our professional floor restoration services for comprehensive floor renewal, or get in touch with our tile polishing experts to schedule a property assessment. We serve Dubai Marina, Jumeirah, Arabian Ranches, Palm Jumeirah, and surrounding communities.
Frequently asked questions
How long does tile grout restoration usually take?
Most homes can be completed in a few hours to one full day, but regrouting adds time since fresh grout must cure 24 to 72 hours before sealing can begin.
How can I tell if my grout needs regrouting instead of just cleaning?
If the grout is cracked, crumbling, loose, or missing in sections, regrouting is required to restore structural integrity rather than just surface appearance.
Can I restore grout myself, or should I hire a professional?
Light cleaning and resealing are manageable DIY tasks, but professional restoration uses industrial cleaning methods, precision crack repair, and commercial sealers that deliver far more durable results.
How often should grout be sealed after restoration?
Grout should be resealed once a year. Annual sealing provides the best protection against staining, moisture penetration, and biological growth in Dubai’s demanding climate.